
Upgrade for Agility: Dynamic Tiling Desktop on Windows

Upgrade for Agility: Dynamic Tiling Desktop on Windows
It’s nice how, on Microsoft’s Windows, you can freely move any window wherever and whenever you like. This freedom, though, also expects you to keep juggling windows around and can turn your desktop chaotic. That’s where the alternative approach of “tiling window managers” enters the picture.
The “tiling” approach is regaining popularity in the world of Linux but, tools like FancyWM bring window tiling to Microsoft’s Windows. Here’s how it can help you keep your desktop clean and organized and, as a bonus, boost your productivity.
Disclaimer: This post includes affiliate links
If you click on a link and make a purchase, I may receive a commission at no extra cost to you.
What’s a “Window Manager”, and What Are “Floating Windows”?
All OSes (with a desktop) contain the equivalent of a “window manager”, even if they don’t refer to it by that term. As its name states, the window manager is the part of the OS responsible for managing all the “windows” that appear on the desktop.
Windows’s window manager follows the “floating windows” paradigm, where every window is a rectangle “floating” on the screen. However, with floating window managers, you are not only free to move and place any window as you wish. You must also do it to keep windows from overlapping and your desktop usable.
Tiling window managers are the opposite: they manage the placement and sizing of windows automatically, based on rules. Tiling window managers are also considered less user-friendly since you must get familiar with their shortcuts.
FancyWM combines both approaches. The app grants Windows the ability to automatically “tile” windows on the screen. Still, you can switch the feature on and off at will or individually set windows to float. And although FancyWM relies on shortcuts, too, for advanced window management, it’s also mouse-friendly.
How to Download and Install FancyWM
You can read more about the app at FancyWM’s official GitHub page , but the best “source” for installing it is the Microsoft Store. Launch the Microsoft Store app and search for “fancywm”, or visit the FancyWM Microsoft Store page directly.
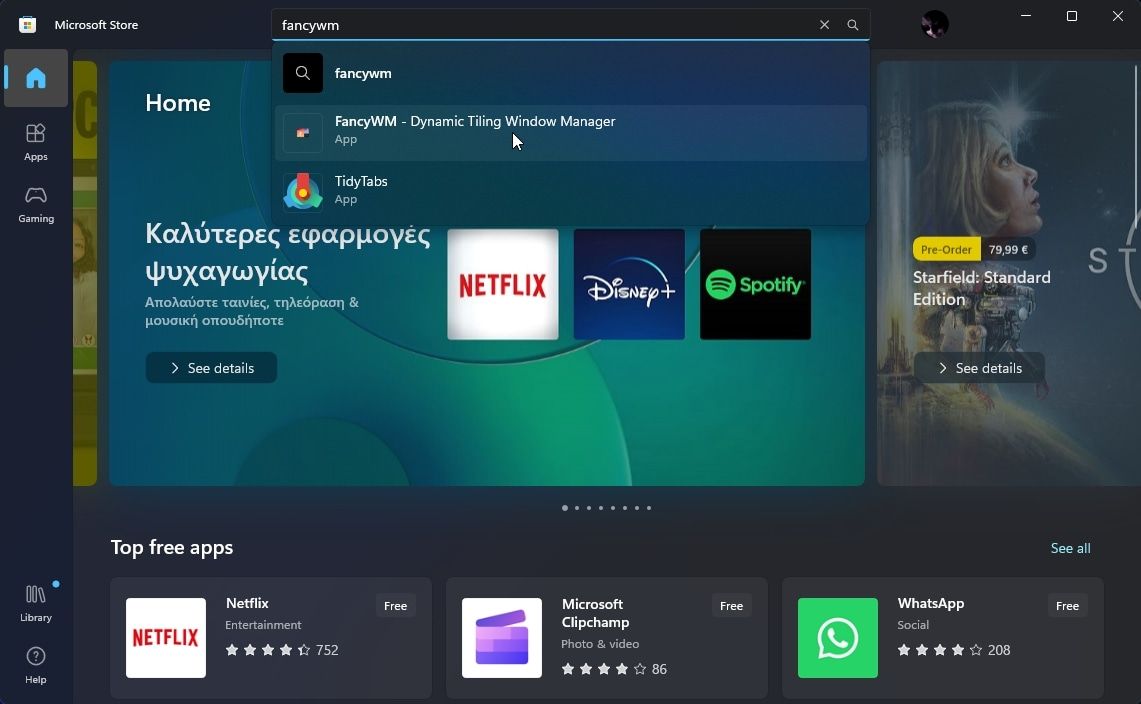
Install FancyWM from its Microsoft Store page, and then launch it.
How to Start Moving Windows With Your Keyboard With FancyWM
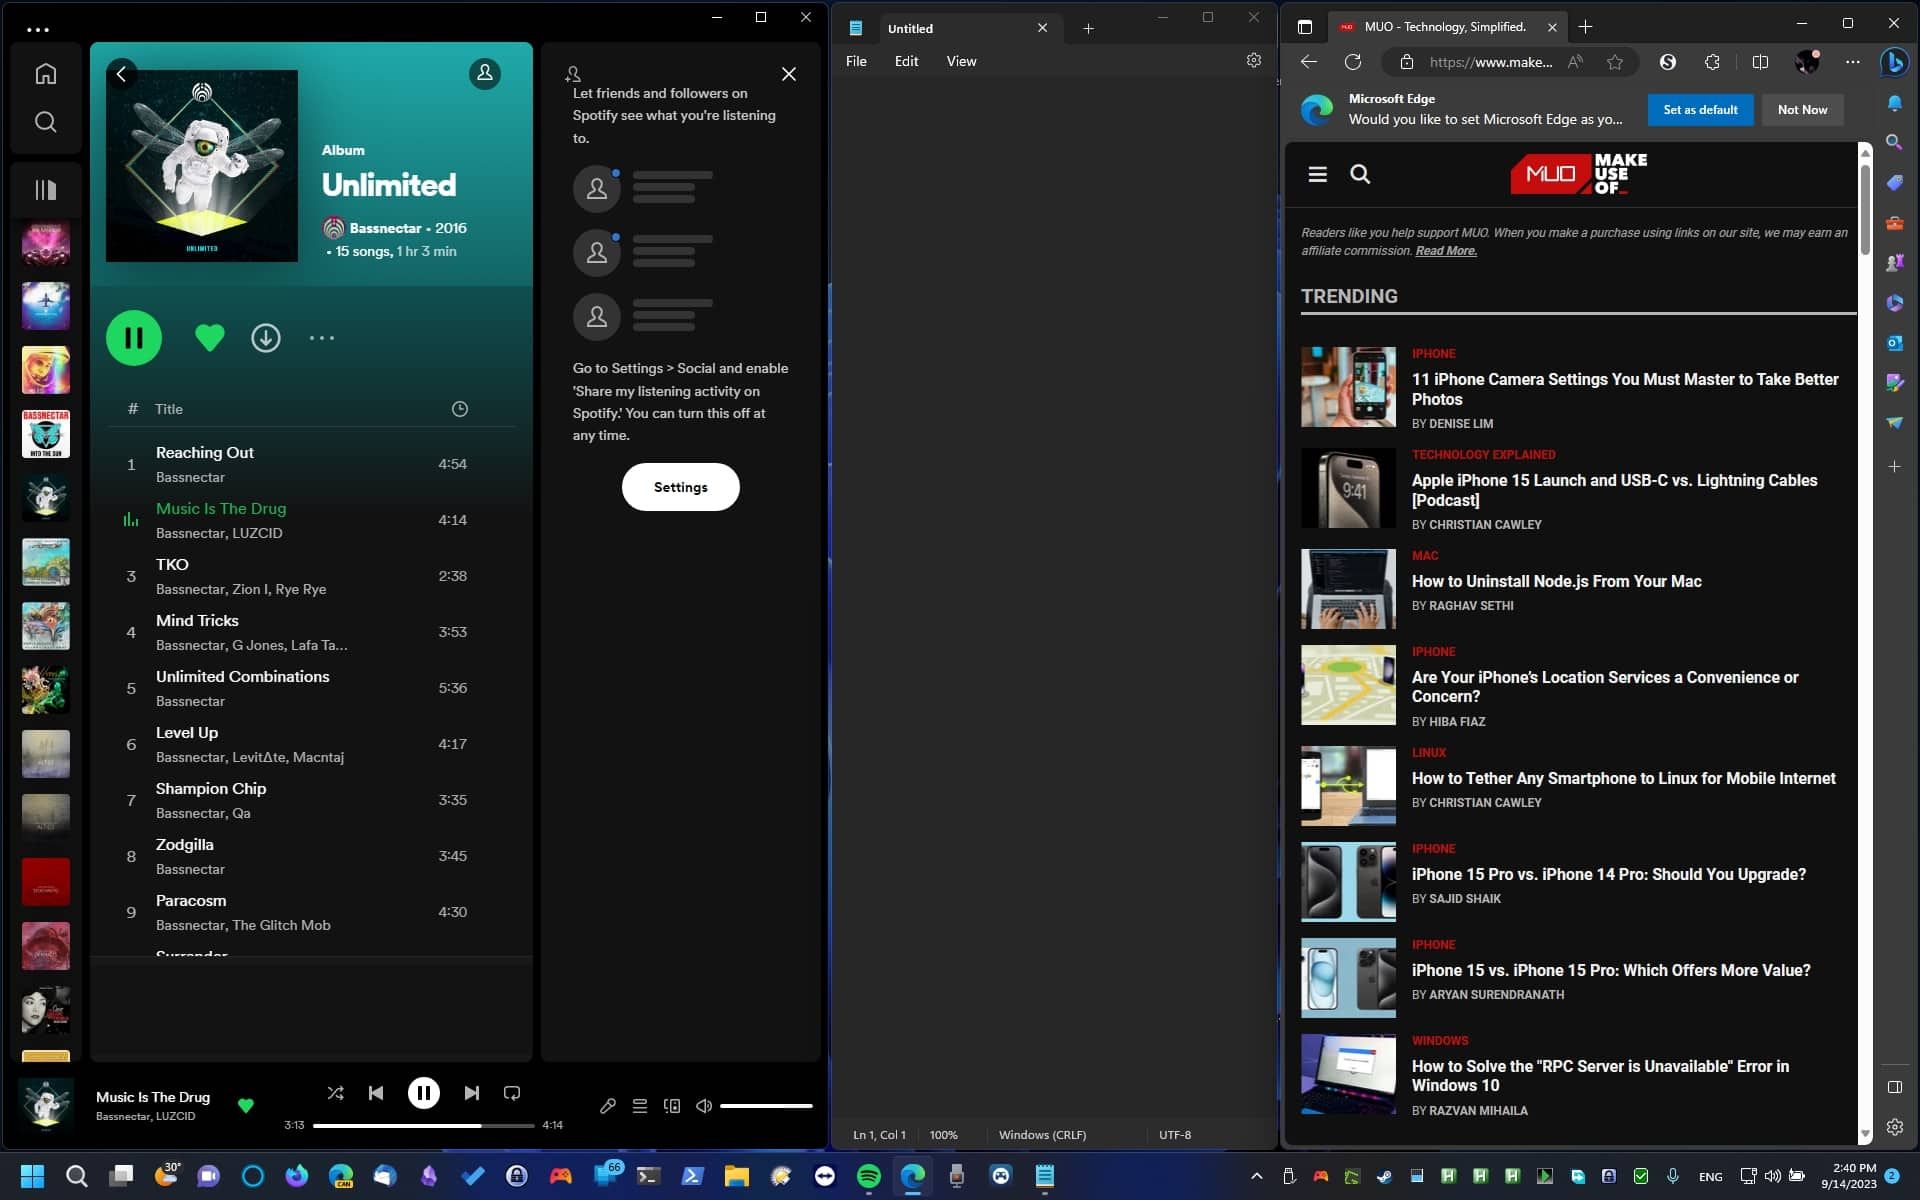
With FancyWM running, try opening two windows, and each will be “tiled” next to the other, each taking up half your screen.
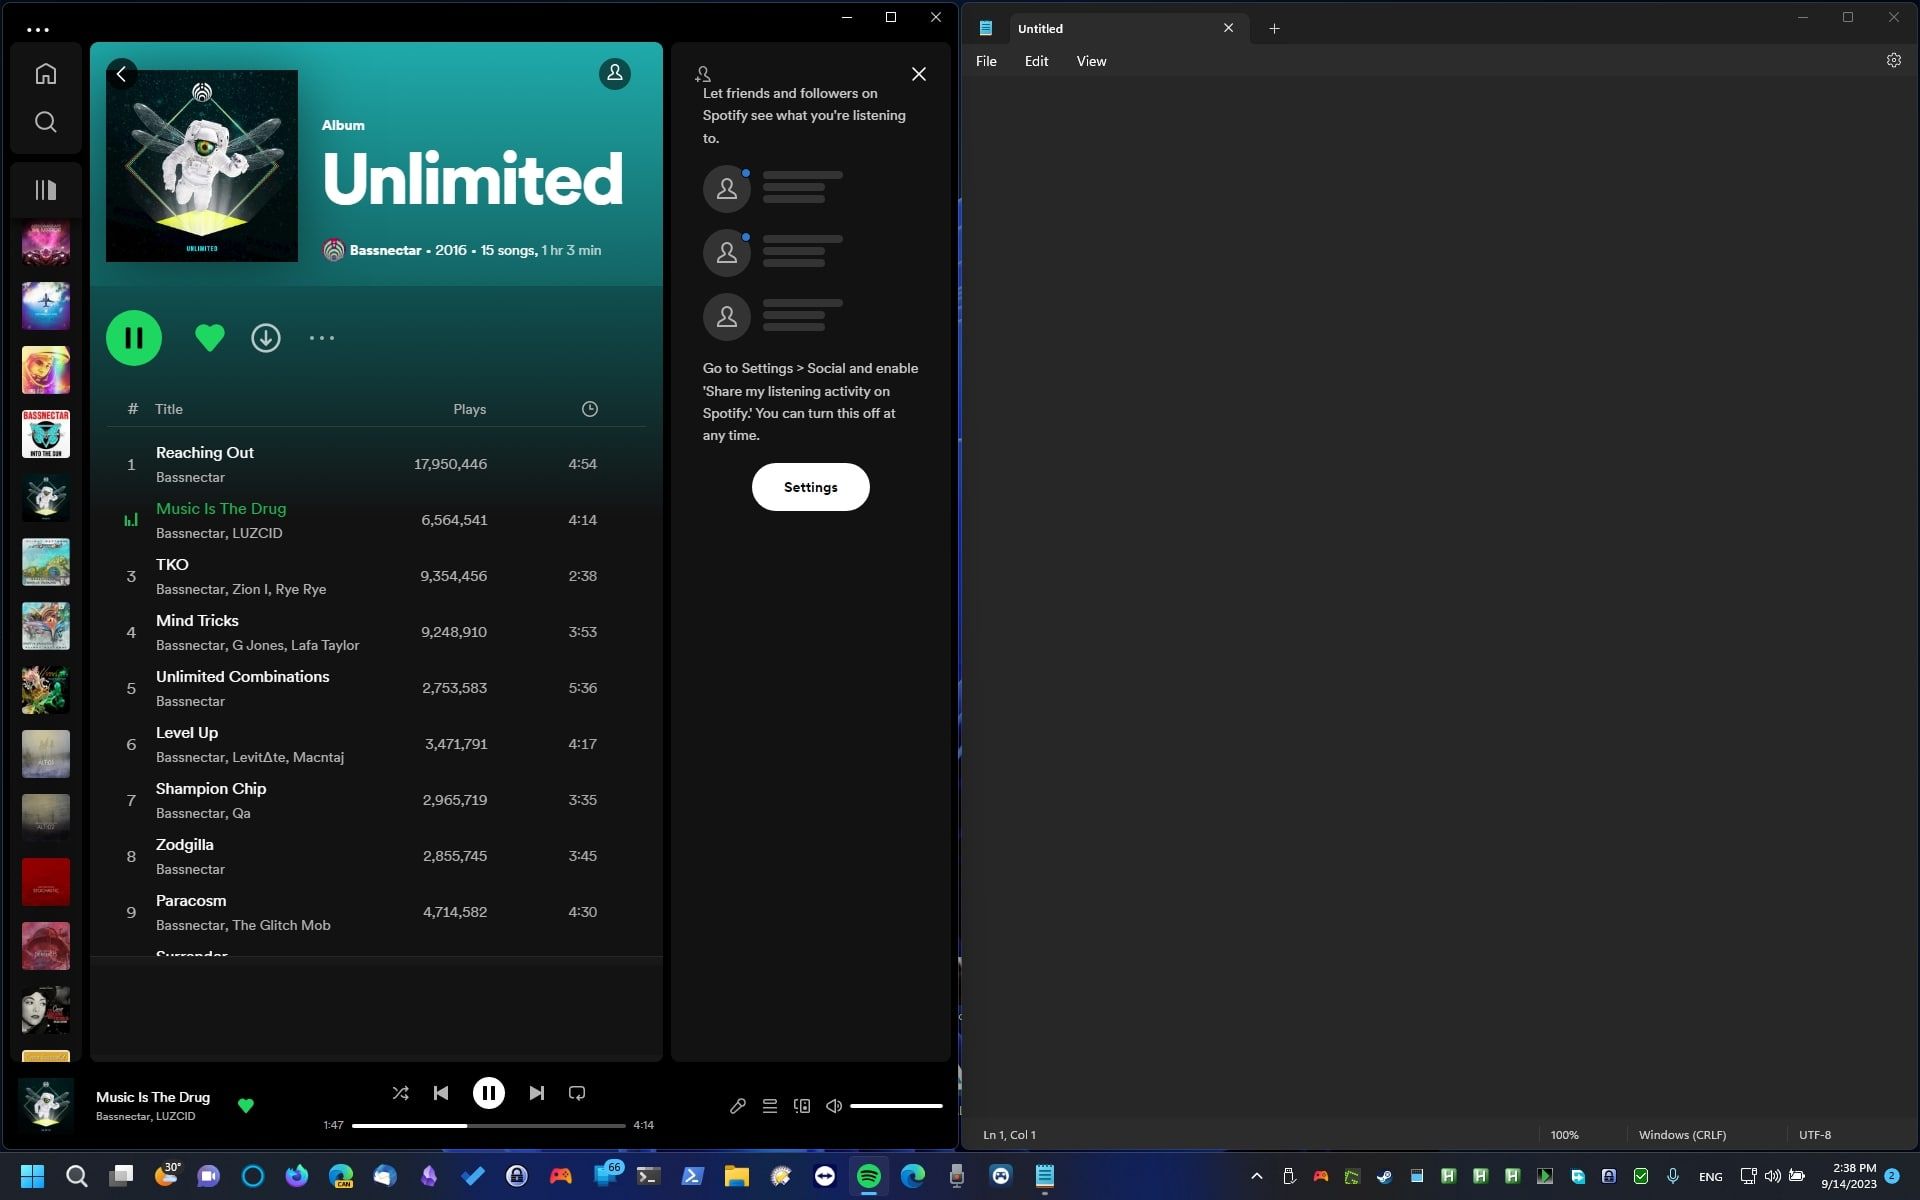
The same will happen if you open more windows. If one takes up “more than its share”, that’s because some windows have a “locked” minimum width and height.
Interactions with FancyWM start with its activation hotkey, by default mapped to the Shift + Windows key combination, followed by another key. If you only press the initial activation hotkey, FancyWM will show you a panel with the actions you can perform at any time.
Managing Window Groups
FancyWM allows you to create horizontally, vertically, and stacked groups of windows and combine them on your screen. However, you can’t create horizontal and vertical “sub-groups” within a stacked group, and vice-versa.
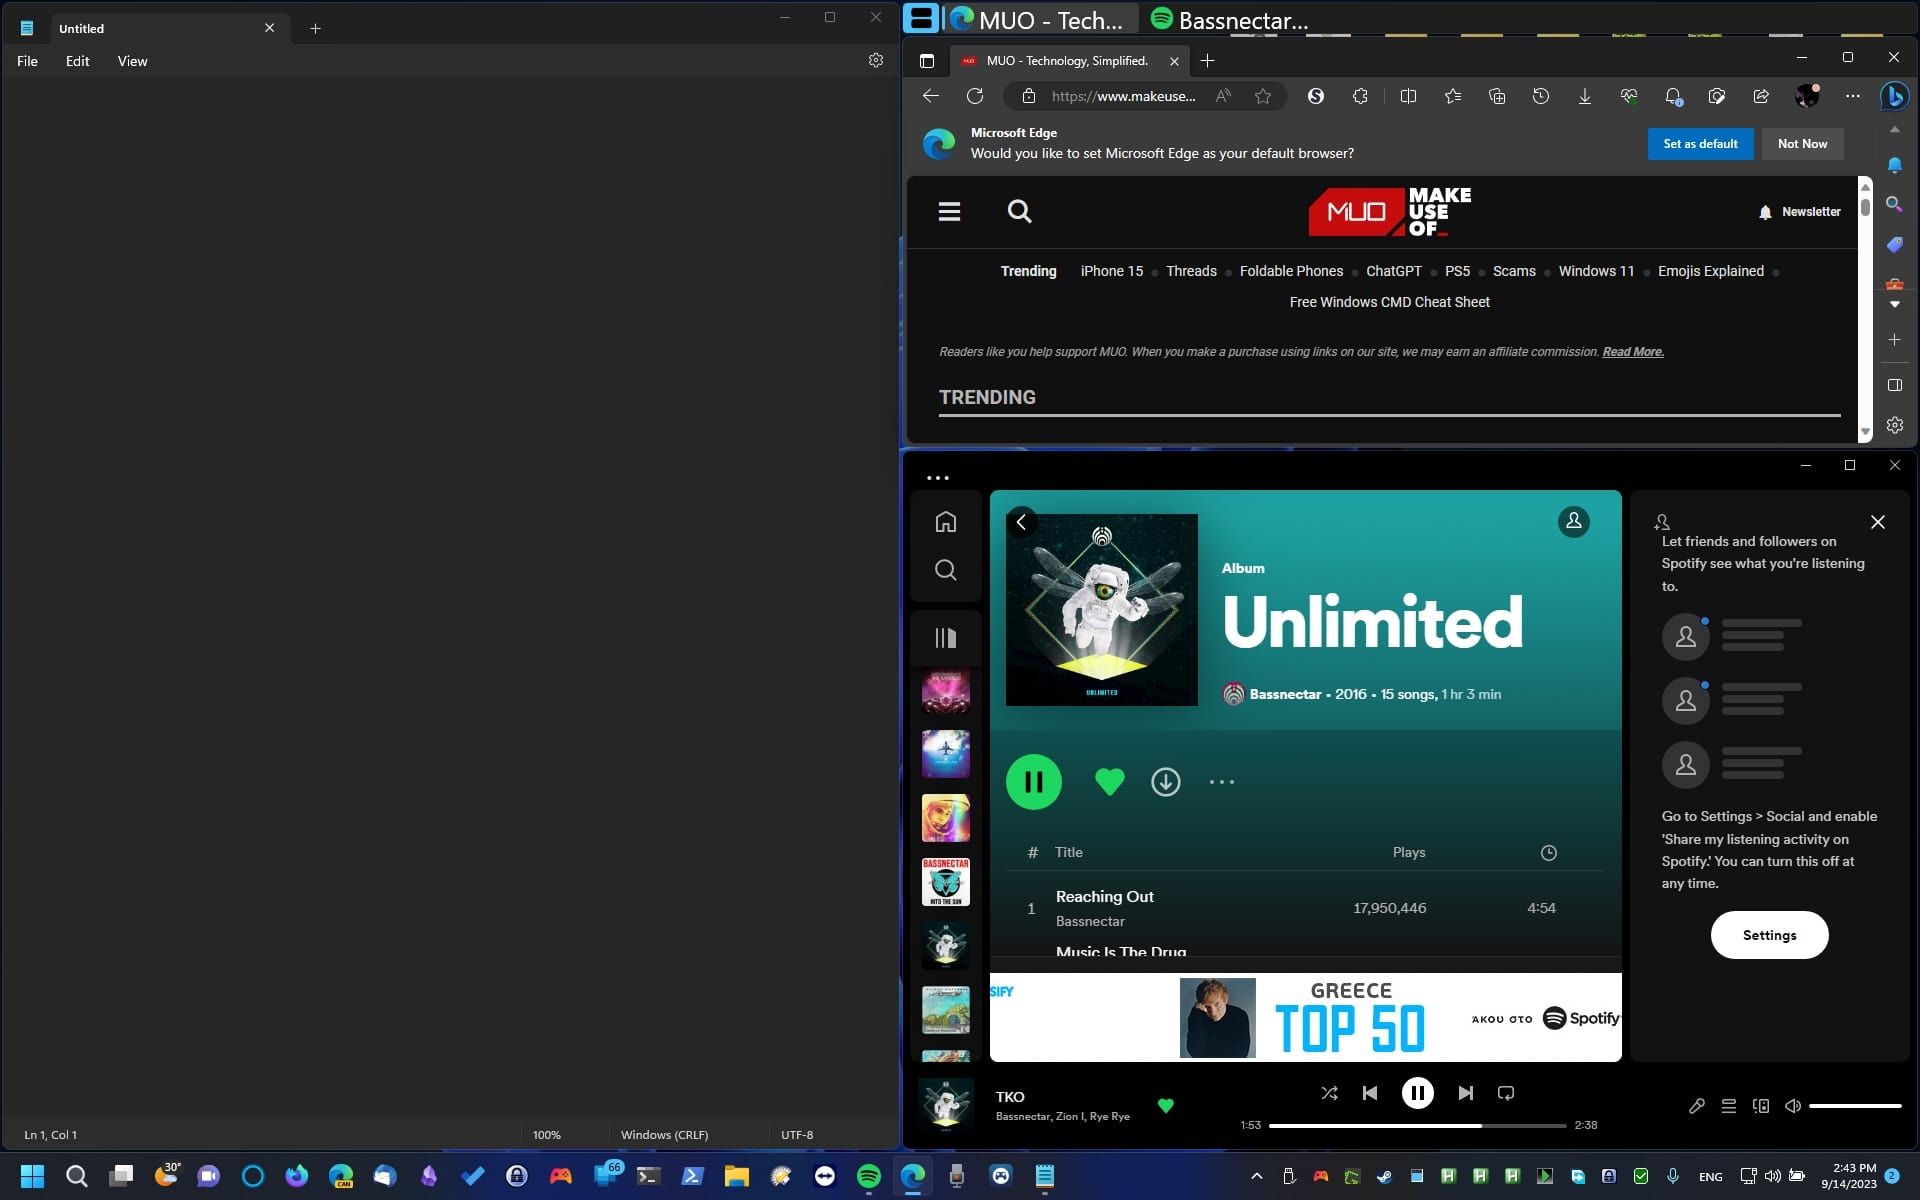
Press FancyWM’s activation hotkey followed by V, H, or S to turn the active window into a vertical, horizontal, or stacked window group. To add more windows to a group, drag and drop them where you want them to appear.
Tweaking Your Layouts
To tweak a layout, resize a window, and the rest will “react” accordingly. You can also resize windows by using FancyWM’s activation key followed by the left or right angle bracket ([ or ]).
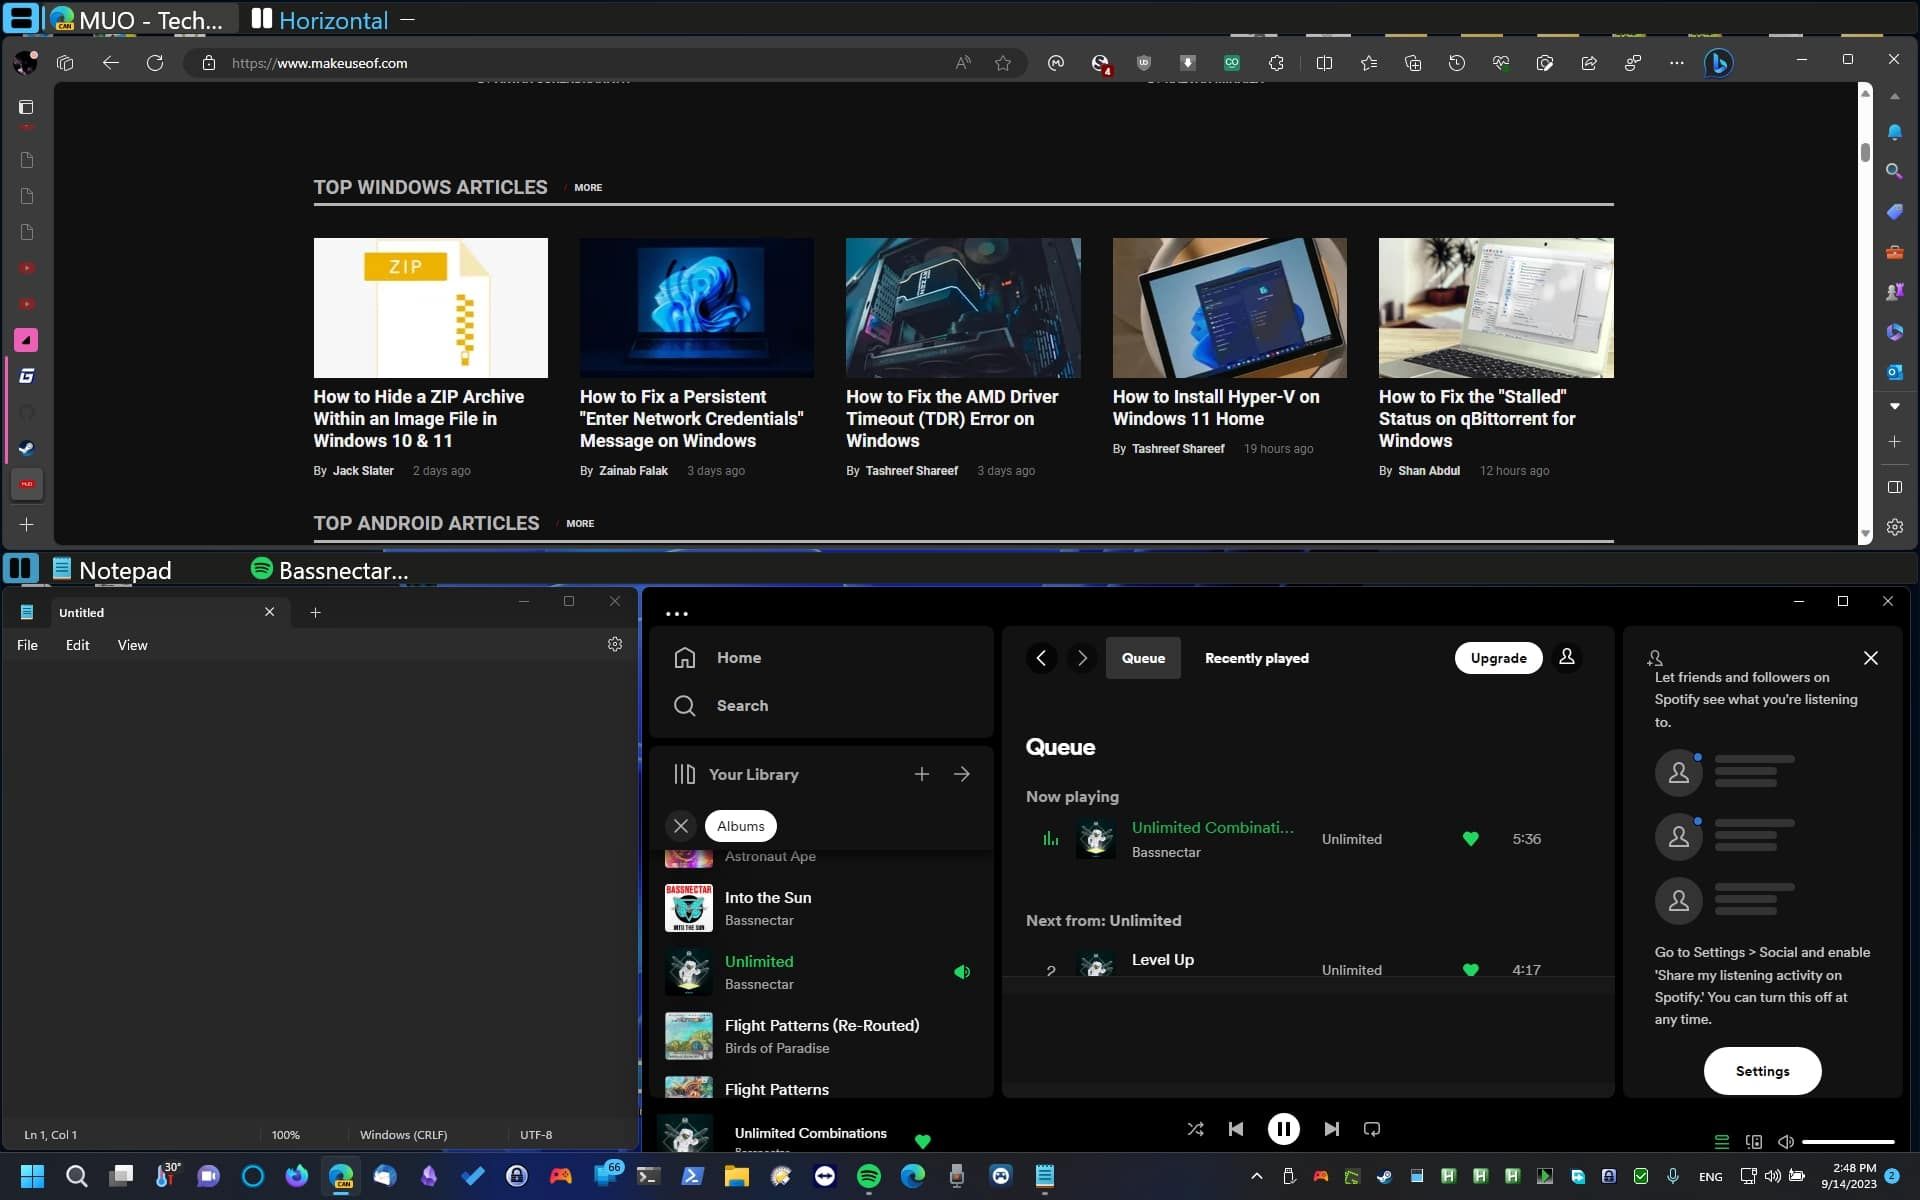
To move windows around in the layout with your keyboard instead of the mouse, hit FancyWM’s activation key followed by CTRL + Cursor Keys. To have windows swap positions, use Shift + Cursor Keys instead.
Working With Stacks
To assist with navigation, FancyWM presents each stacked window’s title on a bar on the top of the group. You can switch between the windows by clicking on their titles.
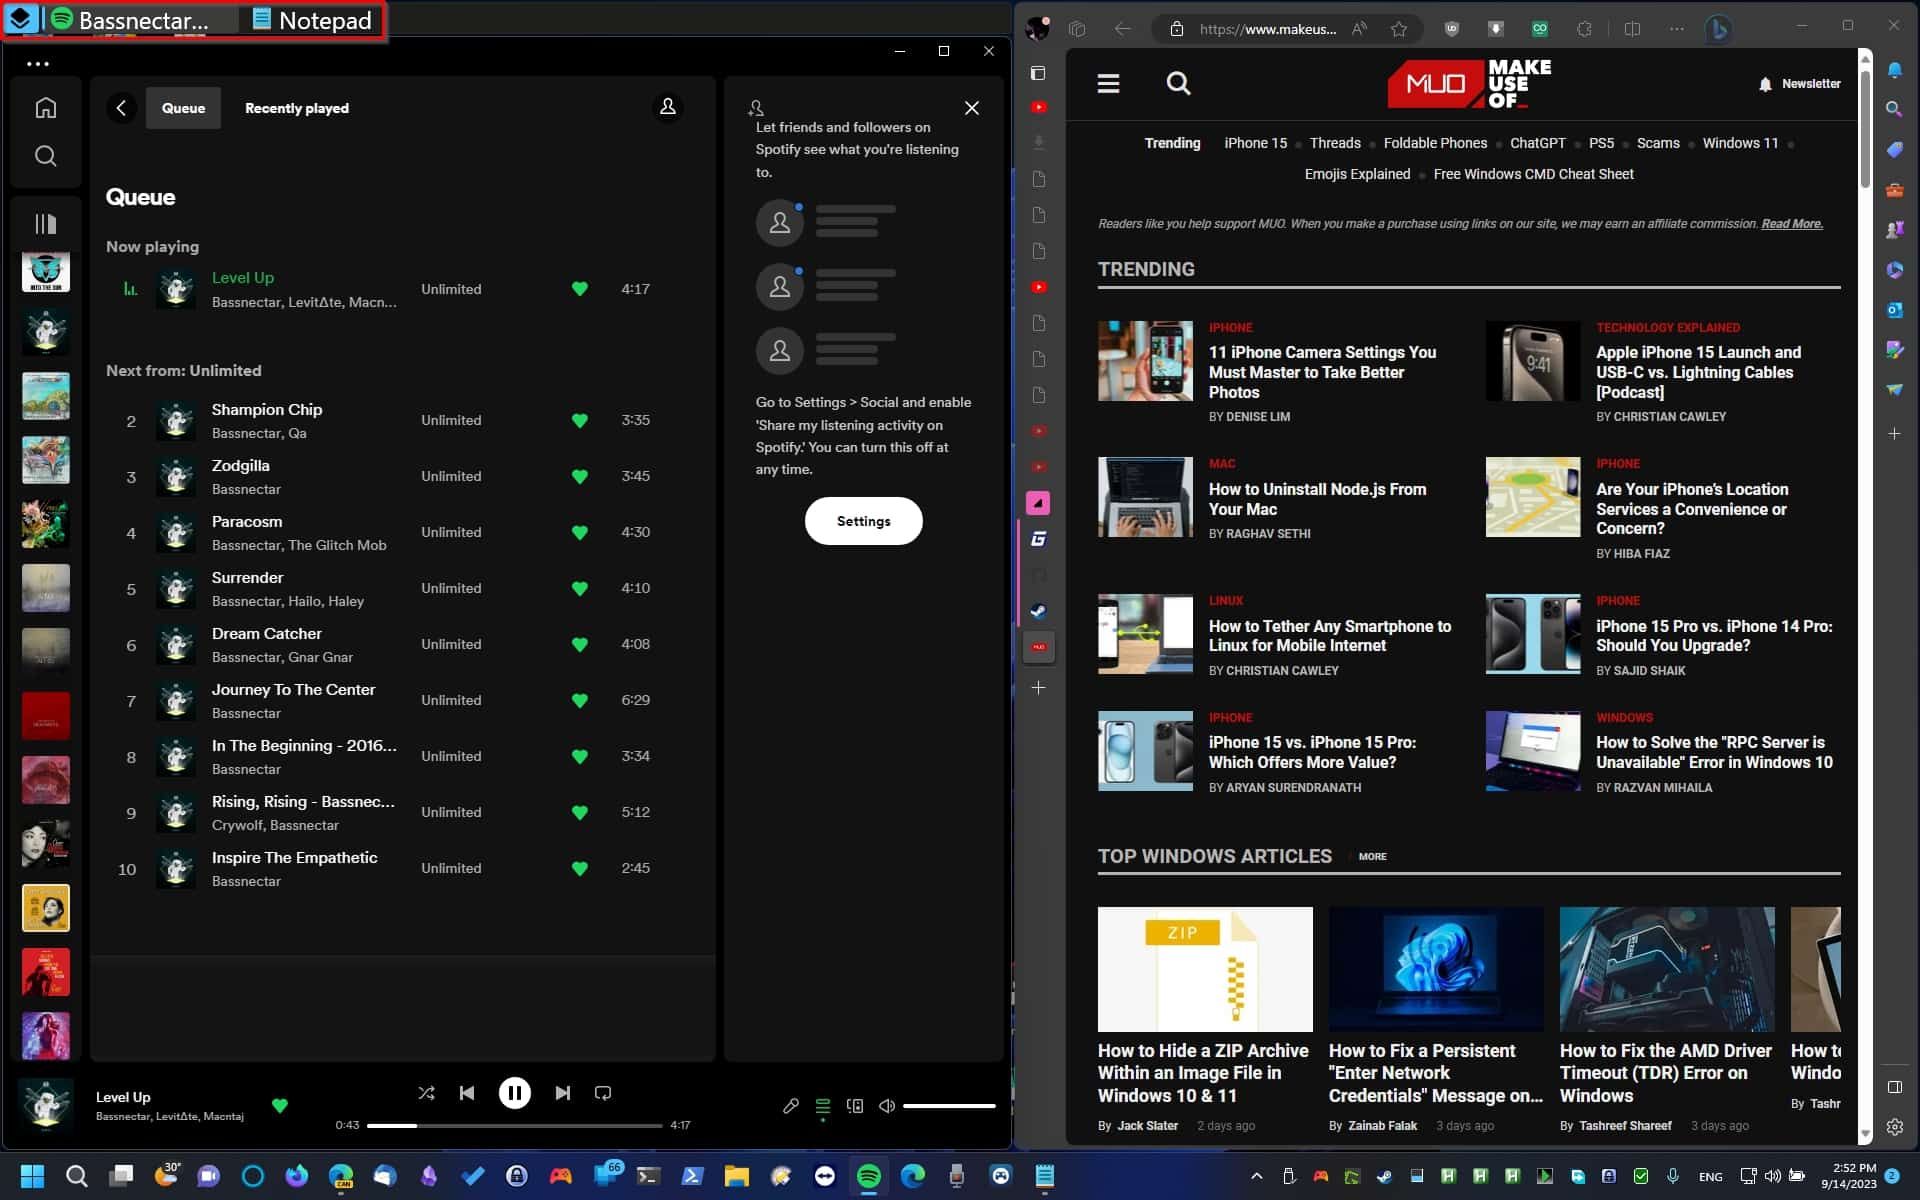
Using All Your Virtual Desktops & Monitors
If you press FancyWM’s activation key and then one of the numerical keys (from 1 to 9), you can switch between desktops. To move a window to another desktop, keep Shift held while pressing the desktop’s number.
Are you using multiple monitors with your computer? You can switch between the displays (after using FancyWM’s activation key) with the function keys (F1-F9). To move a window to any of them, keep Shift held while pressing a function key.
How to Use Floating Windows With FancyWM
To temporarily turn off FancyWM’s automatic tiling, use its activation key followed by F11. Do the same to re-enable it.
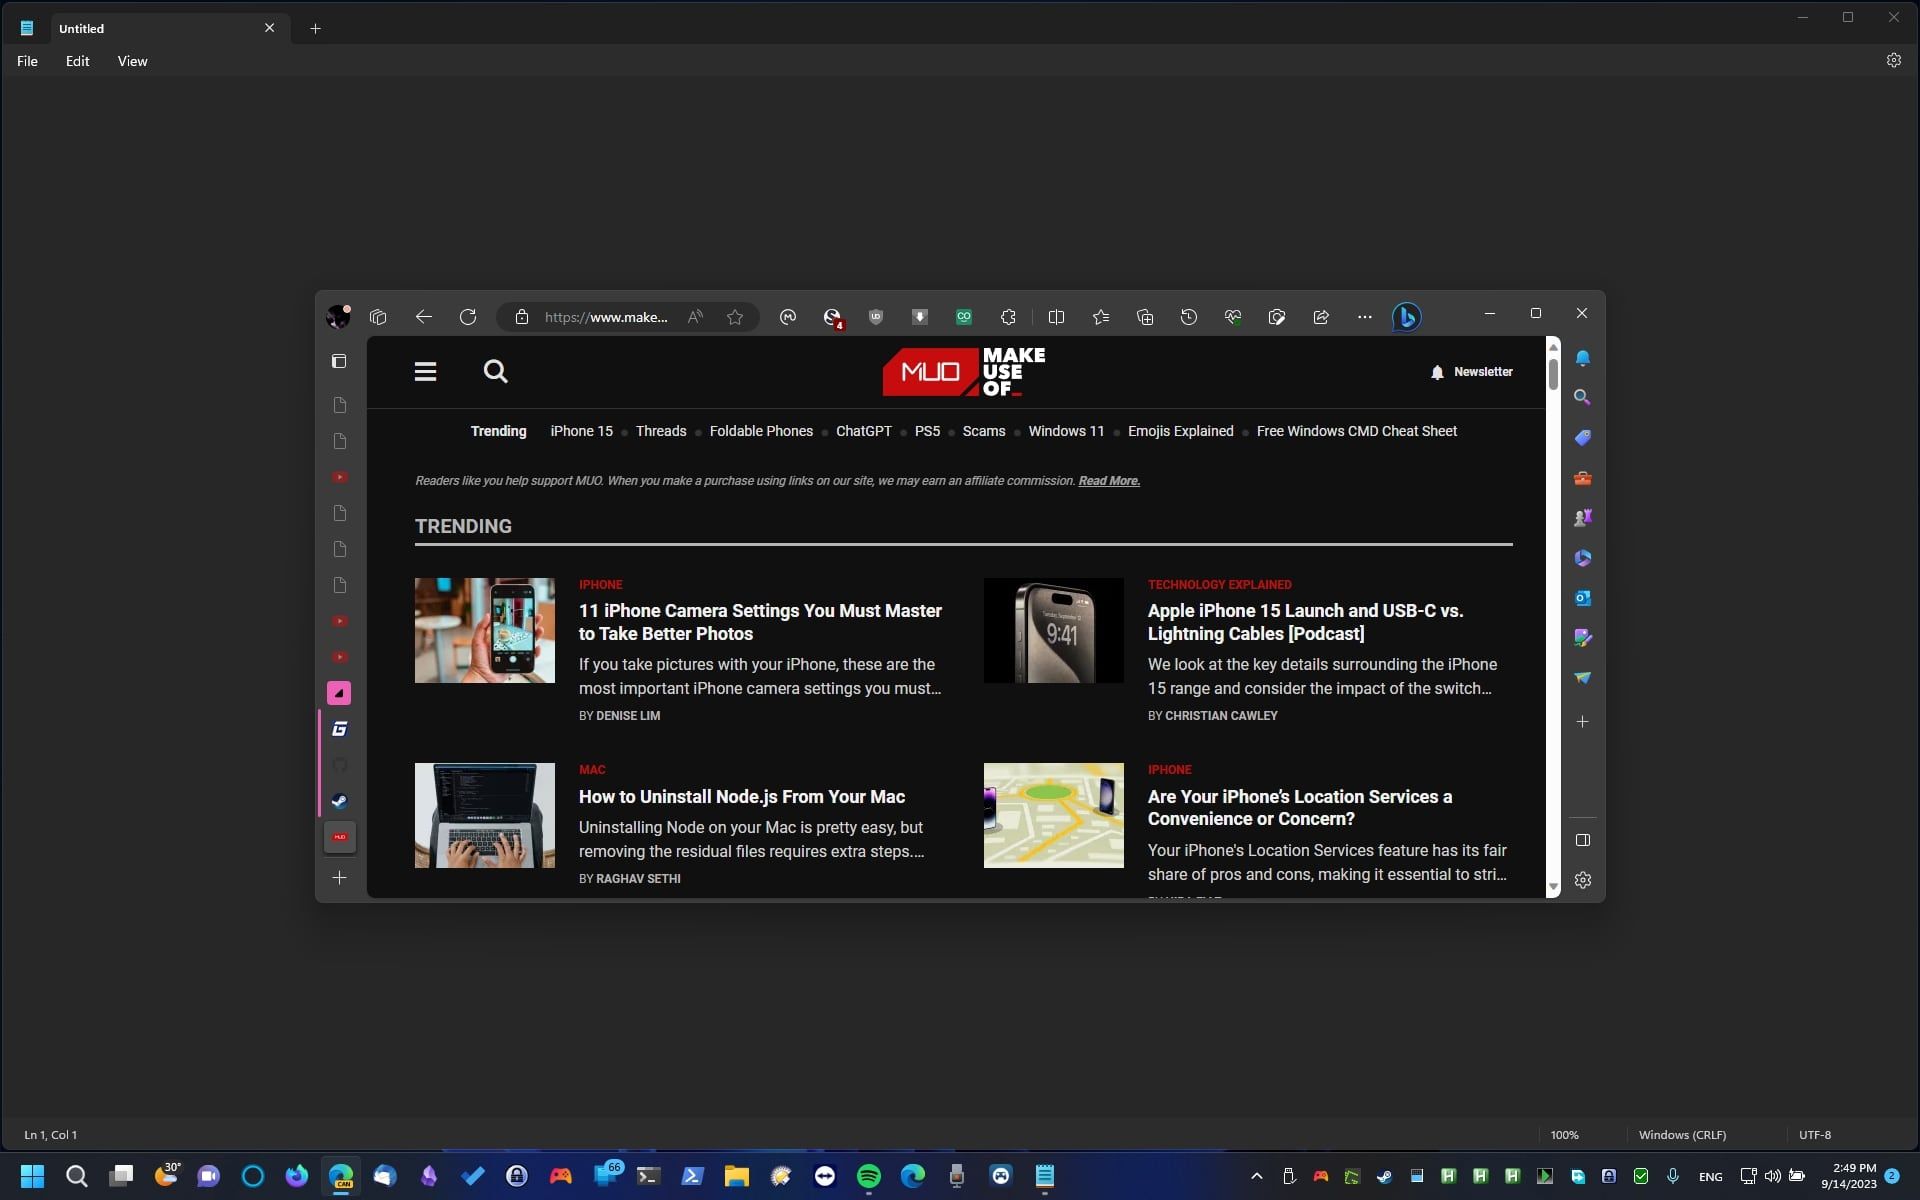
To remove a window from a tiled layout and have it freely float on your screen, use FancyWM’s activation hotkey followed by F.
How to Use FancyWM’s Mouse Controls
FancyWM also offers a mouse-friendly menu for managing your windows. To access it, move your mouse “over” any window managed by FancyWM and then back to its “title bar” area. You should see a floating menu appear.
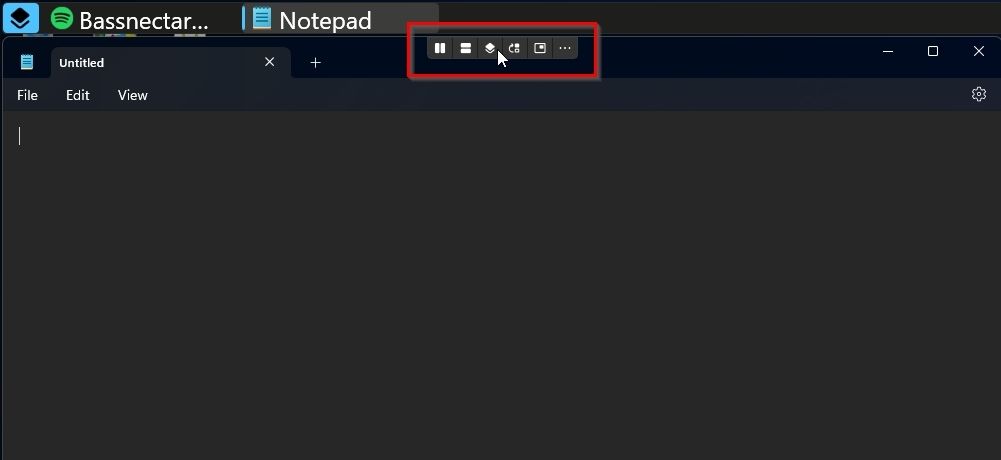
- By dragging one of the first three buttons on this menu to another window, both windows will be placed in a new vertical, horizontal, or stacked group.
- The fourth button moves the window a level up.
- The fifth button “pulls out” the window from the layout and makes it freely float.
- The three dots button gives access to two options for setting a window to always float, based on its process a) name, or b) class.
How to Customize FancyWM
It’s worth diving into FancyWM’s settings to customize it. For that, right-click its icon in the Windows tray and select Settings.
![]()
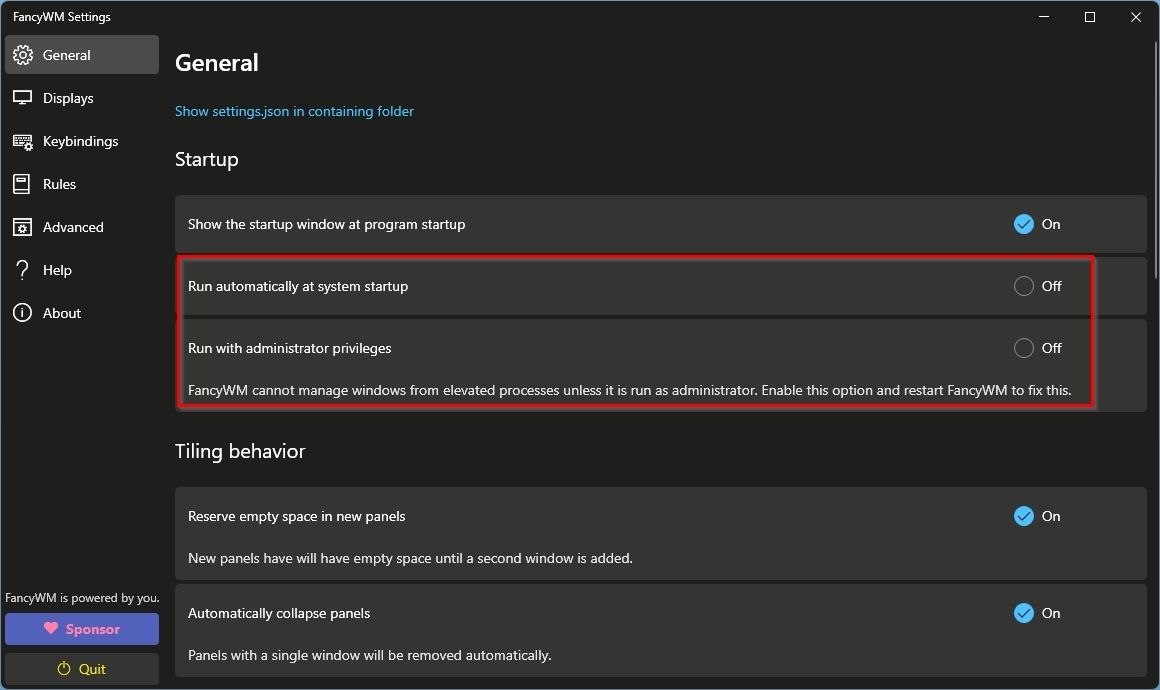
If you like how it upgrades window management and decide to keep using it, on the General page, under Startup, you can set FancyWM to Run automatically at system startup. Also, enable Run with administrator privileges if you want it to manage any windows with elevated privileges (otherwise, it won’t “have the rights” to do so).
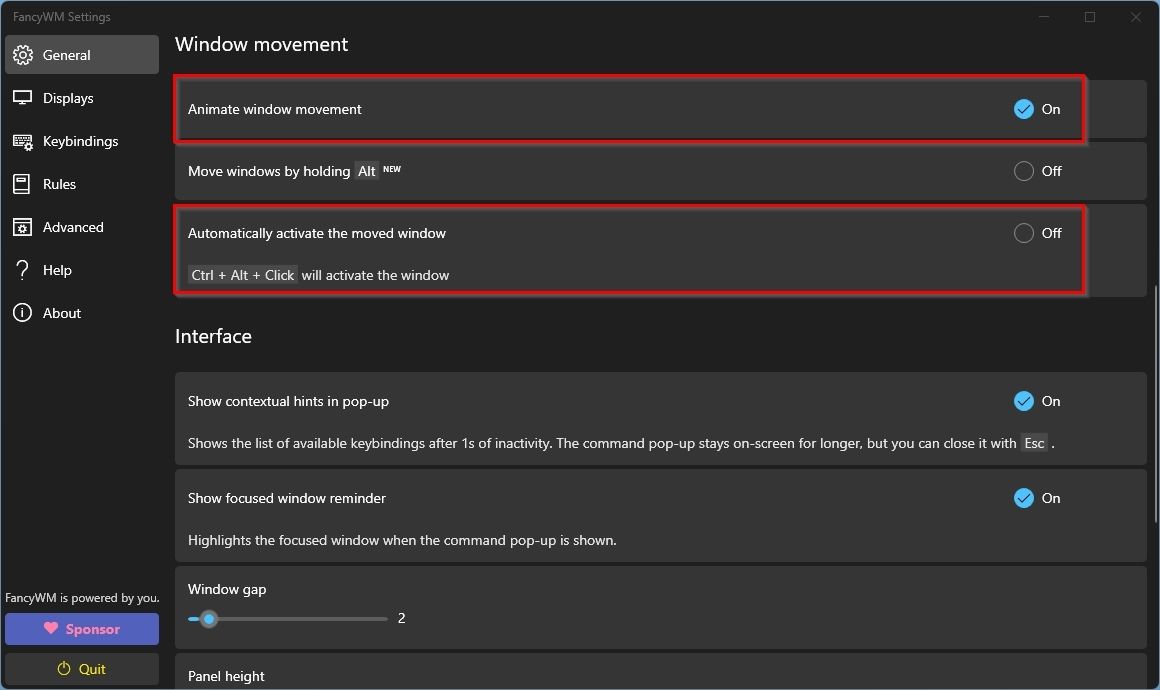
To make FancyWM feel zippier, especially on older or underpowered PCs, scroll down to the Window movement section and turn off Animate window movement. From the same spot, you can set FancyWM to Automatically activate the moved window.
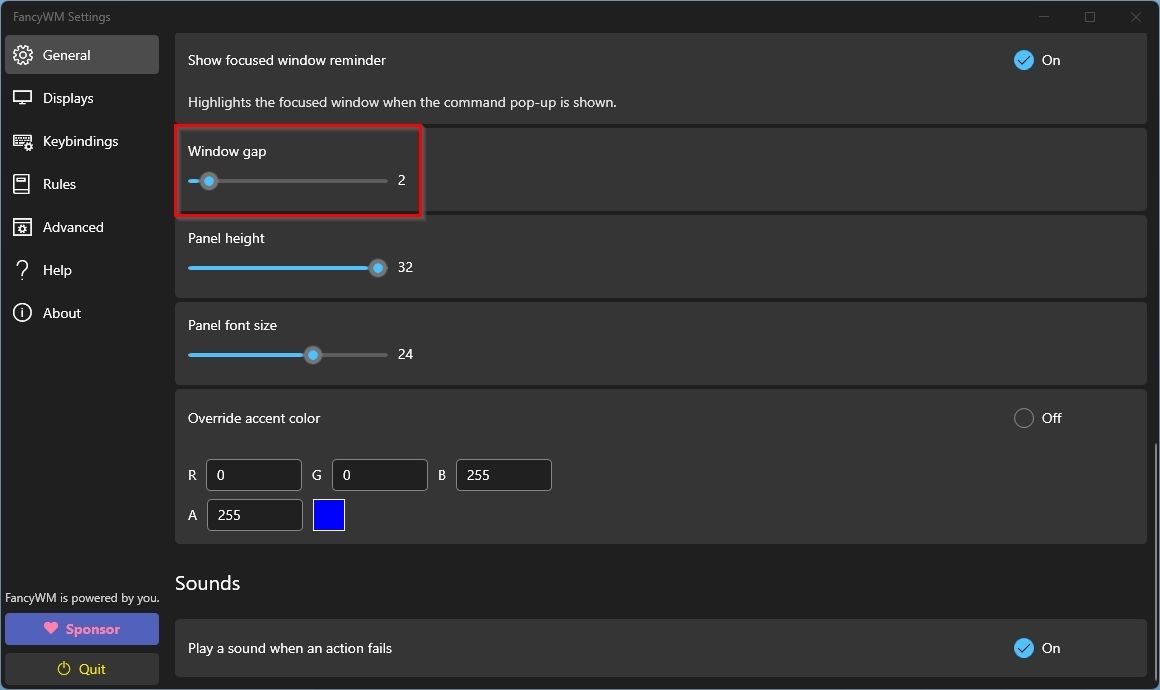
Would you like to increase or decrease the gap between tiled windows? Scroll down and, under Interface, adjust the Window gap value.
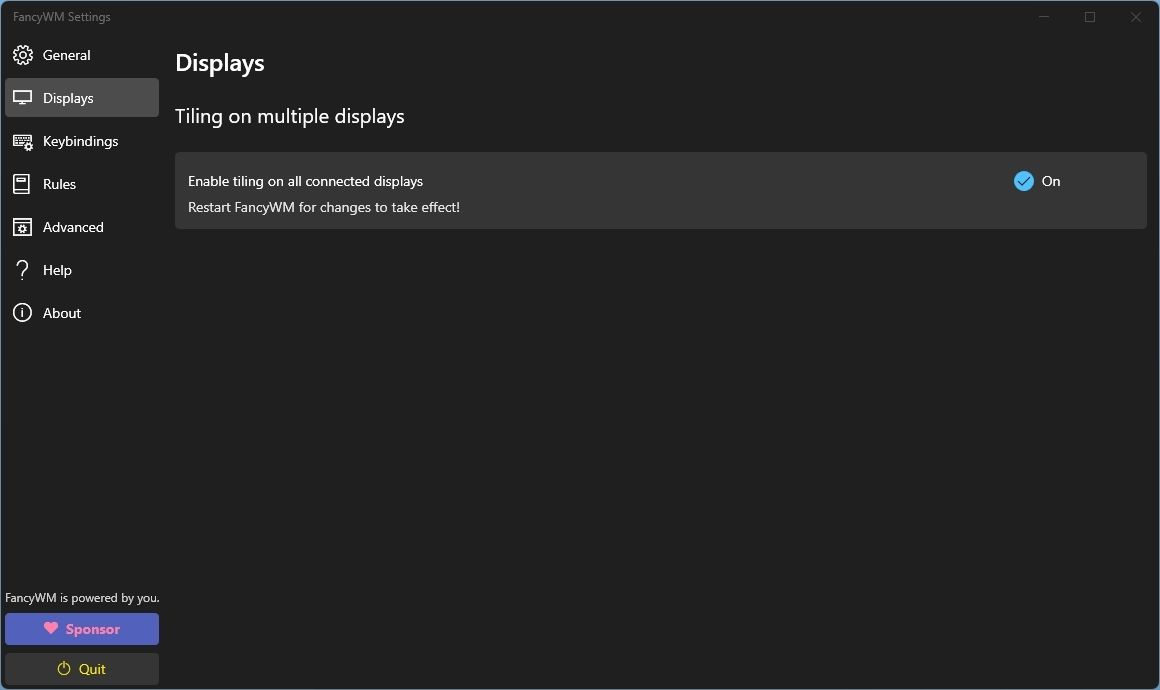
Are you using more than one monitor? You can choose from the Displays page if FancyWM should tile windows on all of them.
You don’t like FancyWM’s default shortcuts, or they clash with other software you’re using? Change them on the Keybindings page.
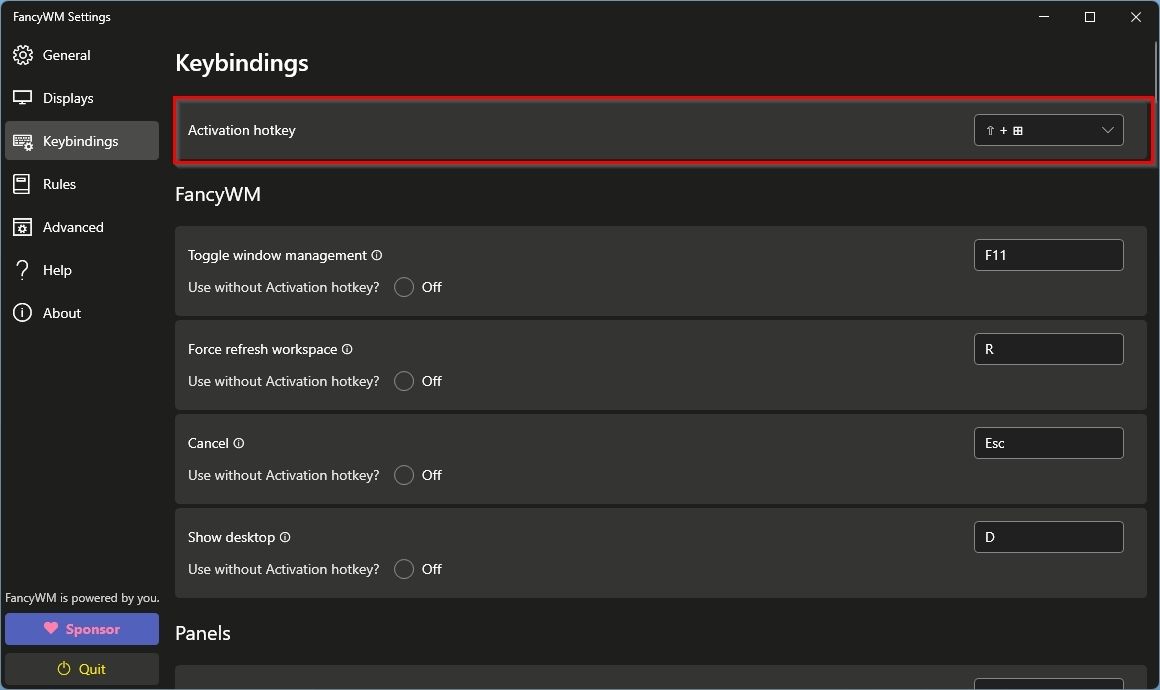
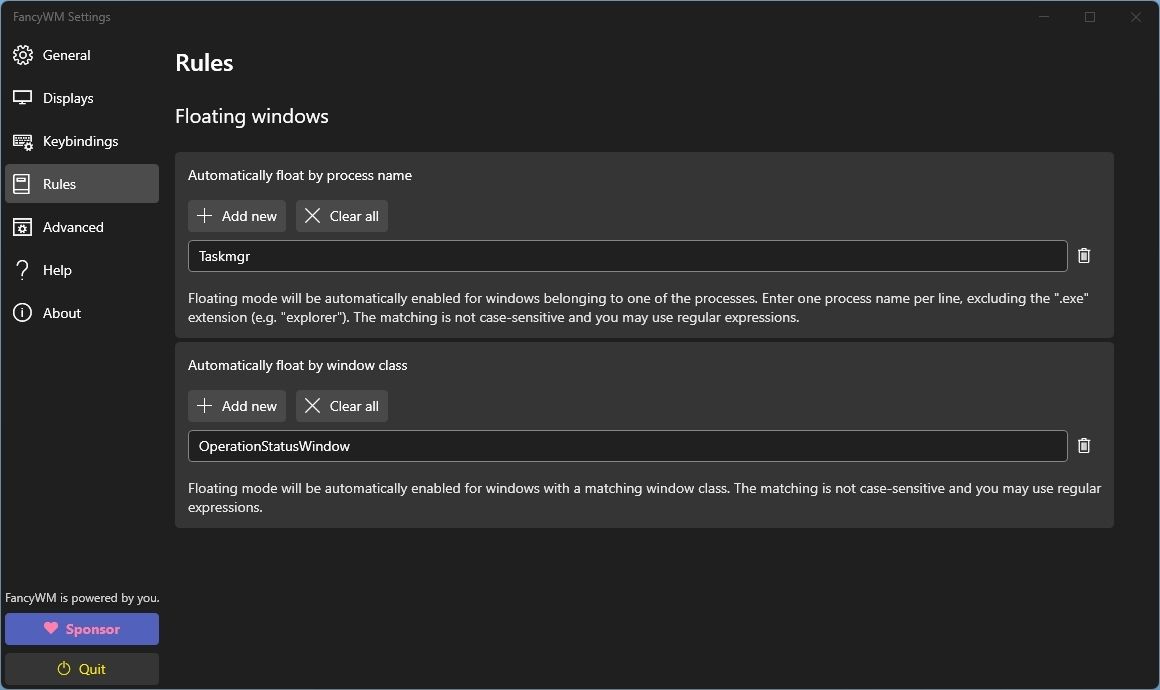
As its name implies, from the Rules page, you can “tell” FancyWM to skip managing particular windows and have them always float (until you manually “tile them”).
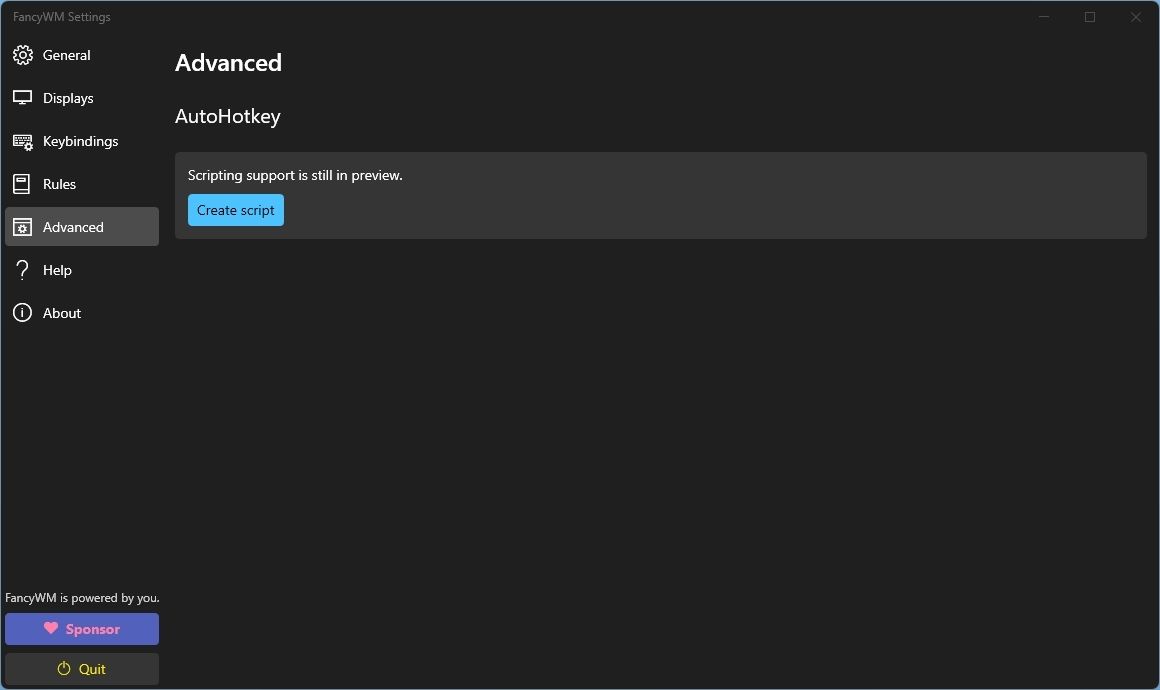
If you check out FancyWM’s Advanced Settings page, you’ll find AutoHotkey. This lets you create complex scripts for managing your windows.
If you’ve never heard of this tool before, you can use AutoHotkey to create app-specific hotkeys or even make your own note-taking or transcription apps .
The Power User’s Approach to Window Management
After you try FancyWM, you may feel like a supreme power user. Without taking your hands off your keyboard, by pressing three or four keys, you’ll be jumping between desktops and monitors while windows rearrange on your screens.
With FancyWM, you won’t have to constantly micro-manage all windows. You can eliminate window overlapping, and your wrists will thank you for not continuously moving your hand from your keyboard to your mouse to move windows around.
The “tiling” approach is regaining popularity in the world of Linux but, tools like FancyWM bring window tiling to Microsoft’s Windows. Here’s how it can help you keep your desktop clean and organized and, as a bonus, boost your productivity.
Also read:
- [New] 2024 Approved Premier Picks Expertly Reviewed Mac Video Capturers
- [New] Screen Streaming Showdown Who's the Champion, In 2024 OBS or ShadowGL?
- [New] Simplified Guide to Mobile Video Capture
- [Updated] 2024 Approved Snapshots Secured Techniques for Instagram's Close-Ups & Distances
- [Updated] Radiate on Reels Instagram Highlight Techniques, Simplified to Three
- [Updated] Swift Skillz Best High-Speed Games for Laptops/Mobile
- 「効果的にTARフォームの圧縮手順を追体系化してみませんか?」
- Disabling Instant Movie Making in QuickTime
- How To Address and Solve League of Legends Connection Delays
- Simple Sign-Up Process - Mastering User Registration
- Simple Steps: Making Your MP4 Videos Compatible with iPhones
- Simplifiziere Ihre Datensynchronisation Mit Dem Kostenlosen AOMEI Backupper Tool.
- Step-by-Step Guide: Transferring YouTube Music & Video Content Onto Your iPod Device
- Title: Upgrade for Agility: Dynamic Tiling Desktop on Windows
- Author: David
- Created at : 2024-11-05 18:16:47
- Updated at : 2024-11-07 16:43:21
- Link: https://win11.techidaily.com/upgrade-for-agility-dynamic-tiling-desktop-on-windows/
- License: This work is licensed under CC BY-NC-SA 4.0.