
Unleashing the Power of Java SDK on Windows 11
Unleashing the Power of Java SDK on Windows 11
Java is one of the most favored programming languages for back-end development (apart from JavaScript). Java is also a fairly popular choice for mobile and desktop development.
Therefore, it makes sense for anyone interested in programming—and the larger software development world in general—to get their hand dirty with Java. In this article, we’ll look at the exact method to install JDK, or the Java Development Environment, a software development environment necessary for running Java on your PC.
 Glarysoft File Recovery Pro Annually - Helps to recover your lost file/data, even permanently deleted data.
Run a Check for Java JDK on Your PC
Before we move to the installation, though, it’s useful to see if JDK is already present in your system. To do that, go to the Start menu search bar, type in ‘cmd,’ and select the Best match.
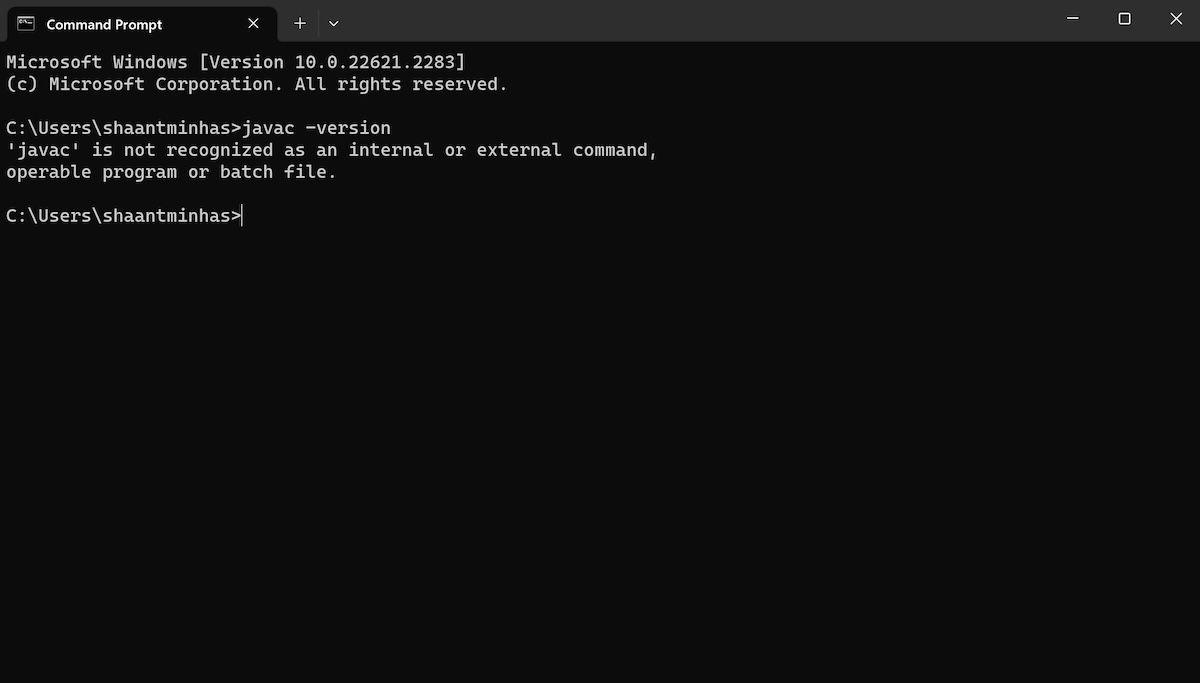
Once you have opened the Command prompt , type the following command and hit Enter:
javac -version
As soon as you do that the Command prompt will check your PC for JDK. If your Windows 11 doesn’t have the JDK installed, you should see something like this on your cmd screen:

Alternatively, you can also check for the JDK through the Control Panel as well. Here’s how:
- Head to Start menu search bar, type in ‘control panel’, and select the best match.
- Head to Programs and Features menu and see if you can find the JDK there.
If you cannot find the JDK section through either method, jump to the section below for the installation instructions.
Installing Java JDK in Windows 11
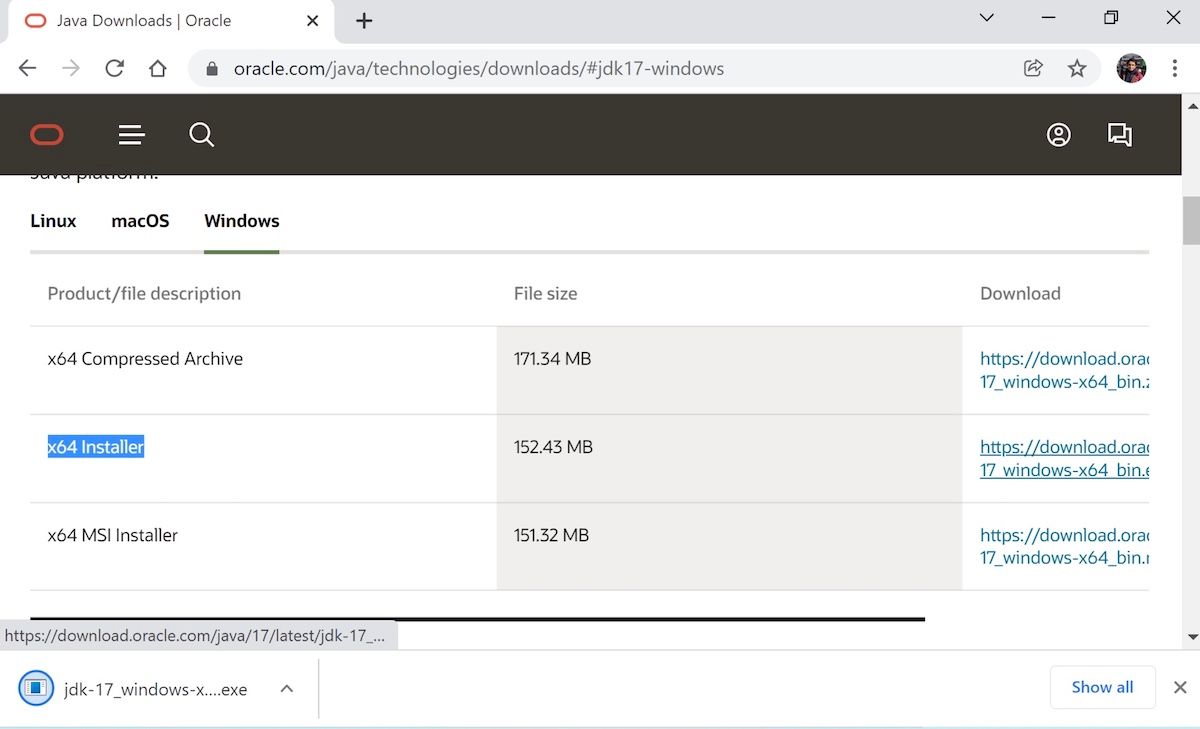
To install the JDK installer, we need to head to Oracle’s website first. Here’s how:
- Go to the Java Downloads section of the Oracle website, and download the x64 Installer from there.
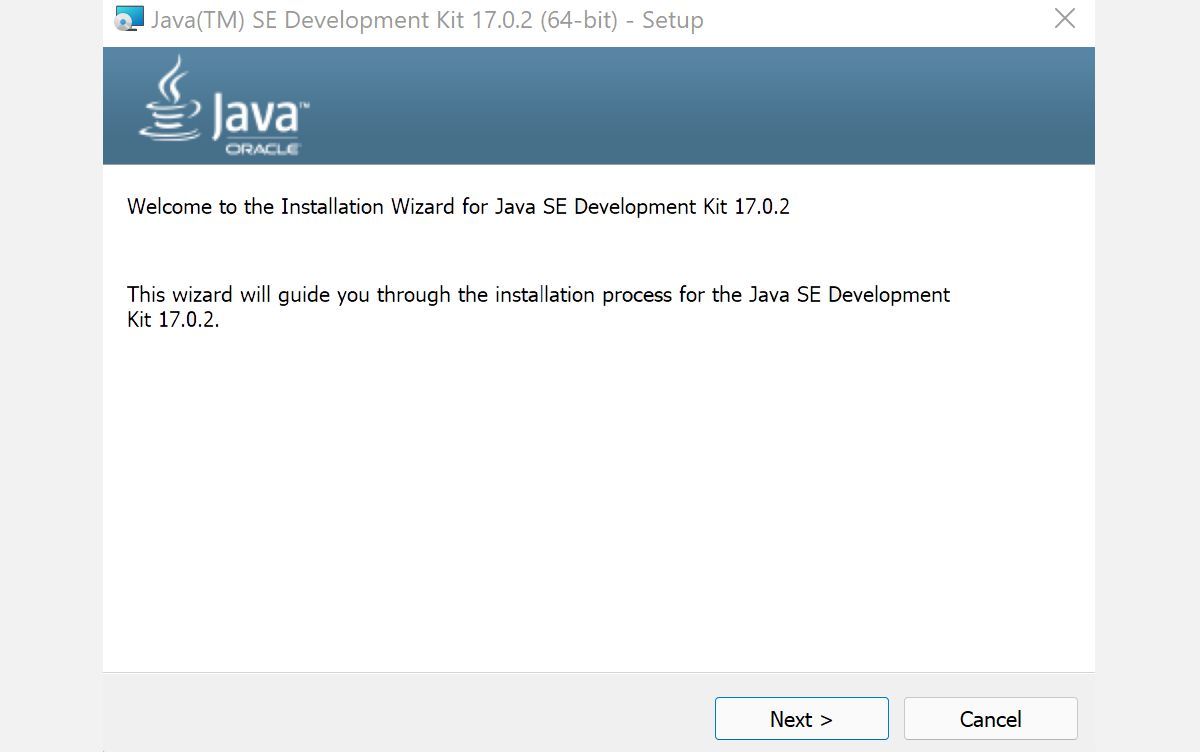
- As soon as the download completes, launch the installation file and click on Yes.
- The JDK installation wizard will be launched. In the dialog box, click on Next.
- On the next screen, you’ll be asked for the location of your file. Click on Next.
- Once the JDK installation is complete, click on Close.

By the end of this process the Java development kit will be successfully installed on your PC.

WPS Office Premium ( File Recovery, Photo Scanning, Convert PDF)–Yearly
Installing and Running Java in Windows 11
And that’s all, folks. Follow the steps above, and the Java environment will be successfully set up on your PC. Being one of the more popular programming languages out there, installing and learning Java is your first step in growing in this handy, object-oriented language.
Therefore, it makes sense for anyone interested in programming—and the larger software development world in general—to get their hand dirty with Java. In this article, we’ll look at the exact method to install JDK, or the Java Development Environment, a software development environment necessary for running Java on your PC.
- Title: Unleashing the Power of Java SDK on Windows 11
- Author: David
- Created at : 2024-07-29 15:45:53
- Updated at : 2024-07-30 15:45:53
- Link: https://win11.techidaily.com/unleashing-the-power-of-java-sdk-on-windows-11/
- License: This work is licensed under CC BY-NC-SA 4.0.