
The Essential Guide to File Sync in Multiple Windows Systems Using AOEMi
The Essential Guide to File Sync in Multiple Windows Systems Using AOEMi
Both Windows 10 and Windows 11 don’t provide much in the way of keeping your files and folders in sync across multiple devices. In today’s age, it’s not uncommon to have a laptop for when you’re attending meetings on the go or just feel like working out of a coffee shop, and a desktop for when you’re working at home.
If you couldn’t be bothered with all the hassle of routinely copying your files over a network or back and forth from a USB drive, there is, fortunately, software tailored to this exact need. Let us show you how incredibly simple it is to get AOMEI up and running and have your files and folders synced up in no time.
Downloading and Installing AOMEI Backupper
To get started, visit the AOMEI Backupper website , download the file and follow the prompts for installation. At this point, you can go ahead and select the 30-day free trial for the professional version as there’s no need to input any credit card information. Once installed, you will land on the AOMEI home screen UI.
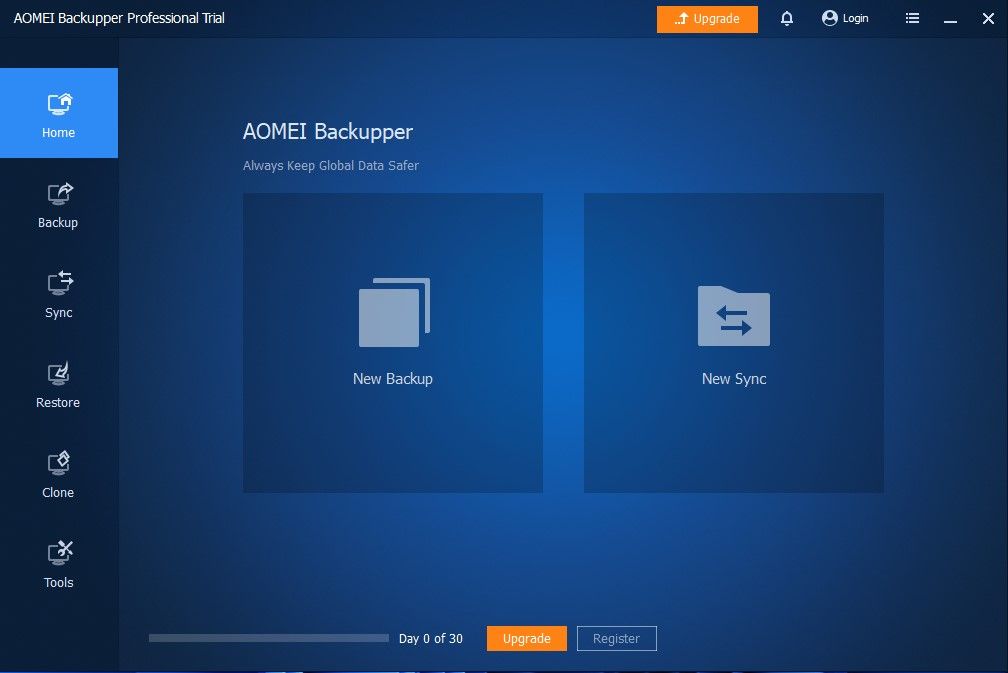
How to Set Up AOMEI Basic Sync
An AOMEI basic sync allows you to easily sync changed files from a given source directory to the destination directory.
To perform a basic sync:
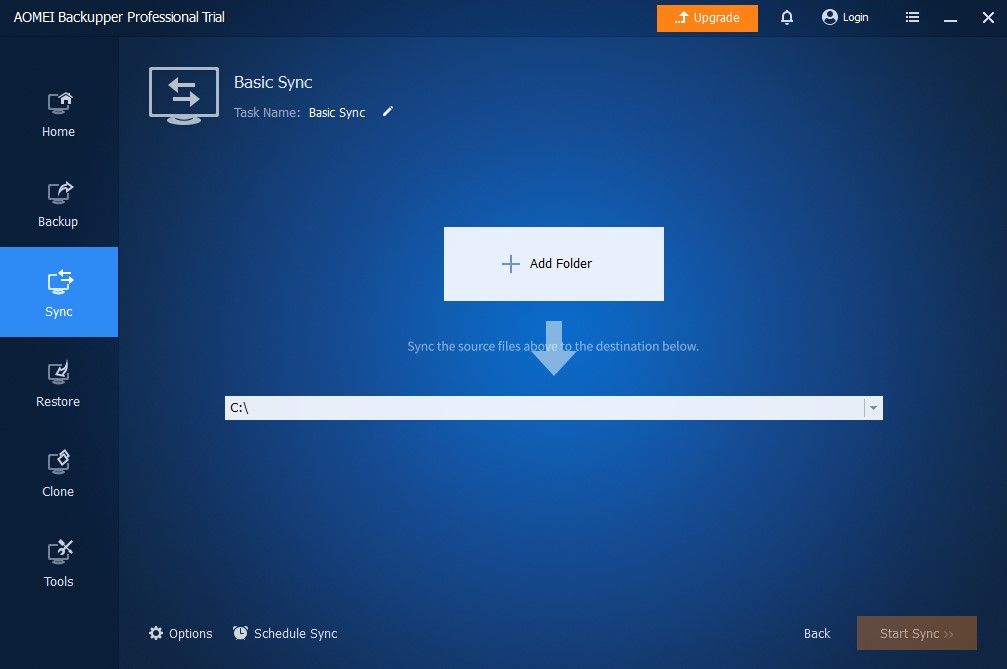
- Navigate to theSync tab from the left-hand side menu.
- SelectBasic Sync .
- Specify a source folder by clicking theAdd Folder button.

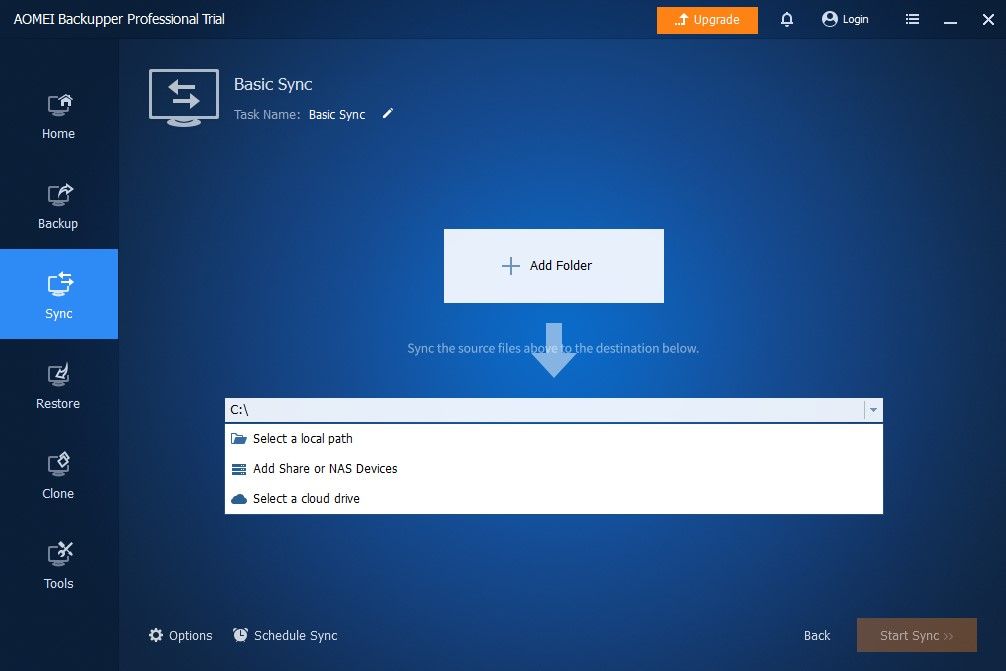
- Click the dropdown to specify either a local path, folder share or NAS device, or cloud drive as the destination.
-
OtsAV DJ Pro
For a separate Windows machine, clickAdd Share or NAS devices and input the IP address and folder path of the destination computer and click the blue button on the right. Input a username and password if you are prompted.
- You can also clickOptions to configure various settings for your backup such as email notifications, comments, pre- and post-backup scripts to be run as well as options to sync deletions between the source and destination directories.
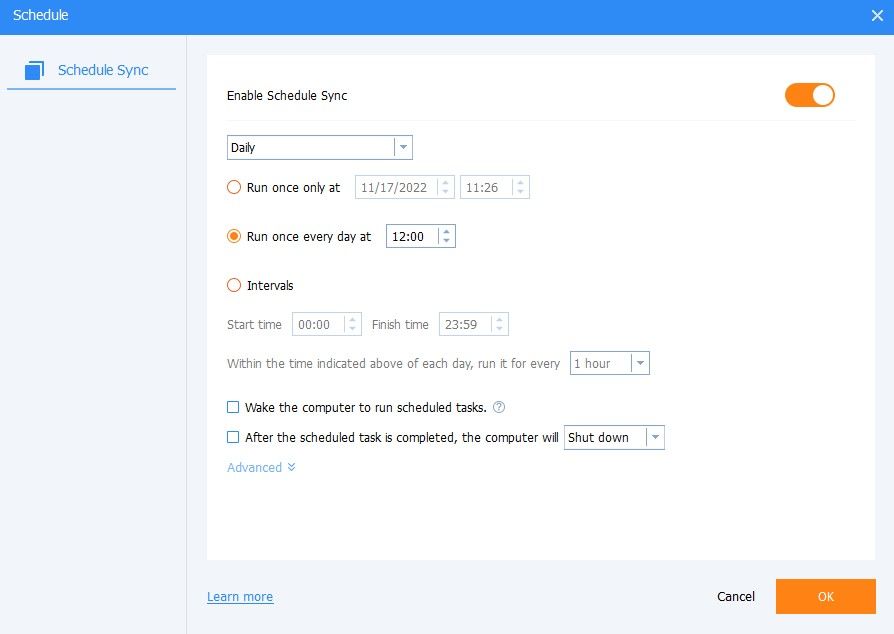
- You can click onSchedule Sync to set the backup as a scheduled task to be run whenever you desire.
- Finally, clickStart Sync .
 OtsAV DJ Pro
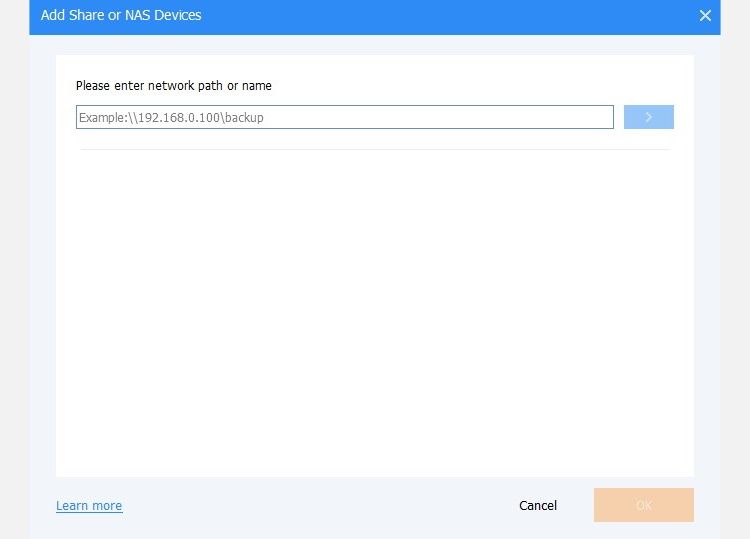
How to Set Up AOMEI Two-Way Sync
AOMEI two-way sync allows you to automatically sync any changes in either the source or the destination directories. This is sometimes referred to as a bidirectional data sync. This is the perfect solution if you are working independently between two computers and what to keep both of them synced at all times.
To go a step further and sync your OS, including all of your Windows settings, check out how to sync your settings for a smoother experience in Windows .
To perform a two-way sync:
- Navigate to theSync tab from the left-hand side menu.
- SelectTwo-Way Sync .
- Specify a source folder by clicking theAdd Folder button.
- Click the dropdown to specify either a local path, folder share or NAS device, or cloud drive as the destination.
- Once again, for a separate Windows machine, clickAdd Share or NAS devices and input the IP address and folder path of the destination computer and click the blue button on the right. Input a username and password if you are prompted.
- You have the same options as before to create a scheduled sync or set up email notifications, comments, or scripts.
- SelectStart Sync .
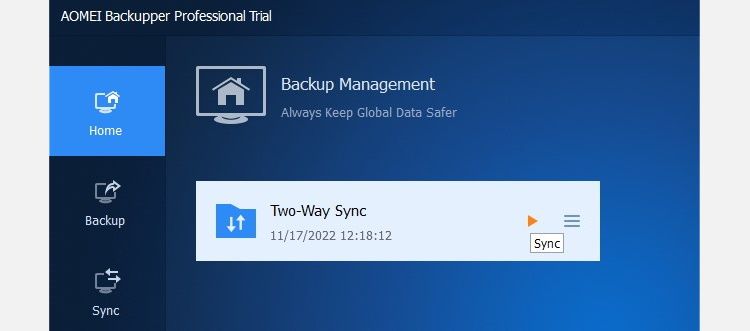
Now, whenever a new file gets added or deleted, your source and destination folders will automatically get synced whenever the sync operation is set to run. You can also run the sync manually if you like by hitting the play button on your sync under the Home tab.
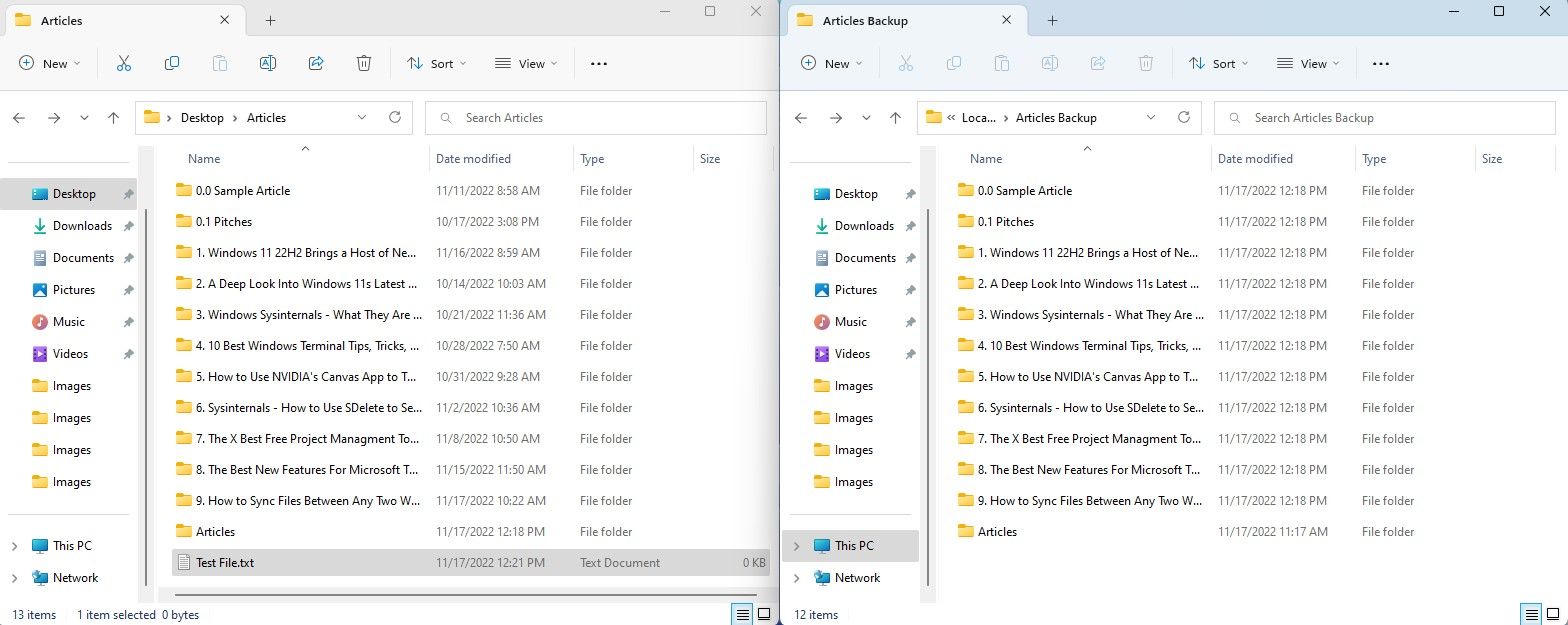
To test this out, let’s put the source and destination side by side and create a new file in the source directory.

Then let’s manually run the sync operation.
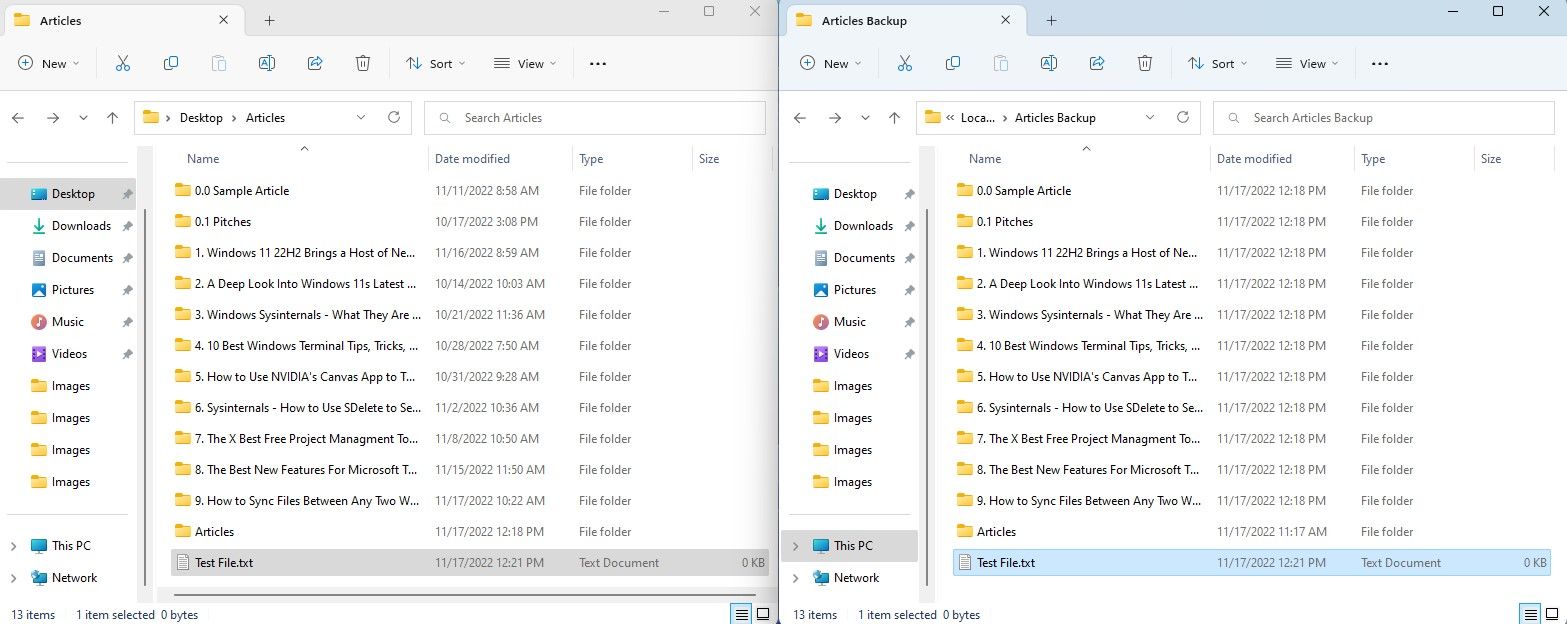
Within a few seconds, our file appears in the destination folder.

How to Set Up AOMEI Real-Time Sync
For true real-time sync between the source and destination folders, you can enable AOMEI real-time sync. It’s worth noting that this option isn’t the most performant because it constantly has to poll the source folder to detect changes.
Unfortunately, the real-time sync is not a two-way sync, so you will only be keeping your destination folder in sync with the source folder. Regardless, to perform a real-time sync:
- Navigate to theSync tab from the left-hand side menu.
- SelectReal-Time Sync .
- Specify a source folder by clicking theAdd Folder button.
- Click the dropdown to specify either a local path, folder share or NAS device, or cloud drive as the destination.
- Once again, for a separate Windows machine, clickAdd Share or NAS devices and input the IP address and folder path of the destination computer and click the blue button on the right. Input a username and password if you are prompted.
- You have the same options as before to create a scheduled sync or set up email notifications, comments, or scripts.
- SelectStart Sync .
Now, whenever changes are detected in the source directory they will carry over to the destination folder almost instantly. Note the time stamps of the New Bitmap Images in our test below. It’s probably also worth mentioning at this point, that if you are constantly dealing with very large files, due to the nature of real-time sync, it may not be the optimal solution. You would probably be better off sticking with a basic sync or two-way sync instead.
AOMEI Has Your Sync Solutions Sorted
AOMEI is quite the comprehensive package for your data sync needs. In just a few simple steps we were able to set up a “set and forget” data sync between either your local backup, NAS, or other dedicated Windows PC. What’s more, AOMEI offers up more than just data sync out of the box. It also has options for backup, cloning, restoring, and recovery, making it a great tool to have on-hand on Windows.
- Title: The Essential Guide to File Sync in Multiple Windows Systems Using AOEMi
- Author: David
- Created at : 2024-08-16 00:28:47
- Updated at : 2024-08-17 00:28:47
- Link: https://win11.techidaily.com/the-essential-guide-to-file-sync-in-multiple-windows-systems-using-aoemi/
- License: This work is licensed under CC BY-NC-SA 4.0.