Streamlining DNS Processes on Windows 11

Streamlining DNS Processes on Windows 11
Facing internet connectivity issues on your Windows PC? DNS cache corruption is among the most common reasons for connectivity problems. The quickest fix for this problem is to flush the DNS cache and force the computer to recreate it.
But do you know that there are multiple ways to flush the DNS cache on Windows 11? We will elaborate on the benefits of clearing the DNS cache along with the multiple methods which you can use on your Windows 11 PC. Without further ado, let’s dive into the post.
Disclaimer: This post includes affiliate links
If you click on a link and make a purchase, I may receive a commission at no extra cost to you.
What Is the DNS Cache and Why Should You Flush It?
When you access a website, you usually do so by typing its URL in a browser. However, computers don’t “understand” URLs, and each URL has a corresponding IP address that a computer can actually use. When you search for a website, your computer accesses a DNS server that contains records of URLs and their corresponding IP addresses.
This process is known as DNS lookup, but it is time-consuming to search for an IP address every time, especially for websites that you visit repeatedly. So, the computer maintains a local copy of the DNS known as the DNS resolver cache. When you search for a URL, it checks the resolver cache first and then uses that information to find the website.
The DNS resolver cache can become outdated or corrupt over time which can pose connectivity issues. There is also a looming risk ofDNS cache poisoning , which is why you should make it a habit to clean the DNS cache periodically.
How to Flush the DNS Cache on Windows 11
There are multiple methods to flush the DNS cache on Windows 11. You can use the Run command box, Command Prompt, or even PowerShell. In addition, you can use a batch file to clear the DNS cache in a few clicks, any time you want. Here are the four ways to clear DNS on Windows 11:
1. Using the Run Command Box
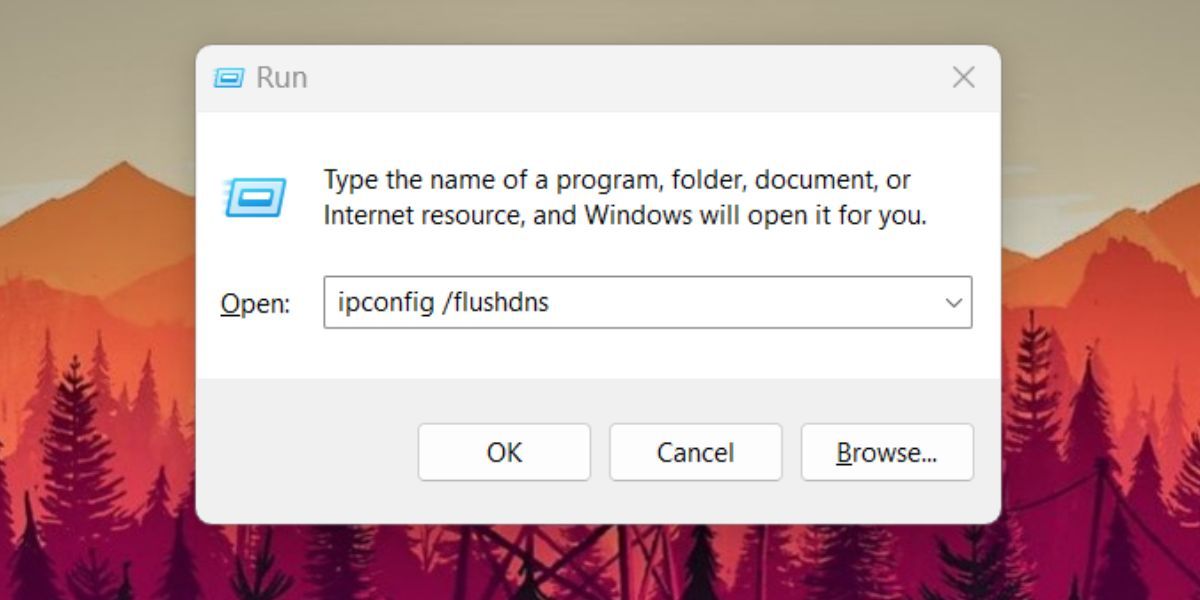
To flush the DNS cache using the Run command box, do as follows:
- PressWin + R tolaunch the Run command box .
- Type “ipconfig /flushdns ” command.

- PressCtrl + Shift + Enter keys at once. The Command Prompt will launch, execute the flush command, and close automatically.
2. Using CMD
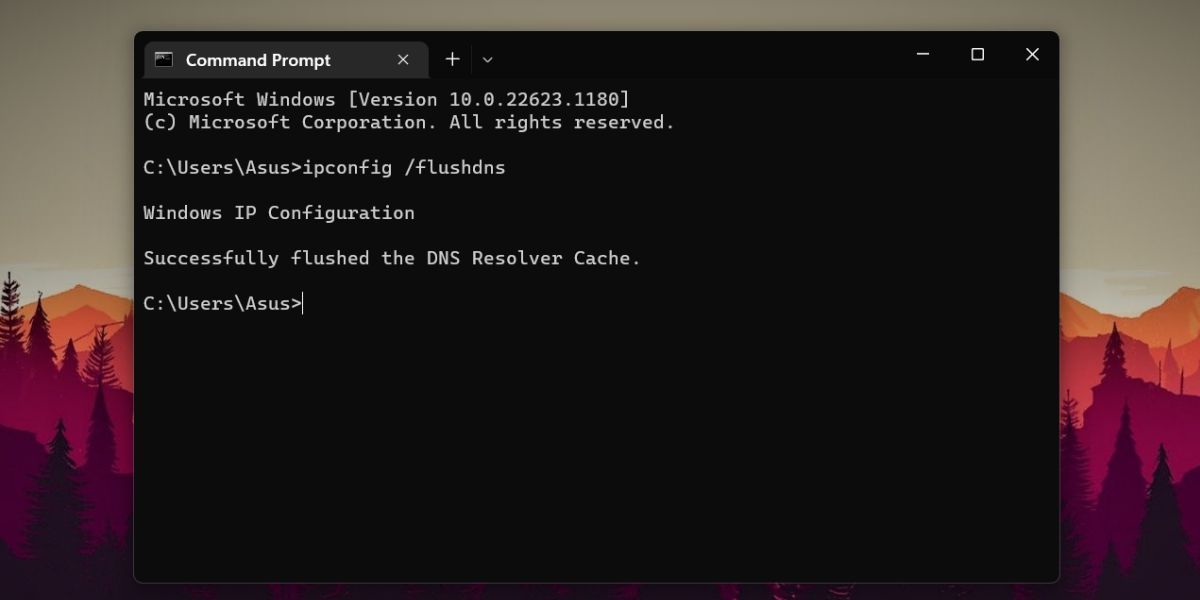
To clear the DNS resolver cache using CMD, repeat the following steps:
- PressWin + R to open the run dialog box. Typecmd and pressCtrl + Shift + Enter keys at once.
- CMD will open with admin privileges.
- Type “ipconfig /flushdns ” command and press theEnter key.

- You will see a “Successfully flushed the DNS Resolver Cache. ” message after the command execution.
3. Using PowerShell
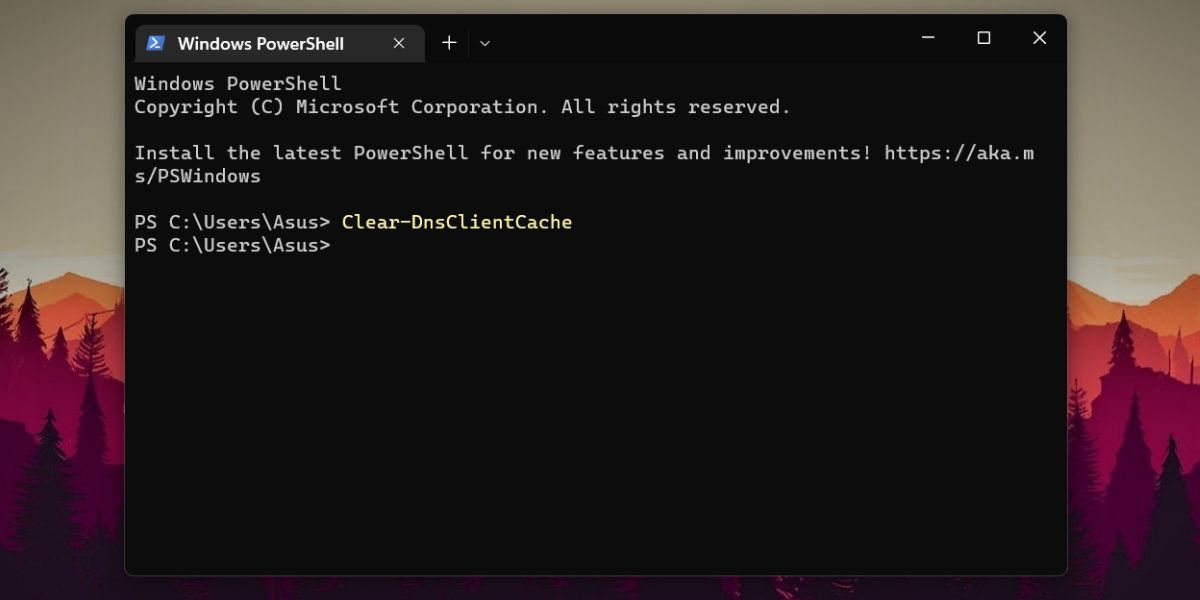
PowerShell has a different command to flush the DNS cache on Windows 11. Here’s how to do it:
- PressWin + S and typePowerShell . Click on theRun as administrator option in the Start menu.
- Now, type “Clear-DnsClientCache ” in the PowerShell window and press theEnter key.

- You won’t see a message after the command executes successfully. But you can open PowerShell again and view the DNS cache to confirm.
4. Using a Batch File
Opening an app is a slightly time-consuming process. You can save time by creating a batch file once and then running it whenever you need to flush DNS. No need to open the CMD or PowerShell app.
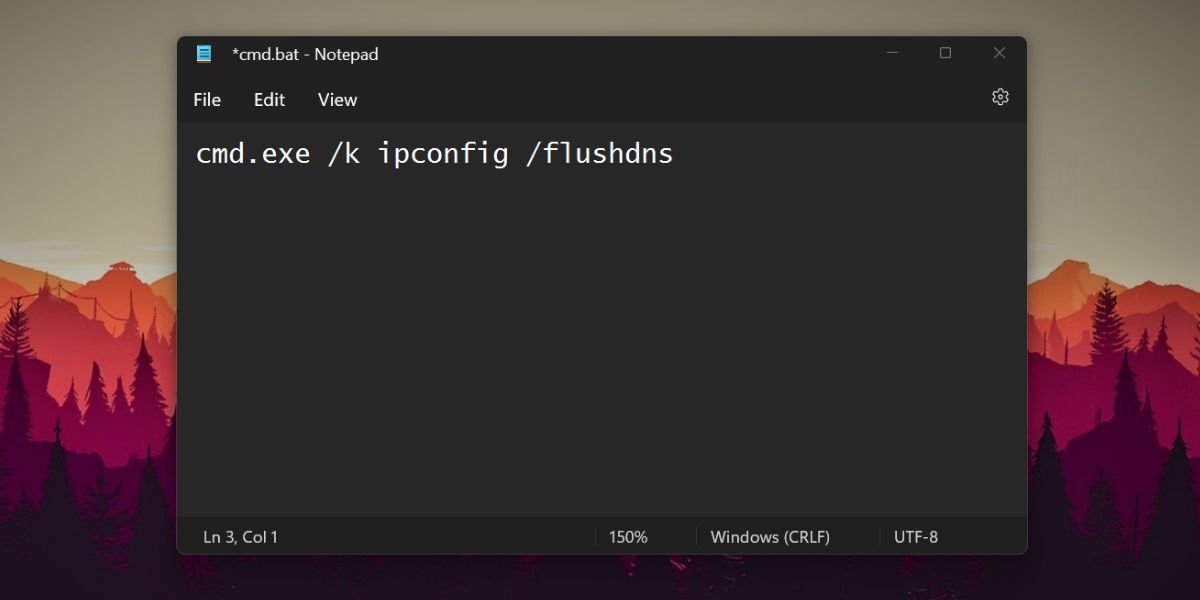
Repeat the following steps to create a DNS-clearing batch file:
- PressWin + S to open Windows Search. TypeNotepad and click on the first search result.
- Type the following command in Notepad:cmd.exe /k ipconfig /flushdns

- PressCtrl + S to save the file. Enter the name “flushDNS.bat ” and keep theSave as type asAll Files .
- Click on theSave button.
- Now go to the batch file location and double-click on it.
- The Command Prompt will launch and execute the “/ flushdns” command.
- Typeexit and press theEnter key to close the command prompt window.
How to Flush Your Browser’s DNS Records
Do you know that browsers maintain a DNS cache as well? If you face connectivity issues, you should clear the browser’s DNS cache and force the browser to rebuild the cache.
Repeat the following steps to clear Chrome browser’s DNS cache:
- Launch the Chrome browser and pressCtrl + T to open a new tab.
- Now, type “chrome://net-internals/#dns ” in the search bar and press theEnter key.
- Navigate to theHost resolver cache section. Click on theClear host cache button to clear cached DNS records in the Chrome browser.
The process to clear a browser’s DNS cache may differ with other browsers like Safari, Opera, and Mozilla. You will have to locate the DNS settings and then wipe out the DNS cache.
Keep Your DNS Cache Clean on Windows
Flushing the system’s DNS cache periodically can reduce the risk of DNS spoofing and website connectivity issues. The simplest method is to use the ipconfig utility with appropriate parameters to flush the DNS cache. Alternatively, you can use the PowerShell method or create a batch file for the same.
Also read:
- [Updated] 2024 Approved Low-Fee Android Communication Options, 10 Best
- [Updated] In 2024, The Dynamics Behind T-Series' Profit on YouTube
- [Updated] Unveiling the Secrets of Crafting Perfect Audio for Videos
- 9 Best Phone Monitoring Apps for Poco X5 Pro | Dr.fone
- Elevating Your Batch Scripts: Creating Windows EXEs
- In 2024, Cutting-Edge Editing Solutions Just for Vimeo
- In 2024, How PGSharp Save You from Ban While Spoofing Pokemon Go On Xiaomi Redmi K70? | Dr.fone
- In 2024, ZoomInnovateX7 Advanced Imagery Enlargement
- Restoring Natural Windows File Sorting Settings
- Revolutionizing Device Interaction with Windows & Galaxy
- Shrouded Functionality: Unveiling Hidden Context Menus in Win11
- Streamline Activities: Gain More in Less Time With Flow Launcher
- Unveiling the Technique to Effortlessly Install Win11 with Workstation 17
- WIN10 Troubleshooting: Make Functions Work Again!
- Title: Streamlining DNS Processes on Windows 11
- Author: David
- Created at : 2024-09-27 19:47:58
- Updated at : 2024-09-28 22:32:38
- Link: https://win11.techidaily.com/streamlining-dns-processes-on-windows-11/
- License: This work is licensed under CC BY-NC-SA 4.0.
