Reviving Your PC's Wi-Fi Woes - Six Effective Steps From Fixing Adapter Failure
Reviving Your PC’s Wi-Fi Woes - Six Effective Steps From Fixing Adapter Failure
A network adapter is a vital component on your Windows PC that allows you to connect to the internet using both wired and wireless connections. If it stops working for any reason, it can disrupt your ability to use the internet or connect to other devices on your network.
If you are experiencing the same issue, don’t worry. This guide contains some useful troubleshooting tips that should get the network adapter working on your Windows 10 or 11 PC.

WPS Office Premium ( File Recovery, Photo Scanning, Convert PDF)–Yearly
1. Check the Network Adapter Status
Device Manager on Windows makes it easy to view, manage, and update various hardware devices connected to your system. You can use it to examine the status of your network adapter and check if it is encountering any particular errors.
Here’s how you can go about checking the status of your network adapter on Windows.
- Right-click the Start icon or use the Win + X keyboard shortcut to open the Power User menu.
- Select Device Manager from the list.
- Expand Network adapters.
- Right-click on your network adapter and select Properties.
- Select the General tab.
- Check the message under Device status.

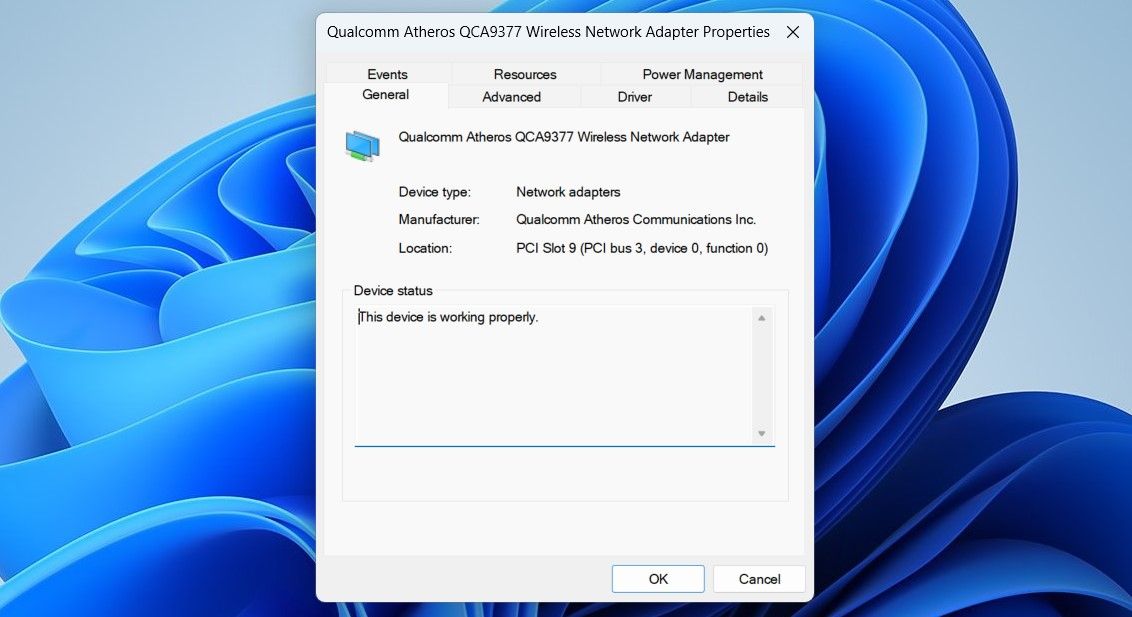
If you see an error under Device status, write it down and then look for solutions to fix that particular error first.
Is the network adapter entry missing from the Device Manager? If so, you can ask Windows to scan your system’s hardware again. To do so, click the Action menu in the Device Manager window and select Scan for hardware changes.
Wait for the Device Manager window to detect the network adapter, and then check its status using the steps mentioned above.
2. Run the Network Adapter Troubleshooter
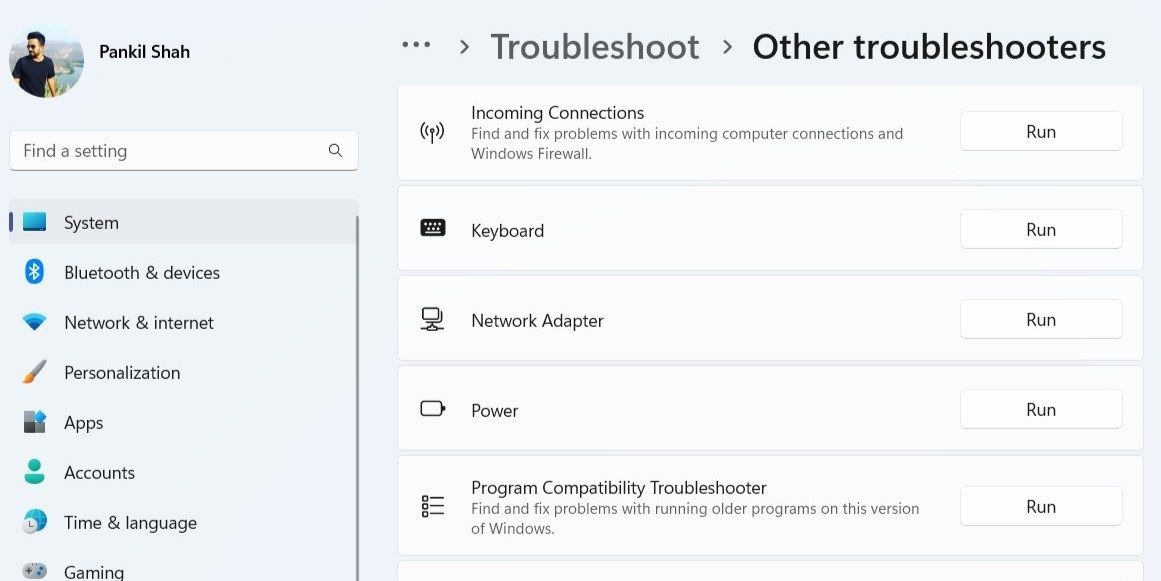
Your Windows computer comes equipped with a variety of troubleshooters designed to automatically identify and resolve issues. In this case, you can run the Network Adapter troubleshooter to scan your system for any irregularities and fix them.
To run the network adapter troubleshooter, use these steps:
- Press Win + I to open the Settings app.
- In the System tab, click on Troubleshoot.
- Select Other troubleshooters.
- Click the Run button next to the Network Adapter.
Wait for the troubleshooter to scan your PC and fix any problems. After that, check if the network adapter works fine.
3. Disable and Re-enable the Network Adapter
This may seem too simple, but disabling and re-enabling the network adapter can help. If it’s just a temporary glitch that’s causing the network adapter to malfunction, this should do the trick.
To disable and re-enable the network adapter on Windows, use these steps:
- Press Win + S to open the search menu.
- Type device manager in the box and select the first result that appears.
- Expand Network adapters.
- Right-click on your network adapter and select Disable device.
- Select Yes when the confirmation prompt appears.
- Right-click on the network adapter again and select Enable device.
Forex Robotron Gold Package
 Forex Robotron Gold Package
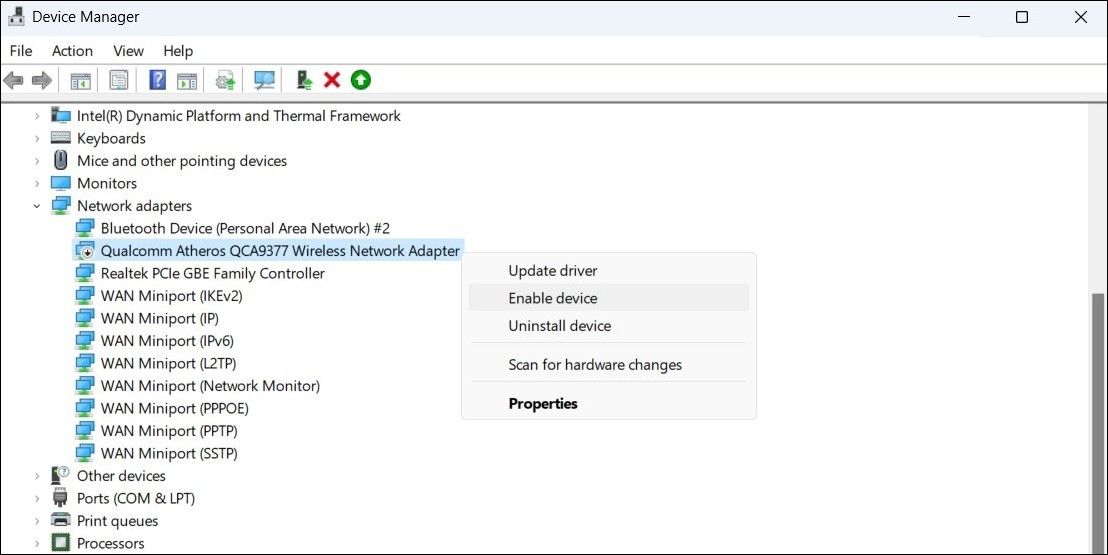
The Device Manager window will refresh and your network adapter should start working after that.

4. Update or Reinstall the Network Adapter Driver
The network adapter driver installed on your computer facilitates communication between Windows and your network hardware. If this driver is outdated or malfunctioning, Windows may have difficulty establishing network connections. You can try updating the network adapter driver to see if that gets things moving again.
Follow these steps to update the network adapter driver on Windows.
- Press Win + R to open the Run dialog box.
- Type devmgmt.msc in the text box and press Enter to open the Device Manager.
- Expand Network adapters.
- Right-click on the problematic device and select Update driver.
- Select the Search automatically for drivers option.
- Click on Search for updated drivers on Windows Update.
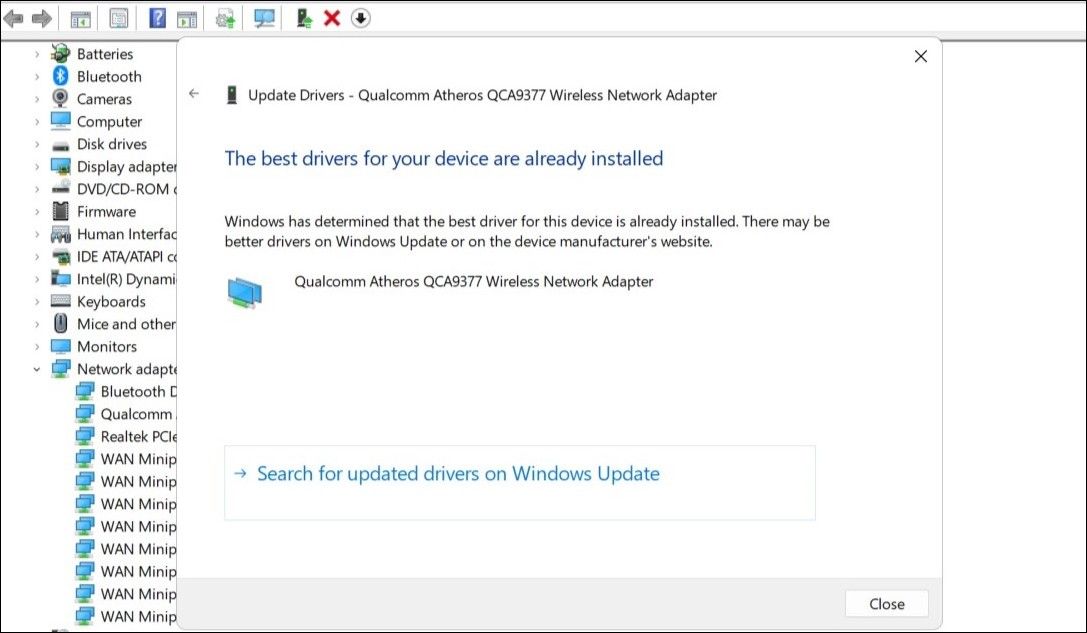
Windows will now check if any updates are available for your drivers and download them.
If the problem persists even after updating the network adapter driver, it is likely that the driver is corrupted. In that case, you will need to uninstall the driver from your PC.
If you need help with that, check out how to uninstall drivers in Windows . After removing the driver, restart your PC, and Windows will automatically reinstall the missing driver during boot.
5. Reset the Winsock Catalog
Winsock (short for Windows Sockets) is a programming interface that allows your apps and programs to communicate with network protocols and services. If there’s an issue with this program, you could experience various network-related problems, including the one discussed here.
You can try resetting the Winsock data on your PC to see if that restores normalcy. To do so, use these steps:
- Press Win + S to open the search menu.
- Type Windows PowerShell in the text box and select Run as administrator.
- Select Yes when the User Account Control (UAC) prompt appears.
- Type the following command in the console and press Enter.
netsh winsock resetJutoh Plus - Jutoh is an ebook creator for Epub, Kindle and more. It’s fast, runs on Windows, Mac, and Linux, comes with a cover design editor, and allows book variations to be created with alternate text, style sheets and cover designs. Jutoh Plus adds scripting so you can automate ebook import and creation operations. It also allows customisation of ebook HTML via templates and source code documents; and you can create Windows CHM and wxWidgets HTB help files.

Restart your PC after running the above command to complete the reset process. After that, the network adapter should work as before on your Windows computer.
6. Try Generic Fixes
If you are here, it’s safe to assume that none of the above tips have helped. In that case, you can try some generic fixes to see if they work.
- Install Windows Updates: A buggy or outdated Windows build could cause the network adapter to stop working on your PC. Try installing any pending Windows updates and see if that fixes the issue.
- Turn Off VPN: At times, using a VPN connection can contribute to such network-related issues. Try disabling your VPN temporarily and see if that solves the problem.
- Reset Network Settings: Another thing you can do to fix this particular issue is reset the network settings on Windows . Doing so will restore all network settings on your PC to their original default configurations, effectively resolving any present issues.
- Perform a System Restore: Recent modifications to your system might be responsible for the network adapter malfunction. If that’s the case, you can use system restore to revert Windows to its earlier state and undo any bad changes.

Get the Network Adapter Working on Your Windows Computer
Without a clear indication of what’s wrong, troubleshooting your network adapter can be tricky. However, following the solutions listed above should make the process a little easier.
Once the network adapter starts working again, consider making some minor tweaks to improve your PC’s internet connection speed.
If you are experiencing the same issue, don’t worry. This guide contains some useful troubleshooting tips that should get the network adapter working on your Windows 10 or 11 PC.
- Title: Reviving Your PC's Wi-Fi Woes - Six Effective Steps From Fixing Adapter Failure
- Author: David
- Created at : 2024-07-29 15:44:58
- Updated at : 2024-07-30 15:44:58
- Link: https://win11.techidaily.com/reviving-your-pcs-wi-fi-woes-six-effective-steps-from-fixing-adapter-failure/
- License: This work is licensed under CC BY-NC-SA 4.0.