
Precision Note-Taking: Adopting Obsidian' Written Canvas
Precision Note-Taking: Adopting Obsidian’ Written Canvas
One of Obsidian’s newest features, Canvas, allows you to organize your notes visually on an ever-expanding board.
Thanks to Canvas, you can easily place and re-arrange your notes on a page as if they were post-its, move them around, and tweak their appearance. However, as it’s still a part of Obsidian, you can keep using all of the app’s superpowers by having your notes interlinked, marked with tags, and organized into folders.
Let’s see how you can use Obsidian’s Canvas to make sense of your notes and boost your productivity visually.
Mind-Mapping With Obsidian Canvas
Obsidian’s Canvas offers you “the platform” to organize visually however you wish. We realize this sounds vague, so let’s start with a practical example: using Obsidian’s Canvas for mind mapping.

How to Set Up Your Obsidian Canvas
Before we do any kind of mind mapping, we have to set everything up so it’s ready to go.
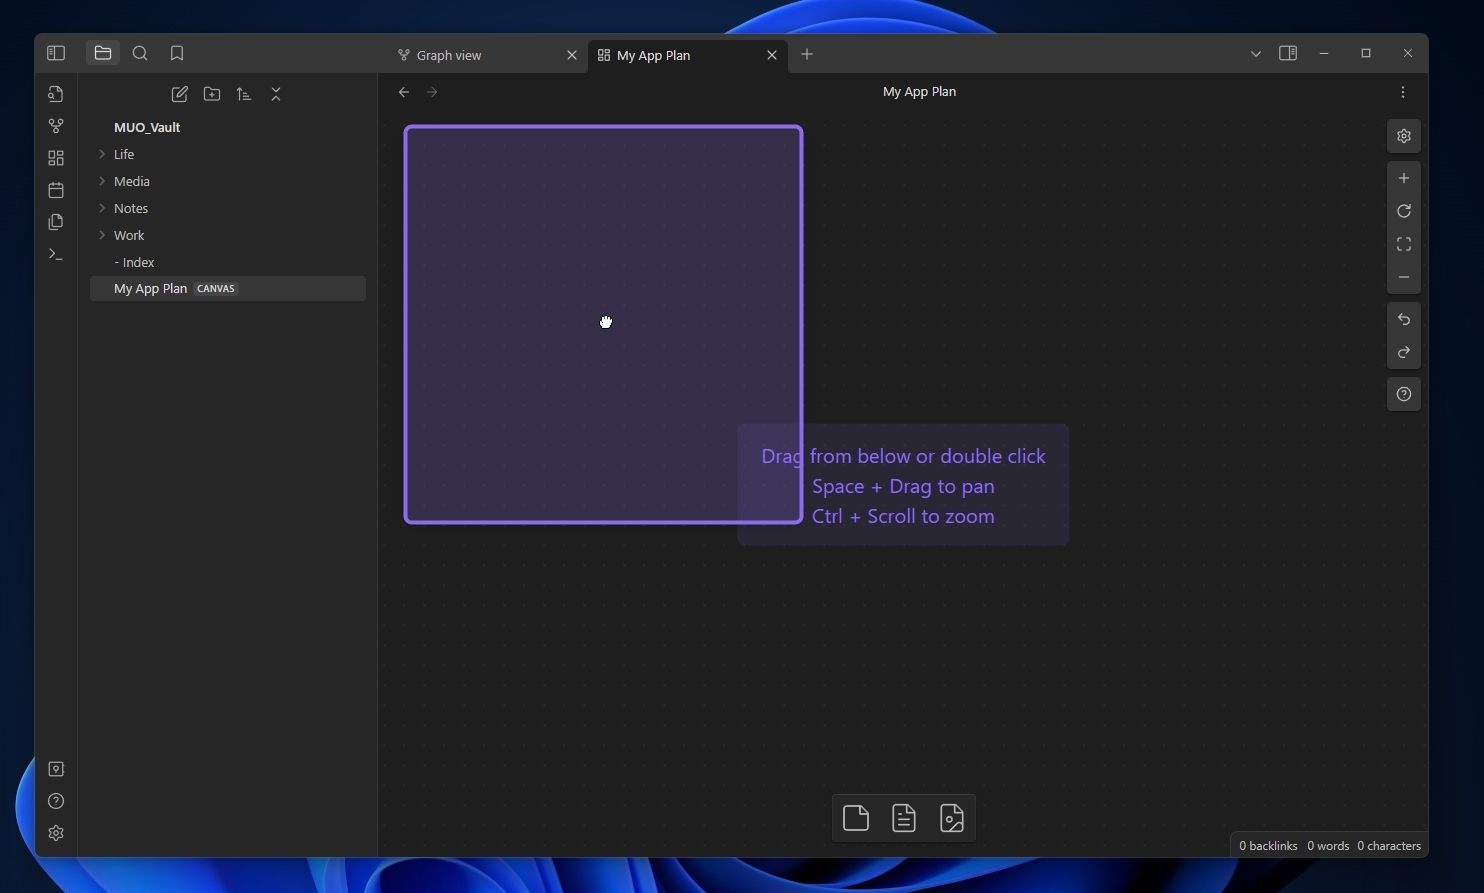
- If you haven’t yet, head over to Obsidian’s download page and grab the app. Open it once it’s installed.
- You can create a new Canvas in the currently active or default folder (depending on your Obsidian Settings) by clicking the Create new canvas button on the toolbar on the left of the screen.
- It’s even quicker for keyboard warriors to use Obsidian’s command palette, thanks to its ultra-smart search capabilities: press CTRL + P, and type something like “crcanva” to find the “Canvas: Create new canvas” command. Highlight it with the cursor keys and hit Enter to use it.
- Give your new Canvas a name. Note that although it appears as a visual board, it’s a disguised typical Markdown note, as you can see if you switch to Obsidian’s source view (CTRL + E), or open your Canvas note file with an app like Notepad.
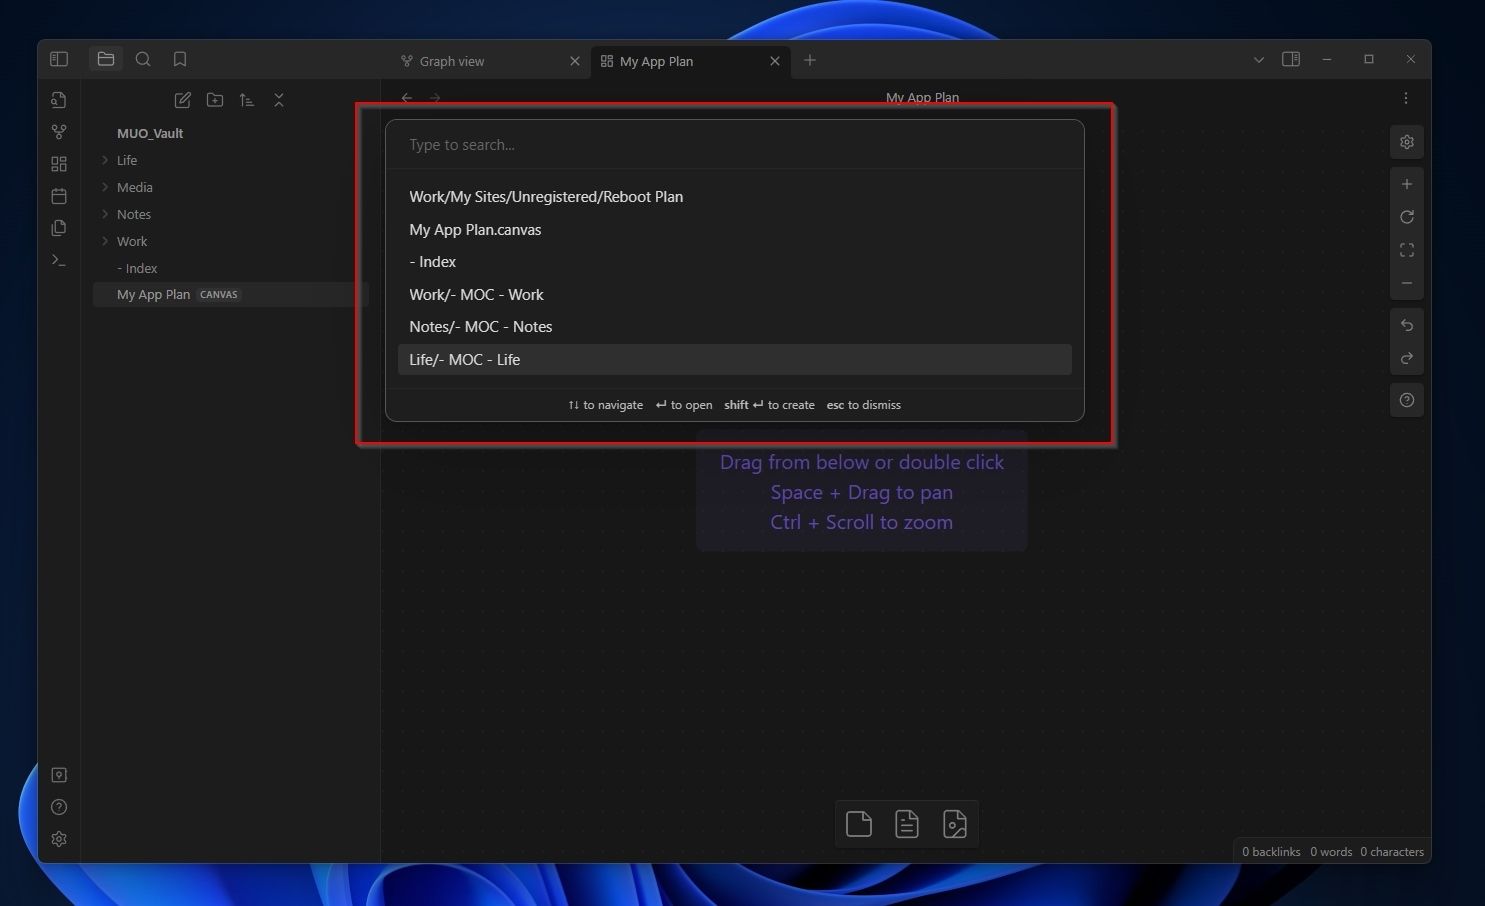
- The floating menu at the bottom allows you to add, in sequence, Cards, Notes, and Media to your Canvas. Try dragging the Note (middle) icon to a blank spot on the Canvas.
- The spot where you move and “drop” your note will also define its initial placement on the Canvas board.
 DEX 3 RE is Easy-To-Use DJ Mixing Software for MAC and Windows Designed for Today’s Versatile DJ.
 DEX 3 RE is Easy-To-Use DJ Mixing Software for MAC and Windows Designed for Today’s Versatile DJ.
Mix from your own library of music, iTunes or use the Pulselocker subsciprtion service for in-app access to over 44 million songs. Use with over 85 supported DJ controllers or mix with a keyboard and mouse.
DEX 3 RE is everything you need without the clutter - the perfect 2-deck mixing software solution for mobile DJs or hard-core hobbiests.
PCDJ DEX 3 RE (DJ Software for Win & MAC - Product Activation For 3 Machines)
- Since you’ve added “a generic element” but not a specific note, snippet, or media file to your board, Obsidian will show its file requester, which you should use to search for and select one of your notes.

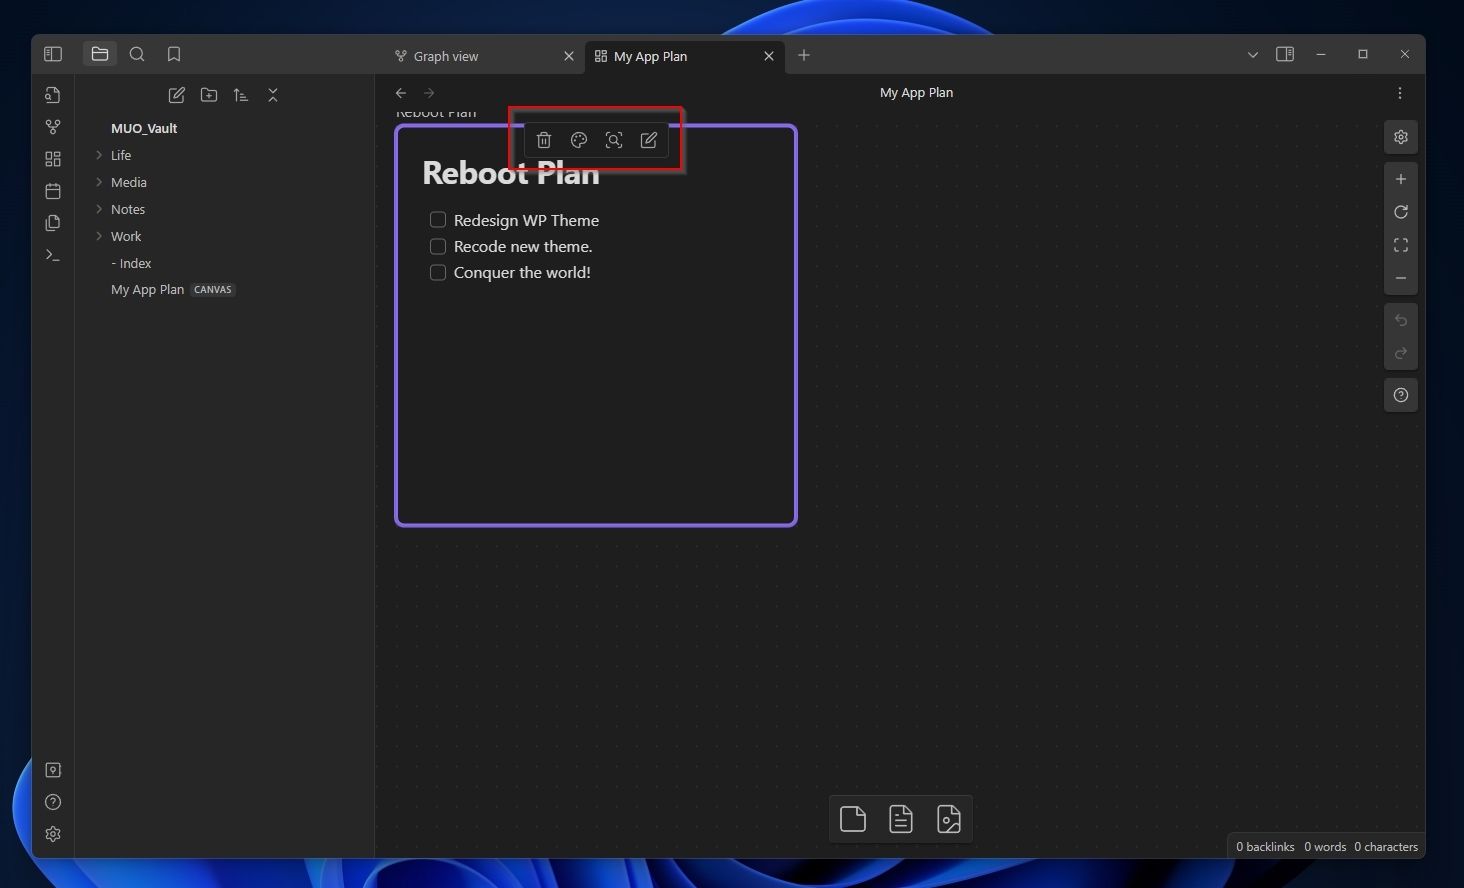
How to Edit Your Canvas Elements
Now you’ve made your first mark on your canvas. Here’s how to tweak them to your liking:
- If you point the cursor at an element on your Canvas board or select it, you’ll see a mini action menu on its top.
Nero Burning ROM:
The ultimate burning program for all your needs! - You can use the first button to remove an element from the board. The second button allows you to change its color.
Easy GIF Animator is a powerful animated GIF editor and the top tool for creating animated pictures, banners, buttons and GIF videos. You get extensive animation editing features, animation effects, unmatched image quality and optimization for the web. No other GIF animation software matches our features and ease of use, that’s why Easy GIF Animator is so popular.
- The magnifying glass button centers the view on the selected element. The notepad-with-pencil button performs the same action as double-clicking on an element, allowing you to edit its content directly on the Canvas board.
Simple and intuitive video editing
🎬 Nero Video:
The powerful video editing program for your Windows PC - When you select an element, by left-clicking on one of its borders and dragging, you can resize it on the Canvas board.
 Nero Burning ROM:
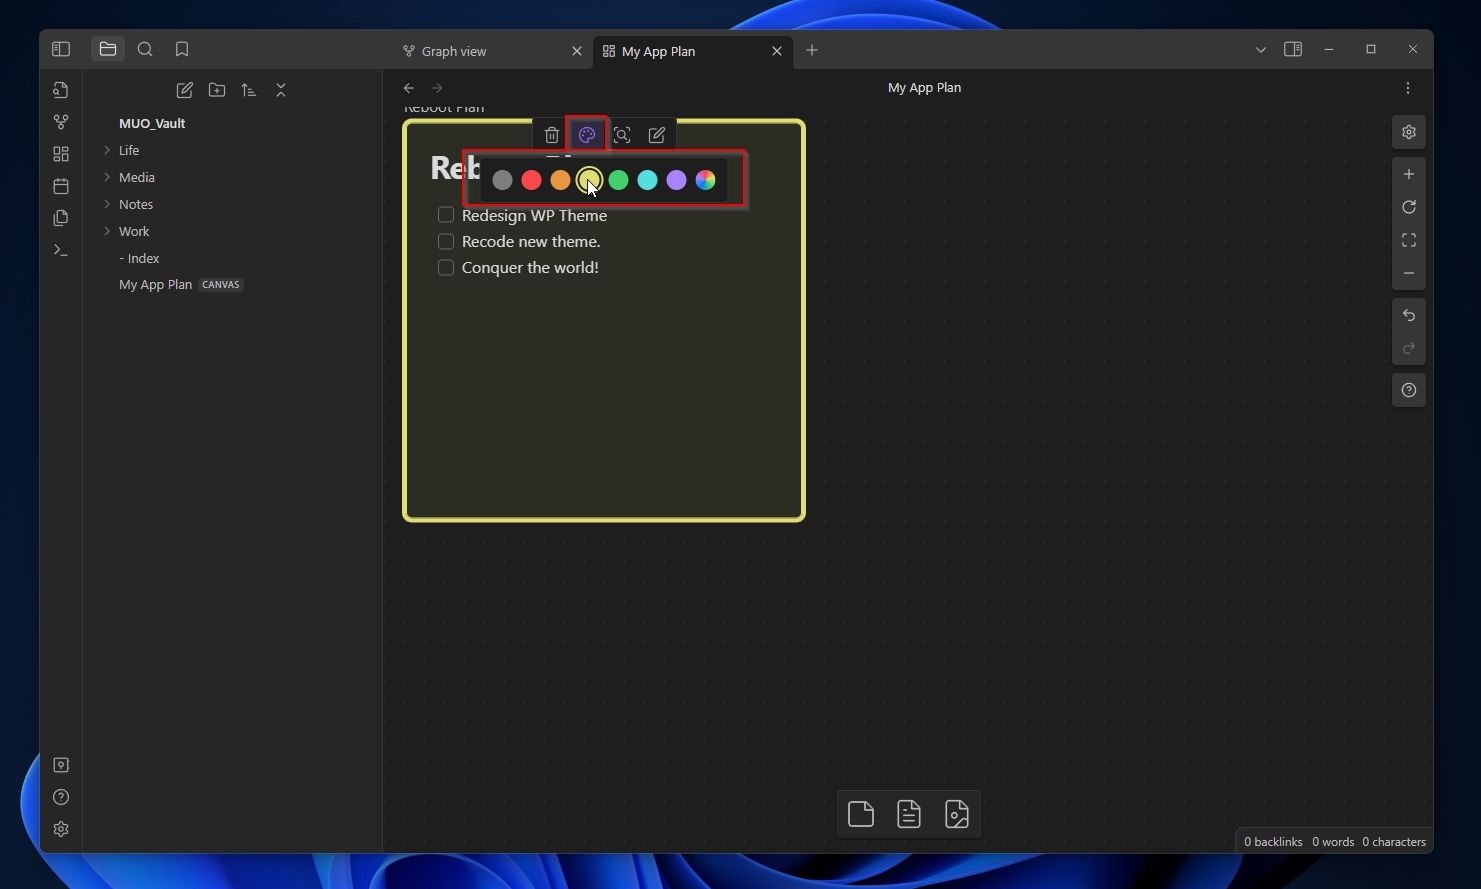
 Easy GIF Animator is a powerful animated GIF editor and the top tool for creating animated pictures, banners, buttons and GIF videos. You get extensive animation editing features, animation effects, unmatched image quality and optimization for the web. No other GIF animation software matches our features and ease of use, that’s why Easy GIF Animator is so popular.
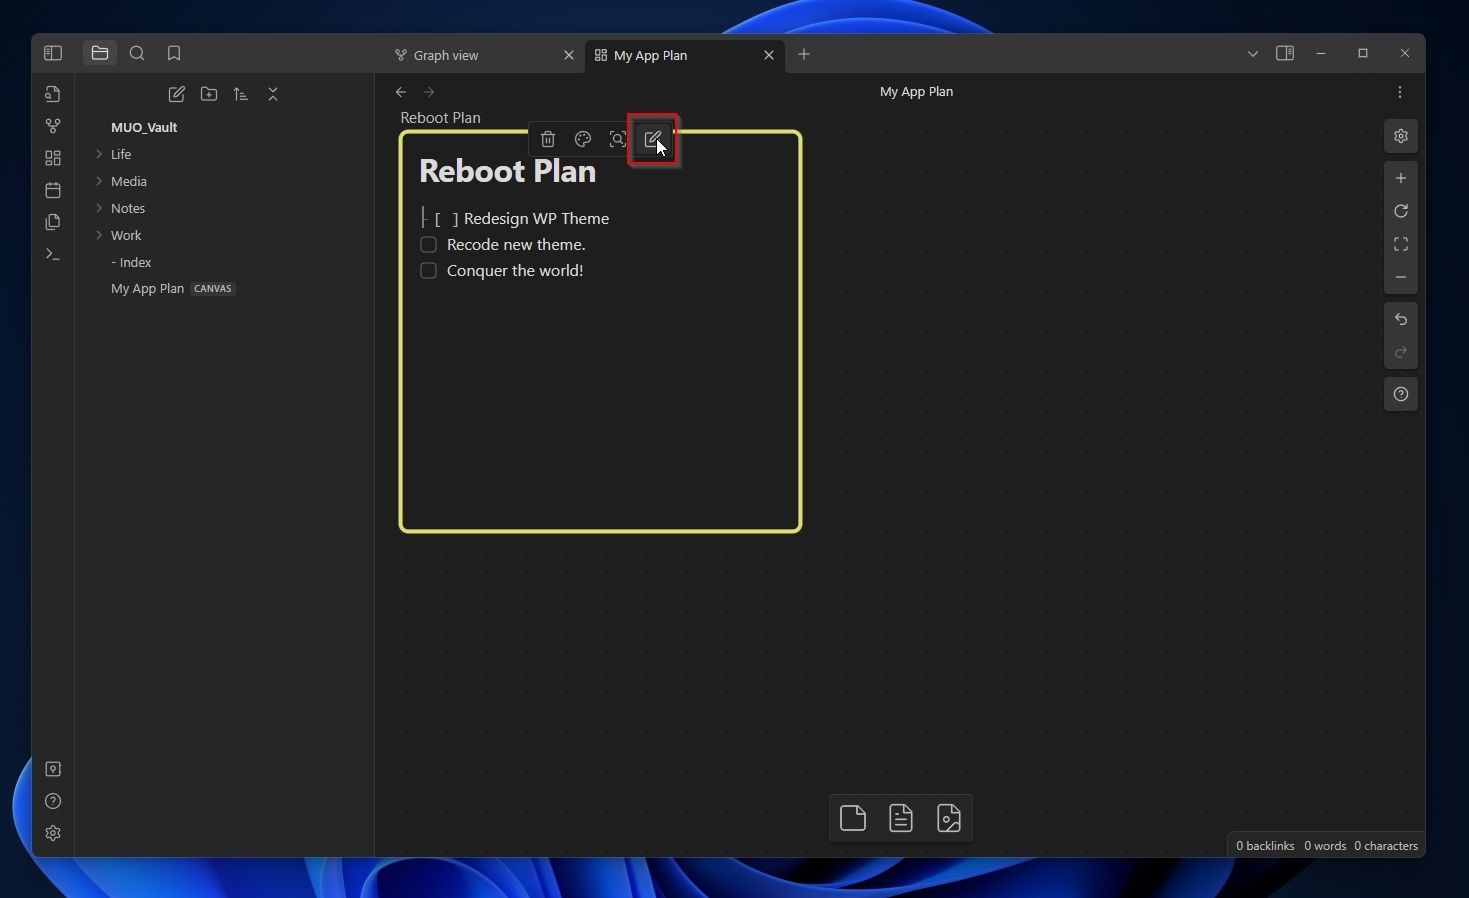
 Simple and intuitive video editing
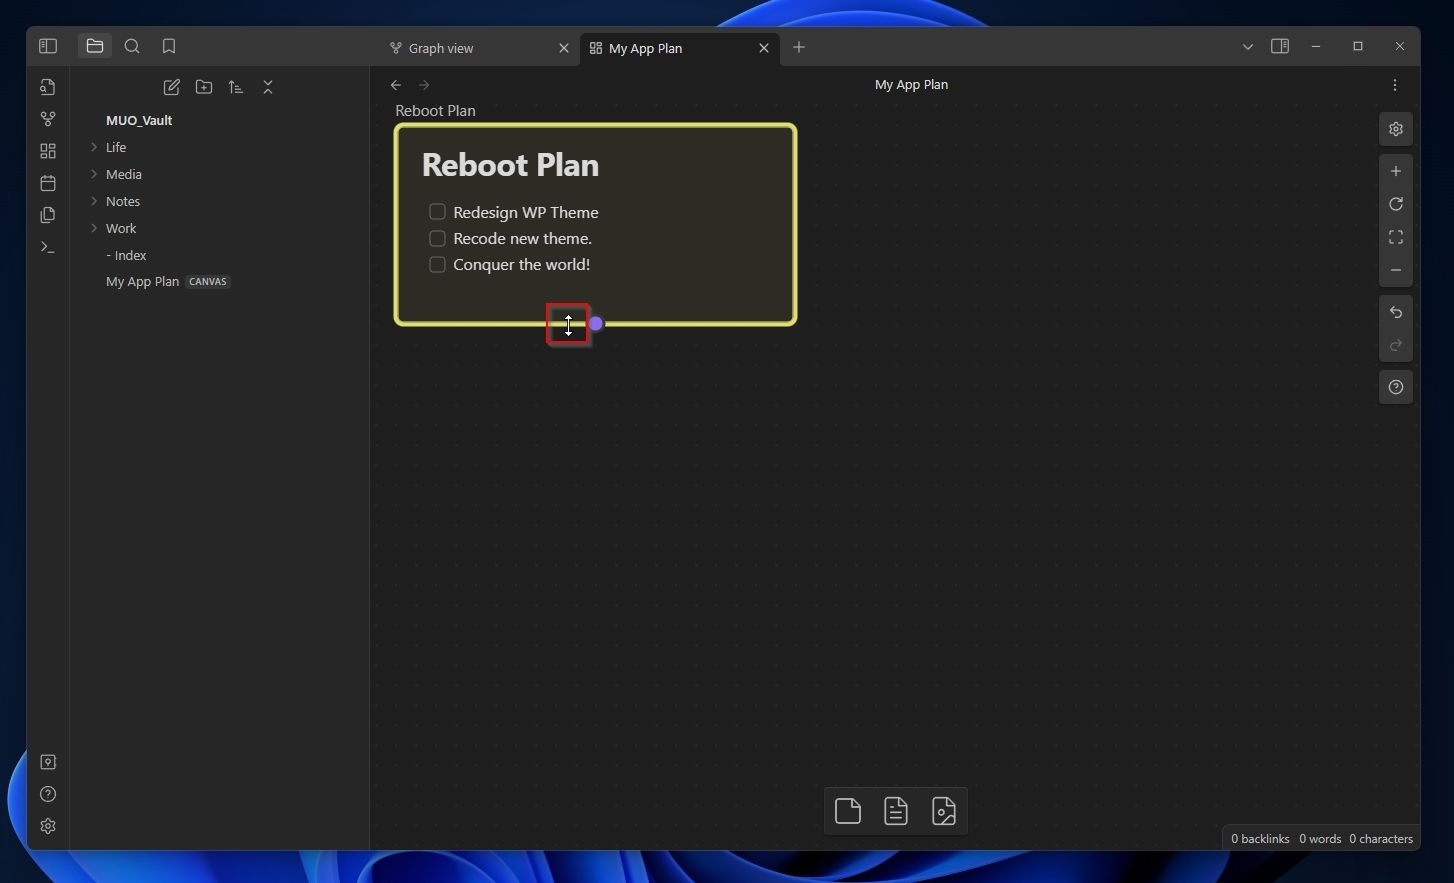
Getting Started With Connectors in Canvas
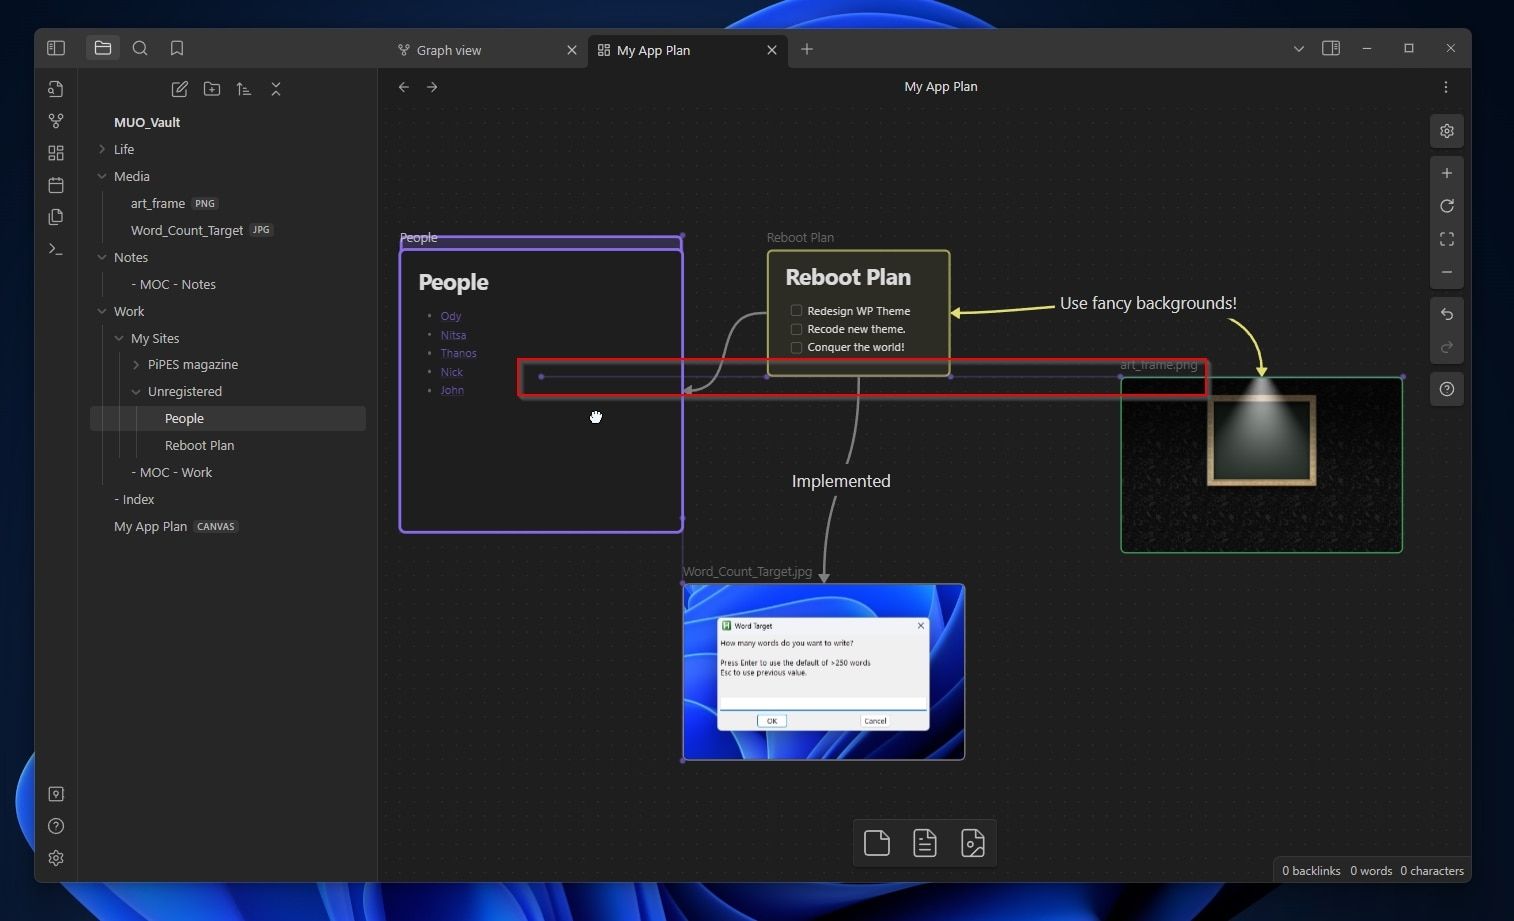
When resizing elements, you might also have noticed some large dots on the center of each border. By left-clicking on one of those points and dragging, you can create visual connectors between elements.
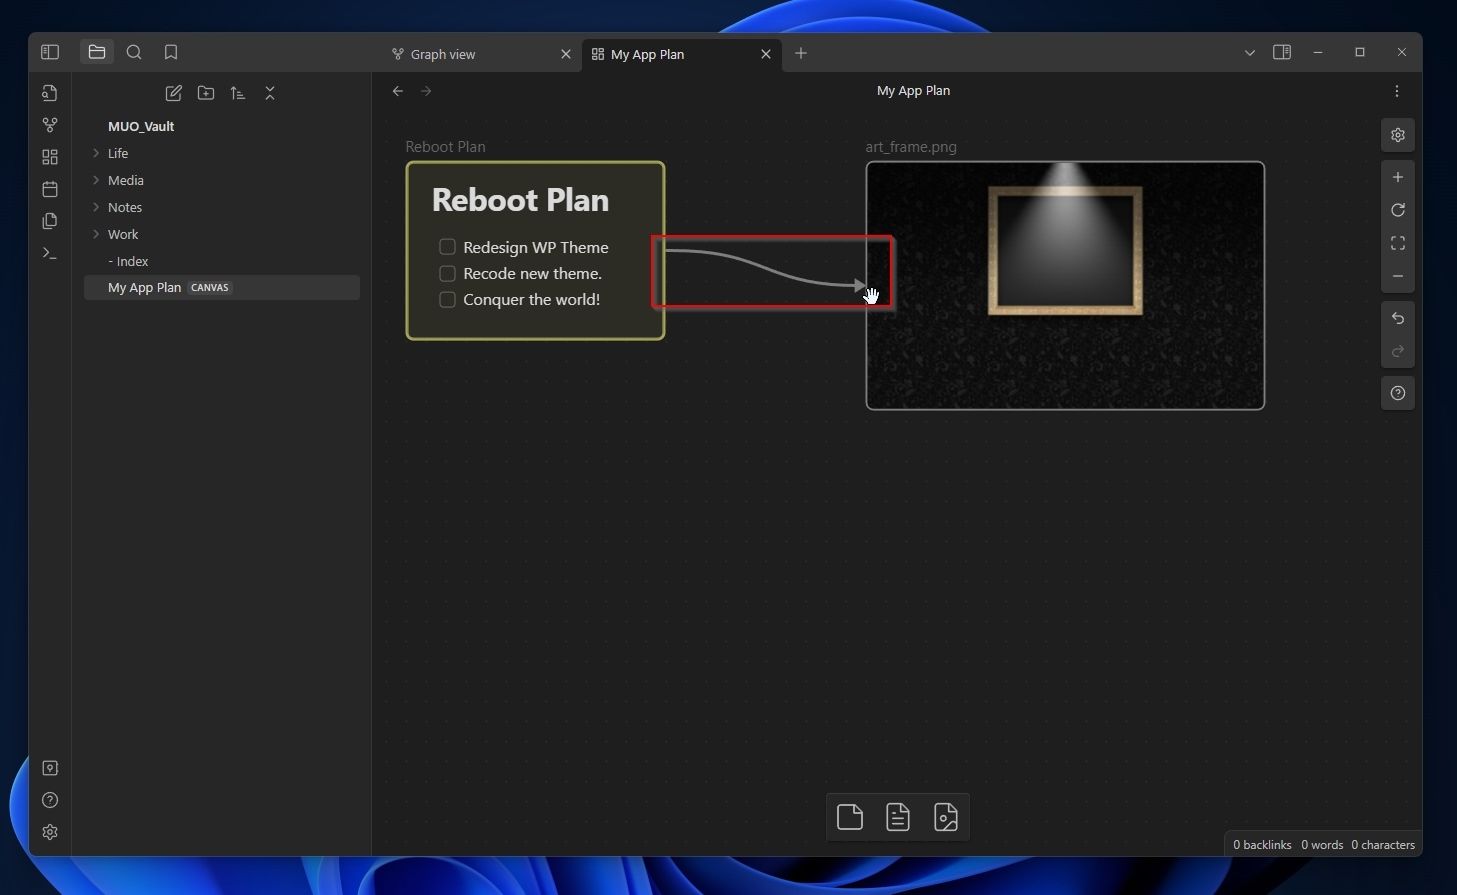
You can also embed images on your Canvas by dragging the media button from the bottom bar or by directly dragging and dropping them from the File tab.
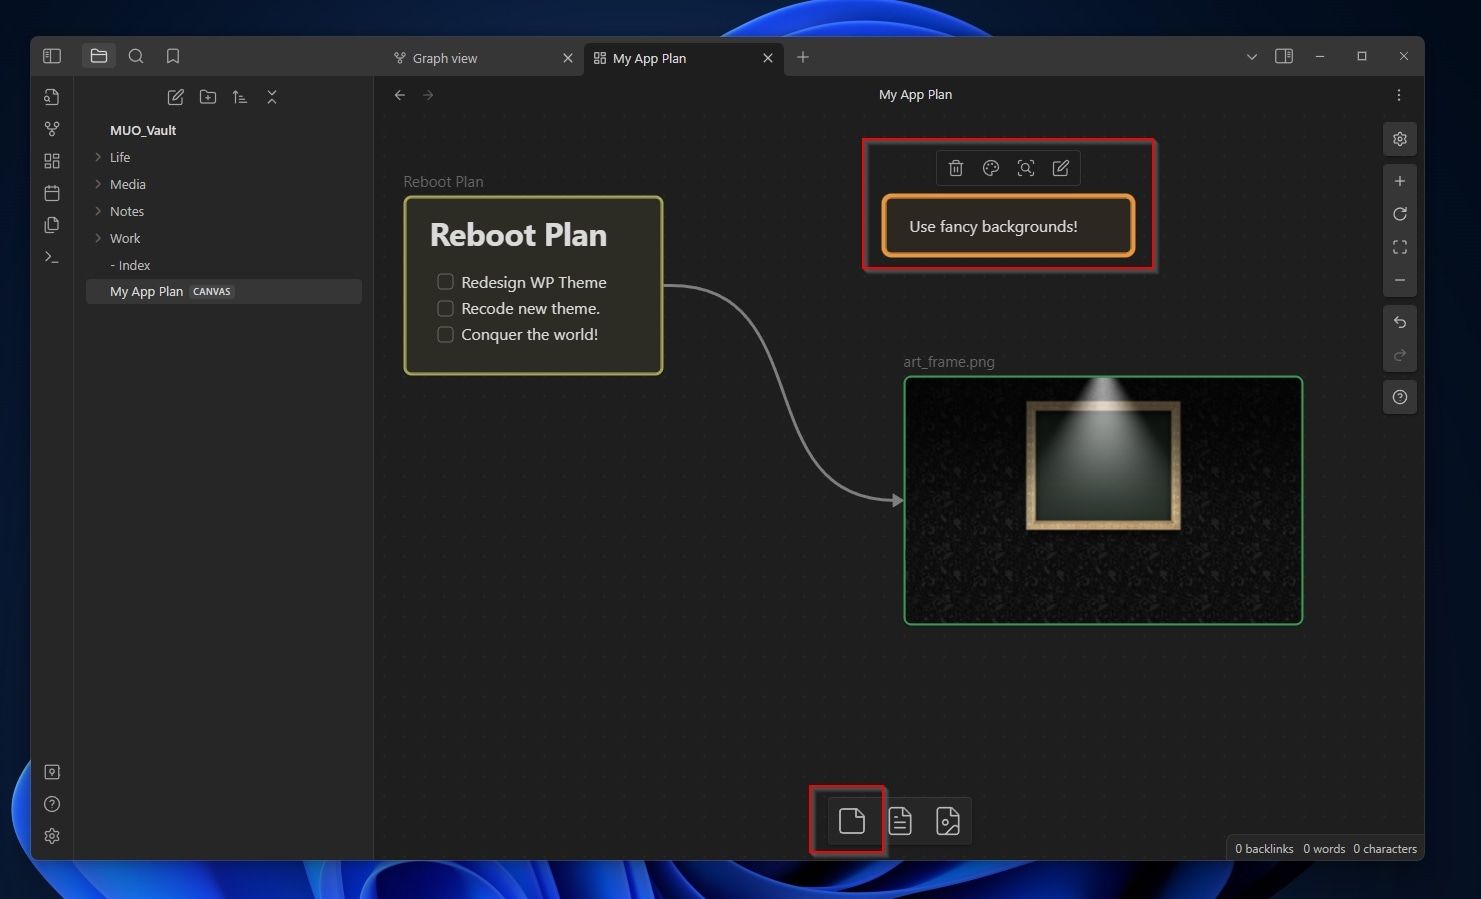
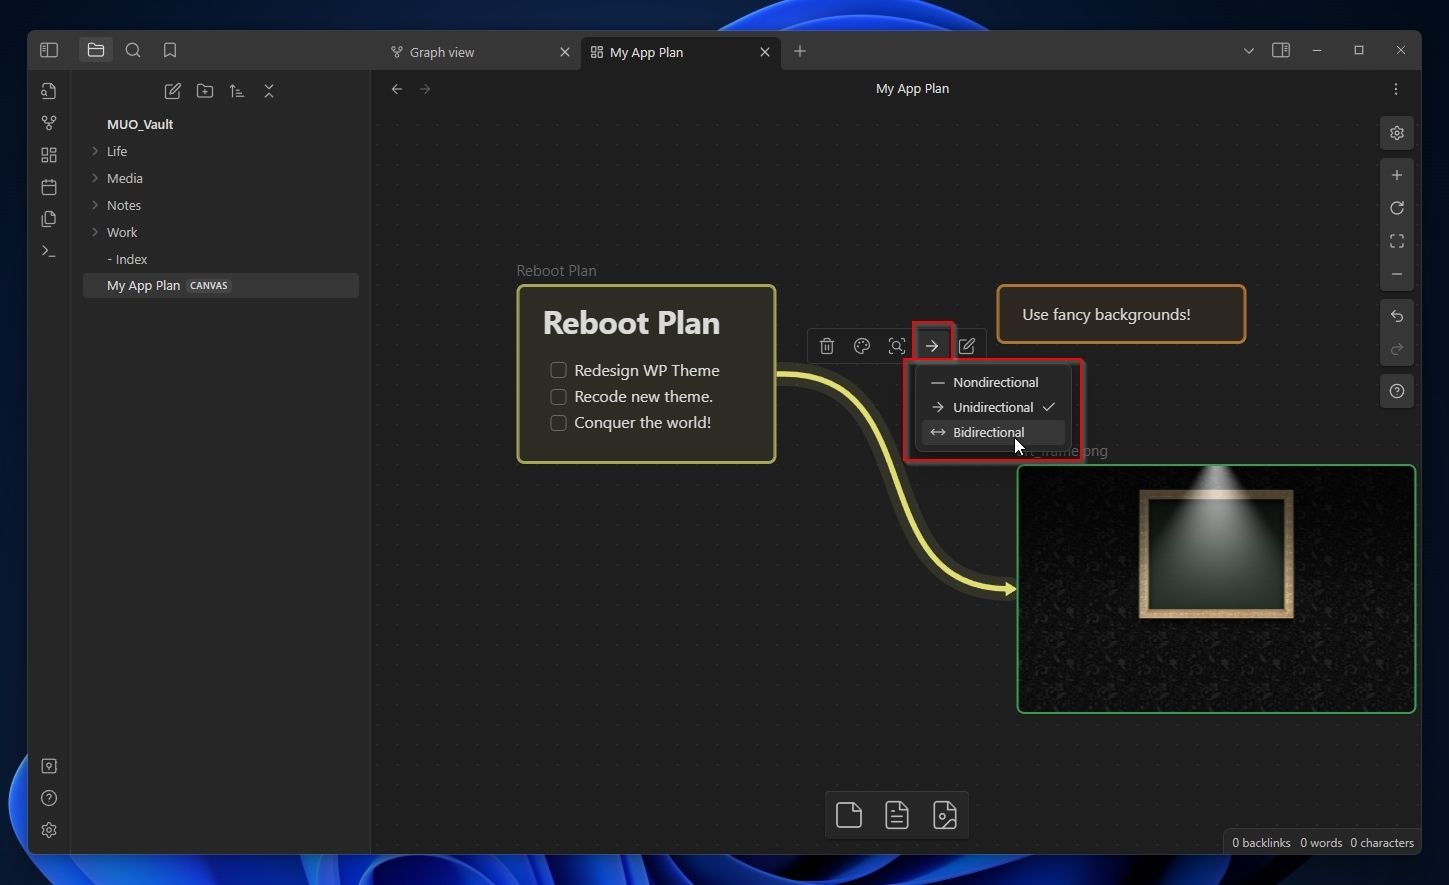
The connectors between elements are as configurable as the elements themselves. You can click on a connector and use the mini action menu on its top to a) remove it, b) change its color, c) center the view on it, d) change its direction (back, forward, and bidirectional), or e) edit its label.
 Forex Robotron Basic Package
You can add or edit an existing label on a connector by double-clicking on it or choosing the last option from its quick menu. Then, type the text you want to appear on its center as its label.
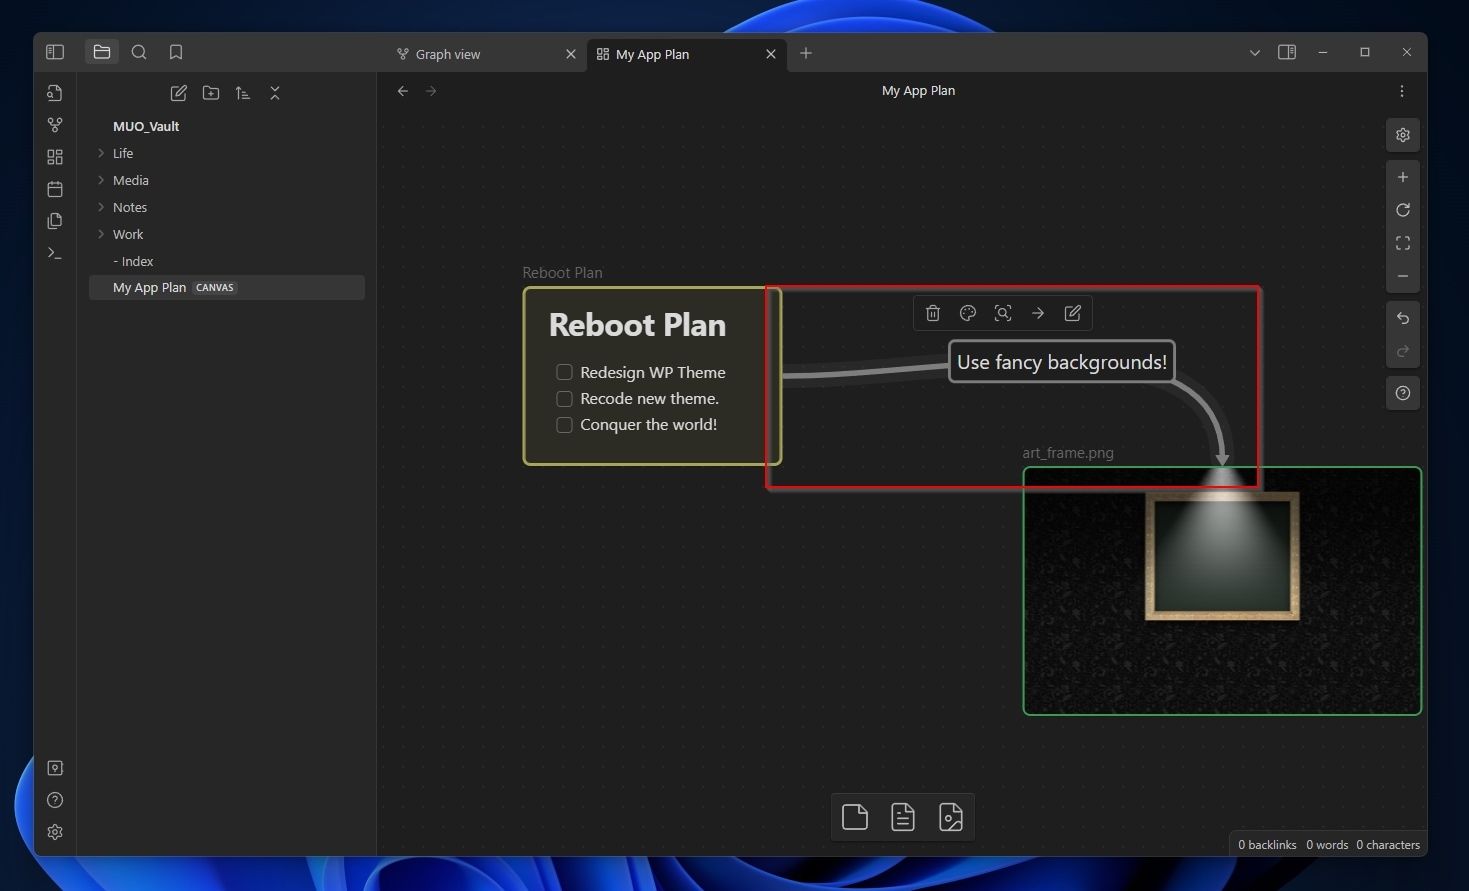
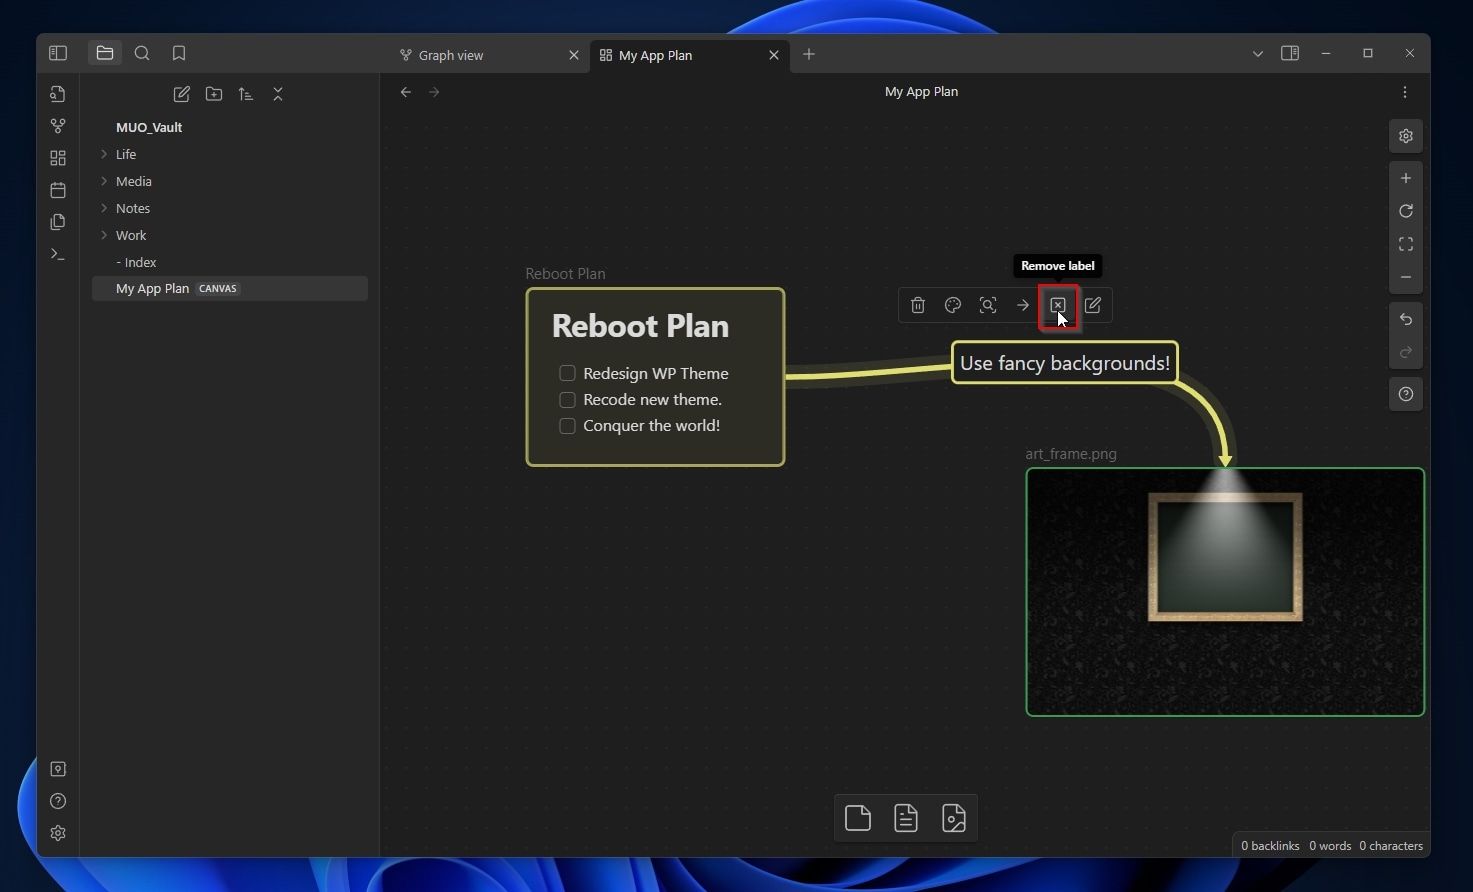
Don’t press Delete to remove a connector’s label; that would remove the connector itself. You can edit the label and erase its text. Still, it’s quicker to select the new Remove label button that shows up on the quick actions bar if a selector has a label.
Navigating Your Canvas
As your Canvas grows, you’ll need some aid in getting around it. Fortunately, Canvas has special tools to help you get around.
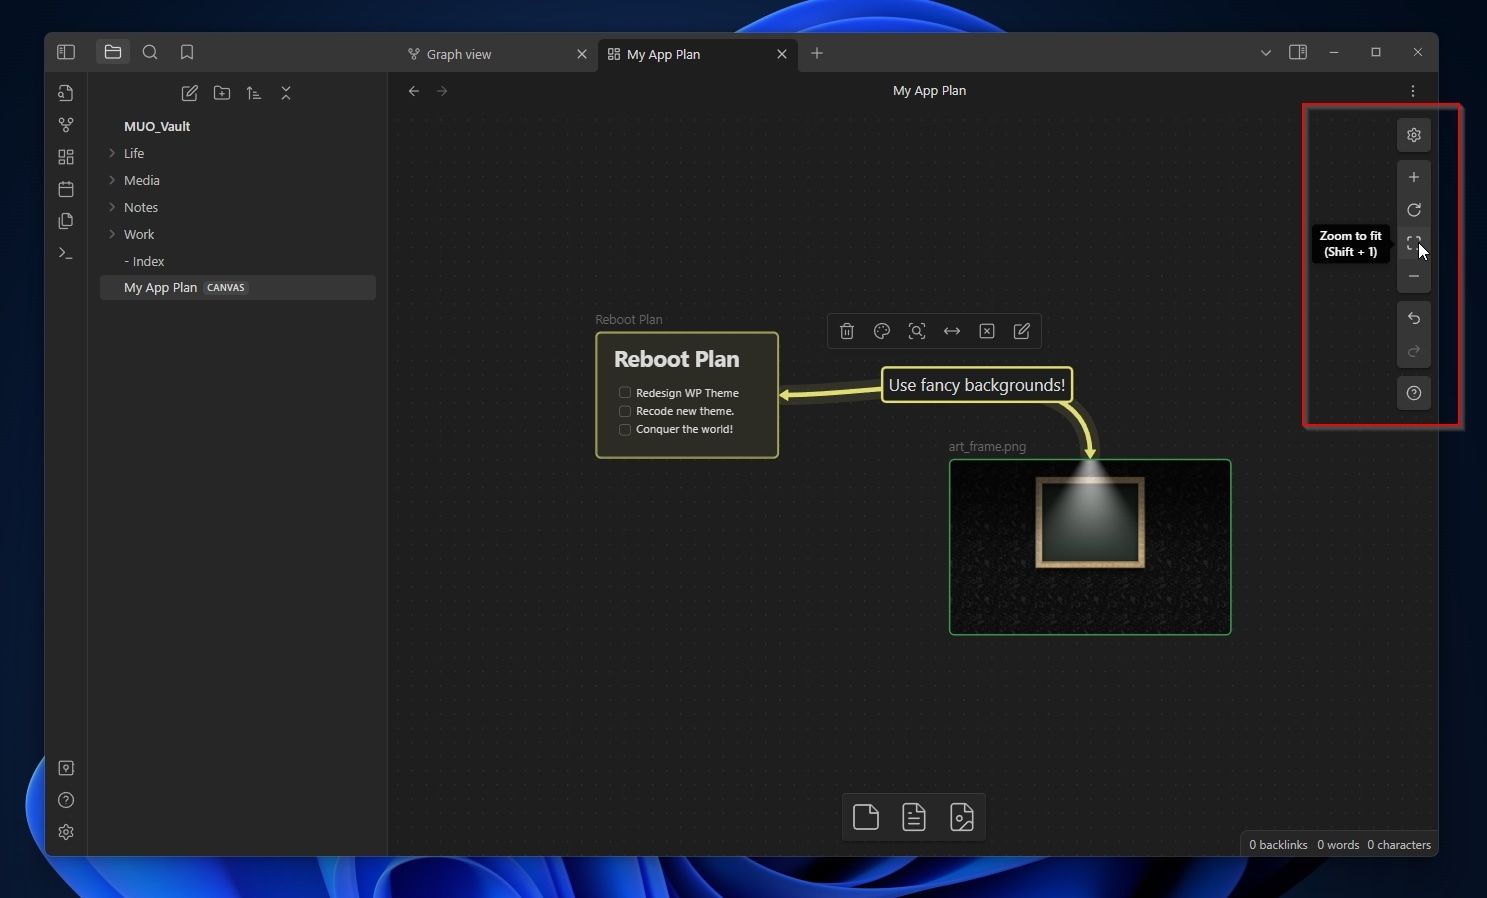
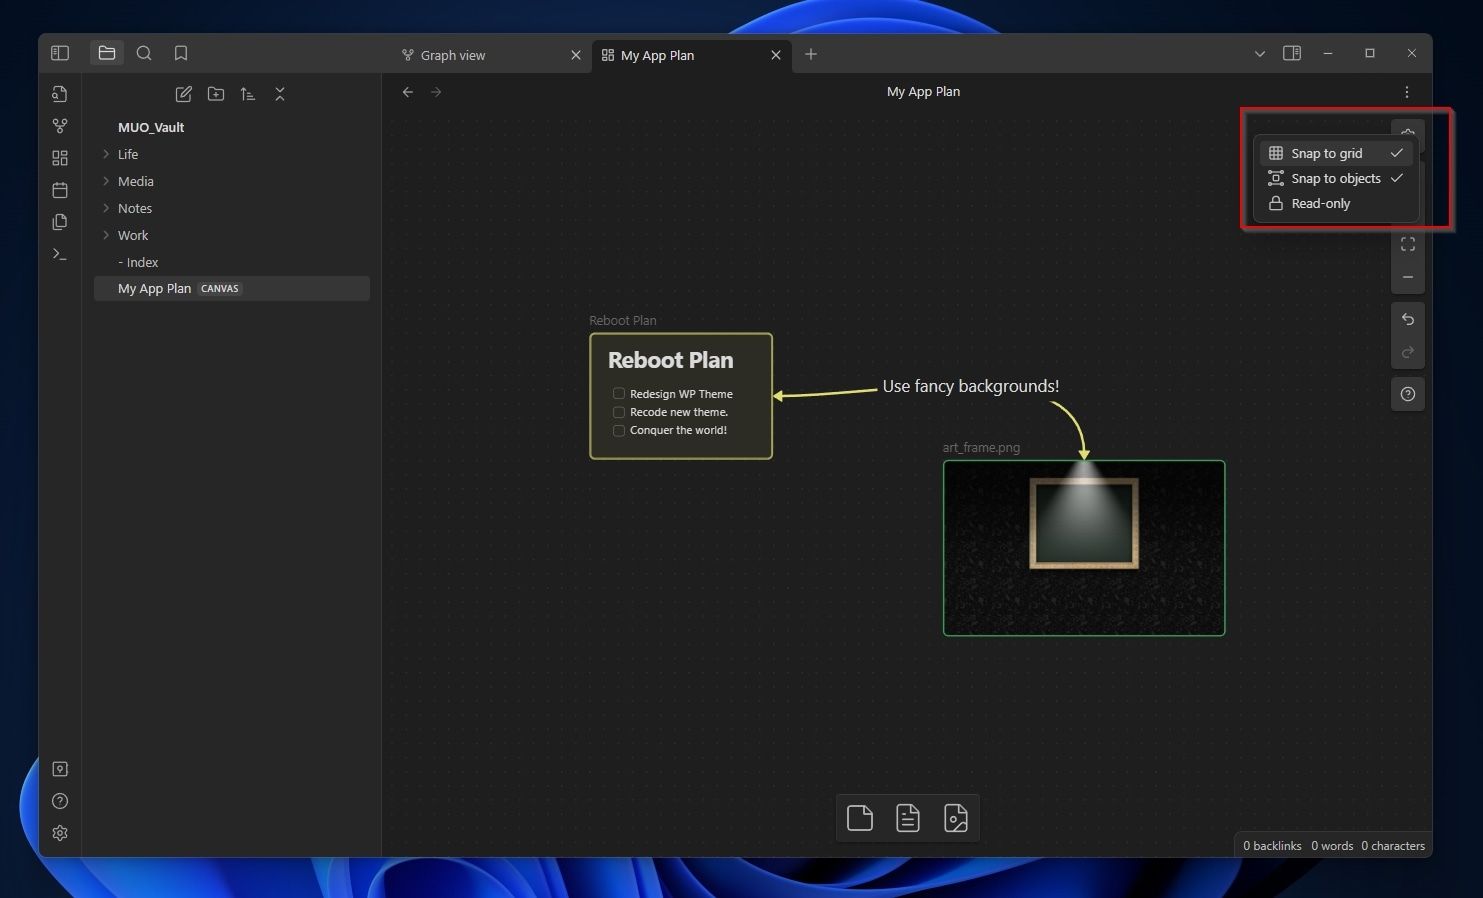
- An extra toolbar on the right of the Canvas offers more options and assists with navigation.
- The first button, with the cog icon, offers the option to toggle two methods of element snapping on the board and locking it from edits as “Read-only”. The plus and minus buttons allow you to zoom in and out, and the circular arrow button to reset the zoom level. The rectangular selector button centers the view on the selected element. Below are two more buttons for undoing and redoing actions. The last button, Canvas help, with a question mark, shows a panel with Canvas-related shortcuts.
- Obsidian Canvas displays a horizontal or vertical line when two or more elements’ borders or centers align to help you keep your Canvas boards tidy.
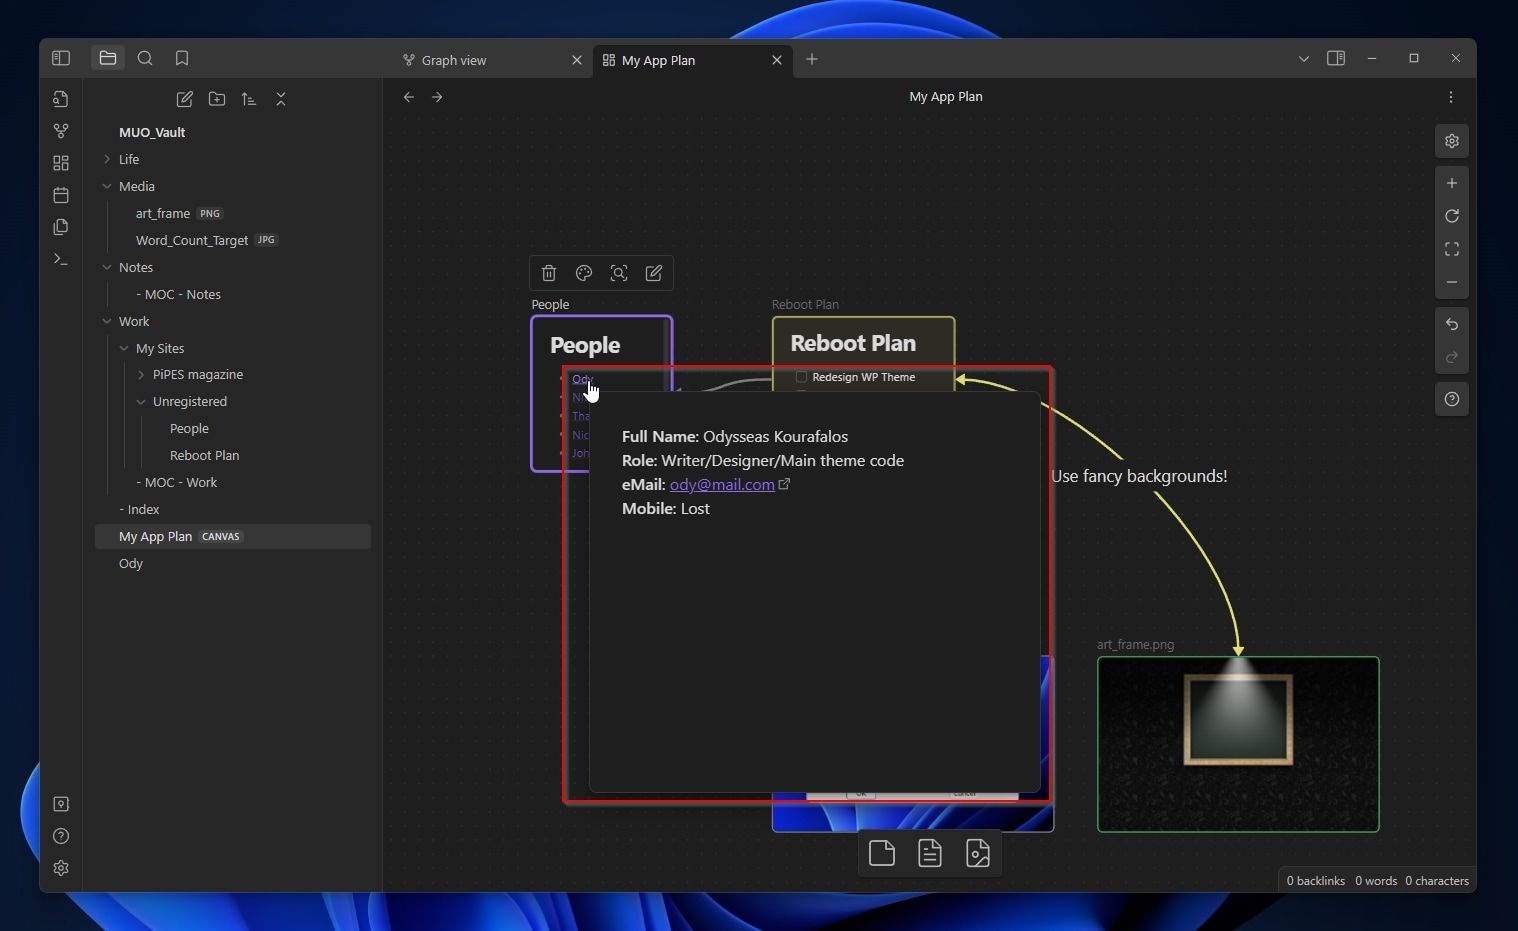
- Remember, Obsidian’s other features are also active and usable on Canvas. For example, you can still keep CTRL pressed and point at a link to a note to see a floating preview of its contents.
Getting More Out Of Obsidian Canvas
There are many established solutions for visually managing your notes, organizing your thoughts, juggling your tasks, or improving your productivity. Obsidian’s Canvas borrows elements from all of them. It allows you to recreate most of them, but as we saw, it is quite unlike any of them in many ways.
The freedom offered by Obsidian’s Canvas can also be a con compared to the rigid structures, methods, and approaches of other note-taking, task management, organization, and productivity tools. A tool that shows checklists upon checklists is easy to grasp and incorporate into your workflow.
We already saw the basics of using it as a superpowered mind-mapping solution. But what more could you do with Canvas?
 CollageIt Pro
Canvas Kanban Boards
If you don’t mind using an add-on, check our guide on how to turn Obsidian into a personal Kanban organizer for an approach closer to other Kanban solutions.
If you’d like something more versatile, though, you can build a more “fluid” Kanban board with Obsidian Canvas:
- Right-click on a blank spot on the Canvas and create a New Group.
- Name it “Inbox“.
- Move it to the left of the Canvas and resize it to look like a column taking up around 1/4th of the screen’s width and its full height.
- Create a second group.
- Name it “Do“.
- Resize and move it so it looks like a second column.
- Repeat for two more groups: “Doing“ and “Done“.
Congratulations, you just created a GTD-compatible Kanban board! Now, you can add notes to each group, shuffle them, and more.
Canvas Priority Matrix
Also known as the Eisenhower/Covey’s Matrix, the Priority Matrix is a great visual way to organize and prioritize tasks. You can learn more about this prioritization method in our article on how to use Covey’s 4 Quadrants Matrix for effective time management .
Then, try it in action by creating a Priority Matrix with Obsidian Canvas:
Right-click on an empty spot of the Canvas board and choose New Group from the menu.
Name it “Do“.
Resize and move it to the top left of the Canvas, so it takes up your screen’s top left quadrant.
Make a second group, name it “Delay“, and move it to the right of the first group.
Create two more groups. Name the first “Delegate“ and move it to the bottom left quadrant of your screen, right under the “Do” group. Name the last group “Skip“, and move it to the last empty spot on your screen’s bottom right.
With your Priority Matrix groups set up, switch Obsidian’s left bar to the Files tab.
“Pick” any note you wish from there and “drop” it in any of the groups of your Priority Matrix.
Repeat for more notes.
Reconsider or act on them, and shuffle them among the quadrants of your Priority Matrix.
Delete or Archive them when done with any of them to keep your Priority Matrix clean.
A Canvas for Everything With Obsidian
With Obsidian’s Canvas, the possibilities are truly endless. We saw how you can use it to do things for which you might be using other specialized apps up to now, from creating mind maps to organizing your tasks on a Priority Matrix.
Unlike such tools, Obsidian, and by extension its new Canvas mode, is more like a pencil. You don’t use a pencil only to create lists, organize a project, or write your next novel. But you can do all that if you wish, and much more.
Obsidian and Canvas are similar “enablers” that offer the tools for building your own solutions. How you’ll use them is entirely up to you.
Let’s see how you can use Obsidian’s Canvas to make sense of your notes and boost your productivity visually.
- Title: Precision Note-Taking: Adopting Obsidian' Written Canvas
- Author: David
- Created at : 2024-08-16 00:29:24
- Updated at : 2024-08-17 00:29:24
- Link: https://win11.techidaily.com/precision-note-taking-adopting-obsidian-written-canvas/
- License: This work is licensed under CC BY-NC-SA 4.0.