Pointer Problems Solved: Mastering Control in Win11

Pointer Problems Solved: Mastering Control in Win11
Windows users occasionally run into issues with their mouse. One common problem is when their cursor wanders on the screen without moving the mouse a little. It is often simply a speck of dust on the table or a loose mouse connection, but sometimes the issue lies in the operating system.
If your mouse has also stopped obeying your orders and is roaming on its own, you will find different solutions in this article to regain control.
Disclaimer: This post includes affiliate links
If you click on a link and make a purchase, I may receive a commission at no extra cost to you.
1. Perform Some Preliminary Checks
Start the troubleshooting process by applying the following fixes and see if they resolve the issue:
- Disconnect your mouse and reconnect it again. Doing this will rule out any temporary problems with your device.
- Mouse and keyboard automation software can also interfere with the operation of your mouse. If you use such software, turn it off.
- If you have a Bluetooth-enabled mouse, remove any objects in the vicinity, especially microwave ovens, Wi-Fi speakers, and wireless security cameras, since they can interfere with signal transmission.
- If your mouse has a physical button to turn on, switch it off and back on again to give it a fresh start.
If the above preliminary checks do not solve the problem, keep applying the remaining fixes.
2. Clean the Desk Surface or Mouse Pad

Start troubleshooting by cleaning the surface where you use the mouse. Wipe the desk and scrub the mousepad to remove dust and debris. If the problem persists after cleaning the desk surface or mousepad, thoroughly clean the lower surface of the mouse itself.
If cleaning the desk and mouse surface doesn’t work, hold the mouse in your hand and watch its movements. Observing the same behavior suggests that dust on the table or bumps on the surface have nothing to do with the issue. In such a case, continue implementing the fixes mentioned below.
3. Physically Check the Mouse and Its Connection
Once you’ve ensured that the dirty surface isn’t causing the mouse cursor to go crazy, physically inspect the mouse. Ensure there is no physical damage to the mouse or its cable. Make sure the connection is not loose and the port you’re connecting your mouse to isn’t faulty.
If the mouse starts working correctly after a port change, the problem is likely with the port itself. Thus, ditch the old port and switch to the new one. However, if changing the port does not solve the issue, it could be a hardware issue, and it is imperative to rule it out.
4. Check for Hardware Issues
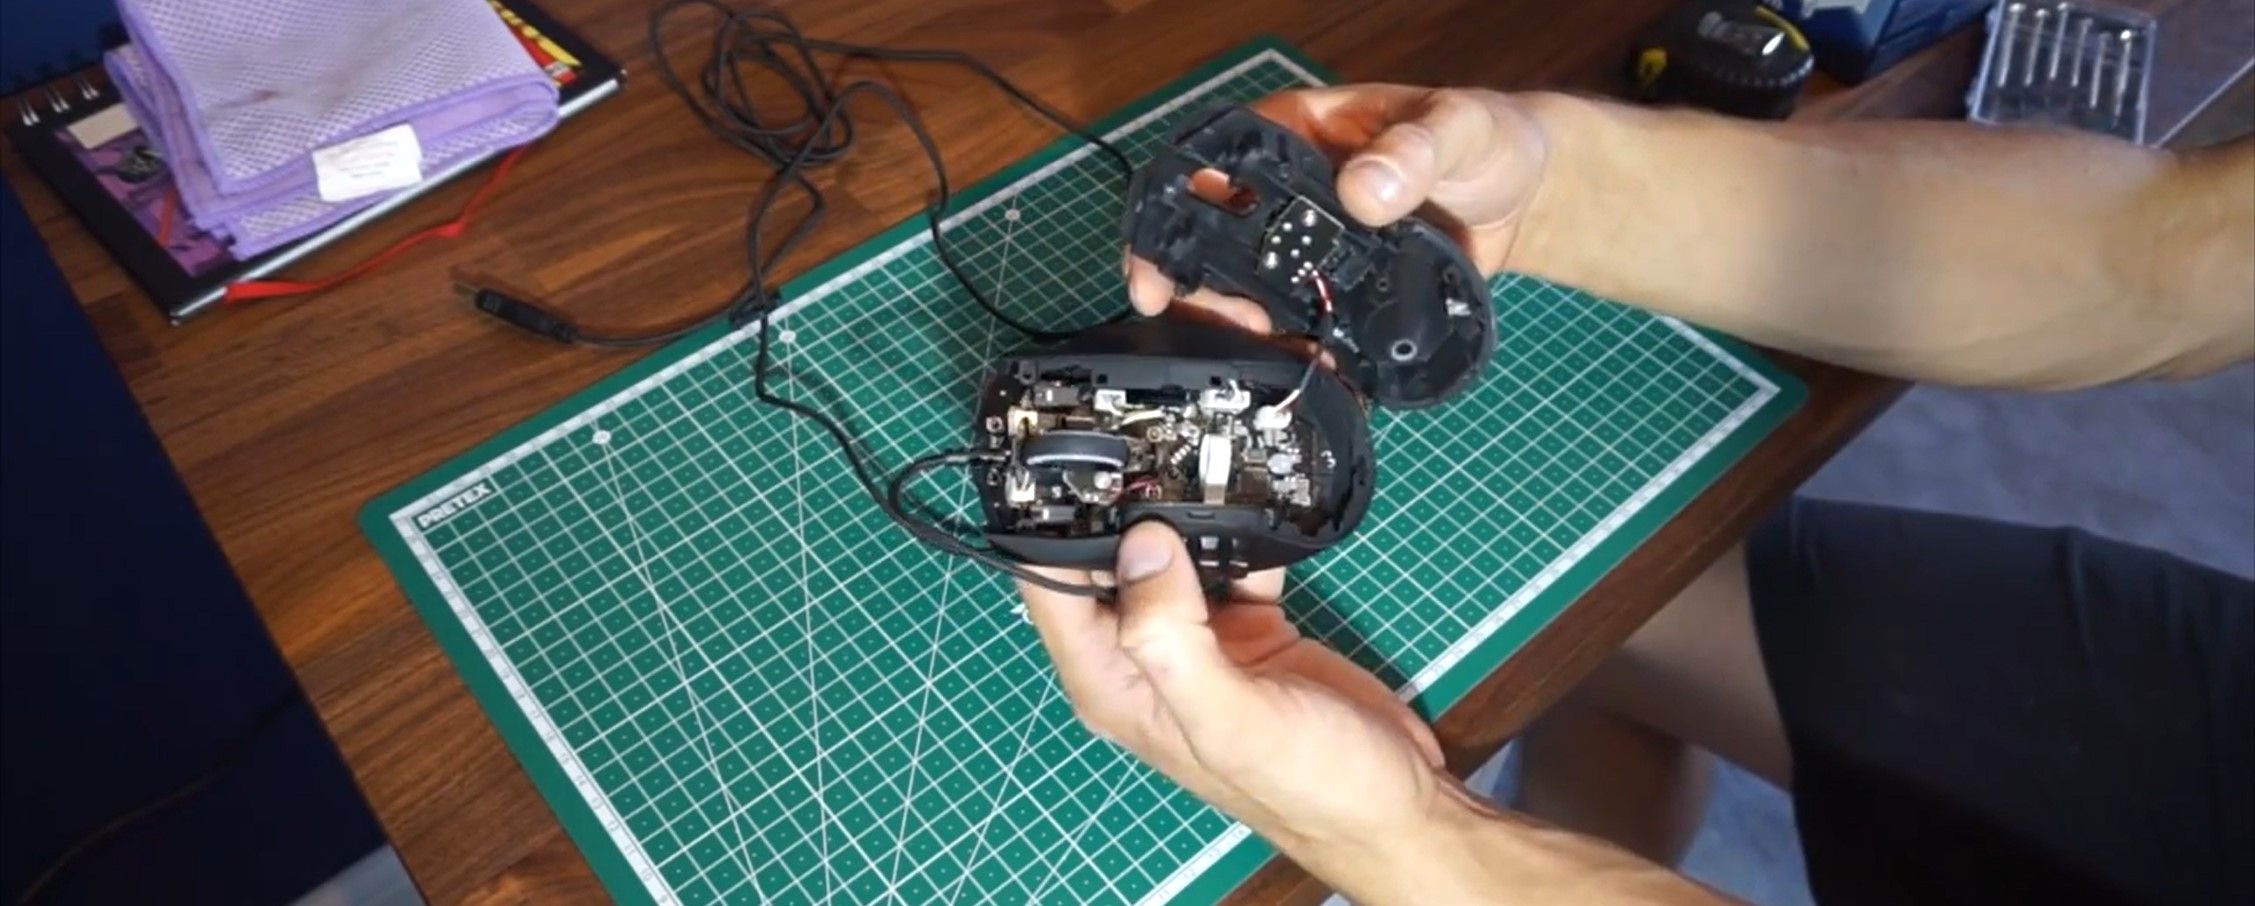
Image Credit: TechClub/YouTube
Your cursor could be roaming everywhere without your permission due to a hardware problem. Hence, before you apply other fixes discussed in this article, make sure the problem is not with your mouse. An easy way to check that is to connect your mouse to a different device and see whether it works there.
If the mouse behaves abnormally on another device as well, the issue is likely hardware-related. In this case, you should have your mouse inspected by a technician. However, if the mouse works fine when connected to another device, that suggests the problem lies elsewhere, not with your mouse.
5. Turn Off the Touchpad When Using an External Mouse
Laptop users commonly encounter the issue under discussion due to the touchpad’s interference. Follow the below steps to rule out this possibility:
- Right-click the Start button and select Settings.
- In the left sidebar, select Bluetooth & devices.
- In the right-hand pane, click Touchpad.
- To turn off the Touchpad, turn the toggle next to it to the left.

After disabling the touchpad, check if the issue has been resolved. If not, proceed to the next fix.
6. Update the Mouse Driver
A corrupt or outdated driver can cause your mouse cursor to go crazy. It’s, therefore, imperative to update the driver to ensure that’s not the case before moving forward. To do so, follow the below steps:
- Right-click the Windows Start button and select Device Manager.
- Expand the category for Mice and other pointing devices.
- Right-click the relevant driver and select Update driver.

After that, follow the on-screen instructions to fully update the driver. If updating the driver makes no difference, disable inactive scrolling in the settings.
7. Disable Inactive Scrolling
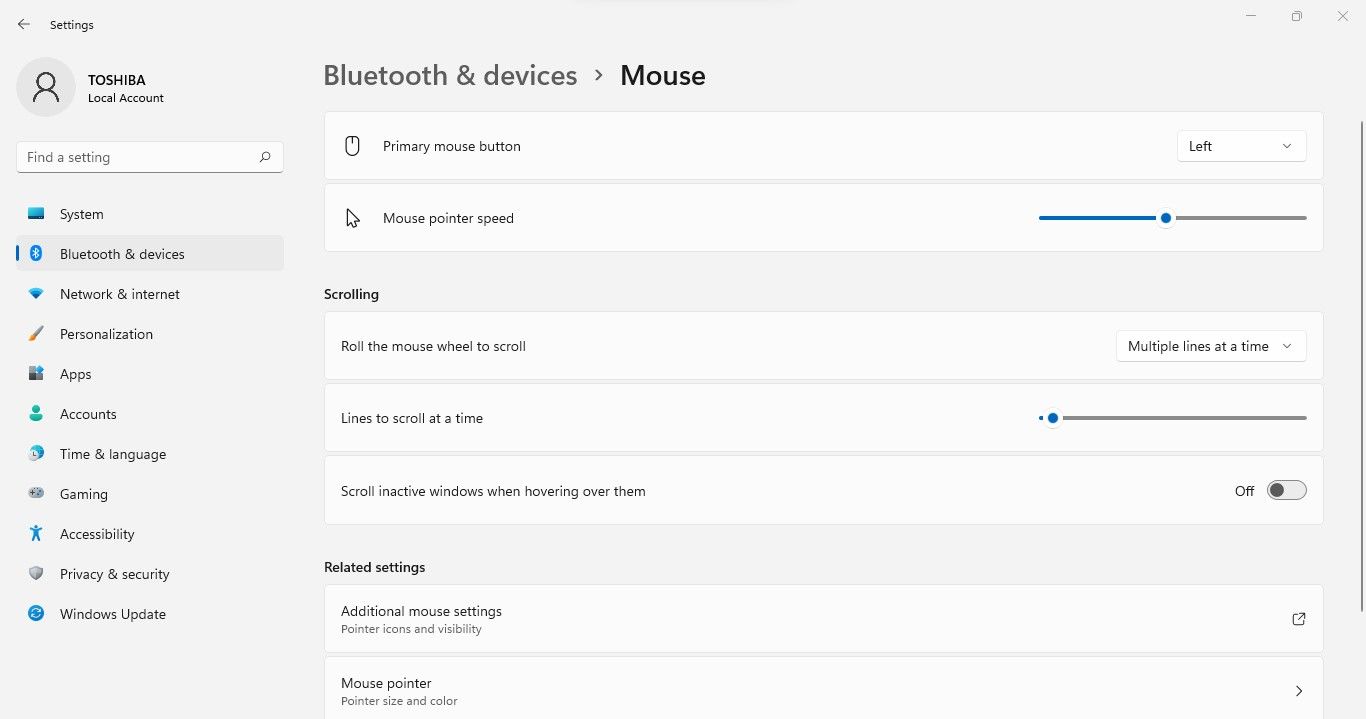
When inactive scrolling is enabled , Windows users can scroll the inactive window up and down by hovering over it instead of making it active. While it’s handy for multitasking, it can sometimes cause unusual issues, notably when many windows are open simultaneously. For this reason, it’s best to disable this feature.
To do that, follow these steps:
- Right-click the Windows Start button and select Settings.
- From the left sidebar, select Bluetooth and devices.
- In the right-hand pane, select Mouse.
- Turn the toggle next to Scroll inactive windows when hovering over them off to disable inactive scrolling.

8. Disable Mouse Acceleration
Mouse acceleration is a feature that lets the user control the pointer’s movement by how fast they move the mouse, not by how far the mouse travels. In most cases, it gives gamers better control over their aim, but sometimes it does the opposite. You should disable mouse acceleration to see if that is the problem.
Follow these steps to continue:
Right-click the Windows Start button and select Settings.
In the left sidebar, navigate to Bluetooth and devices.
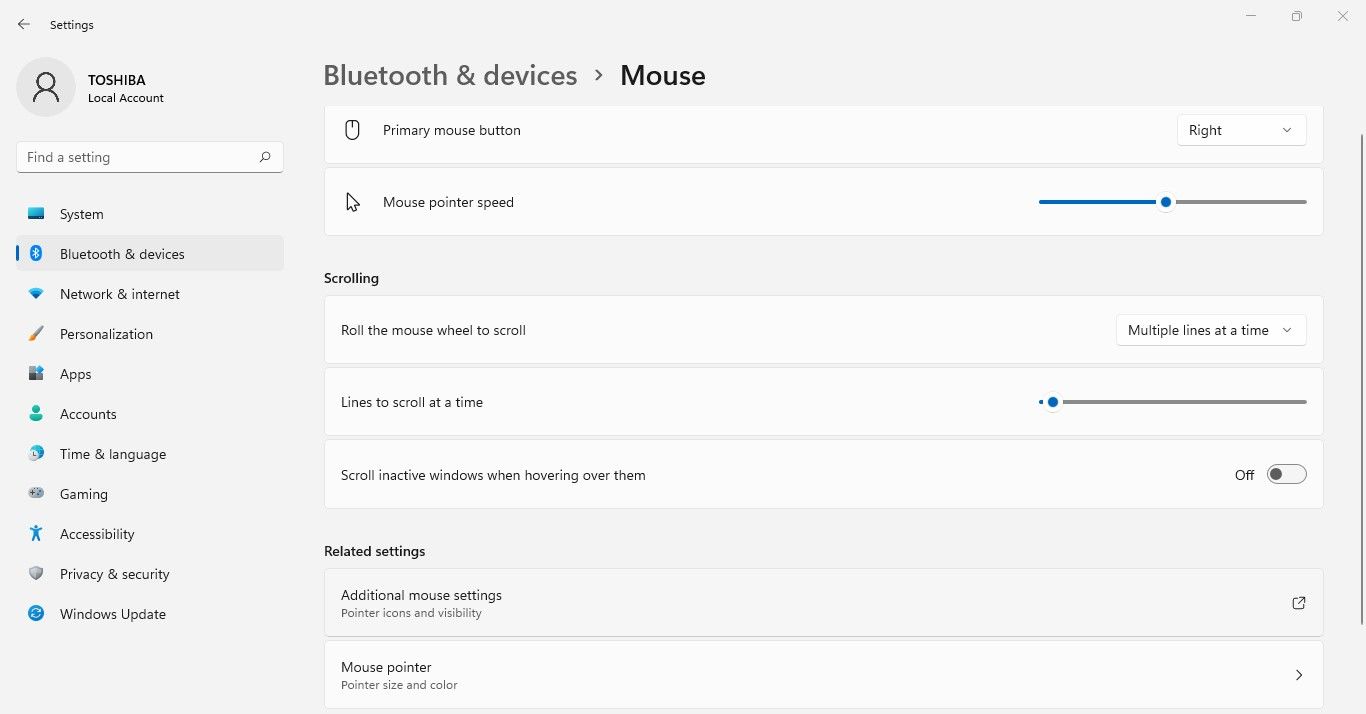
In the right-hand pane, click Mouse.
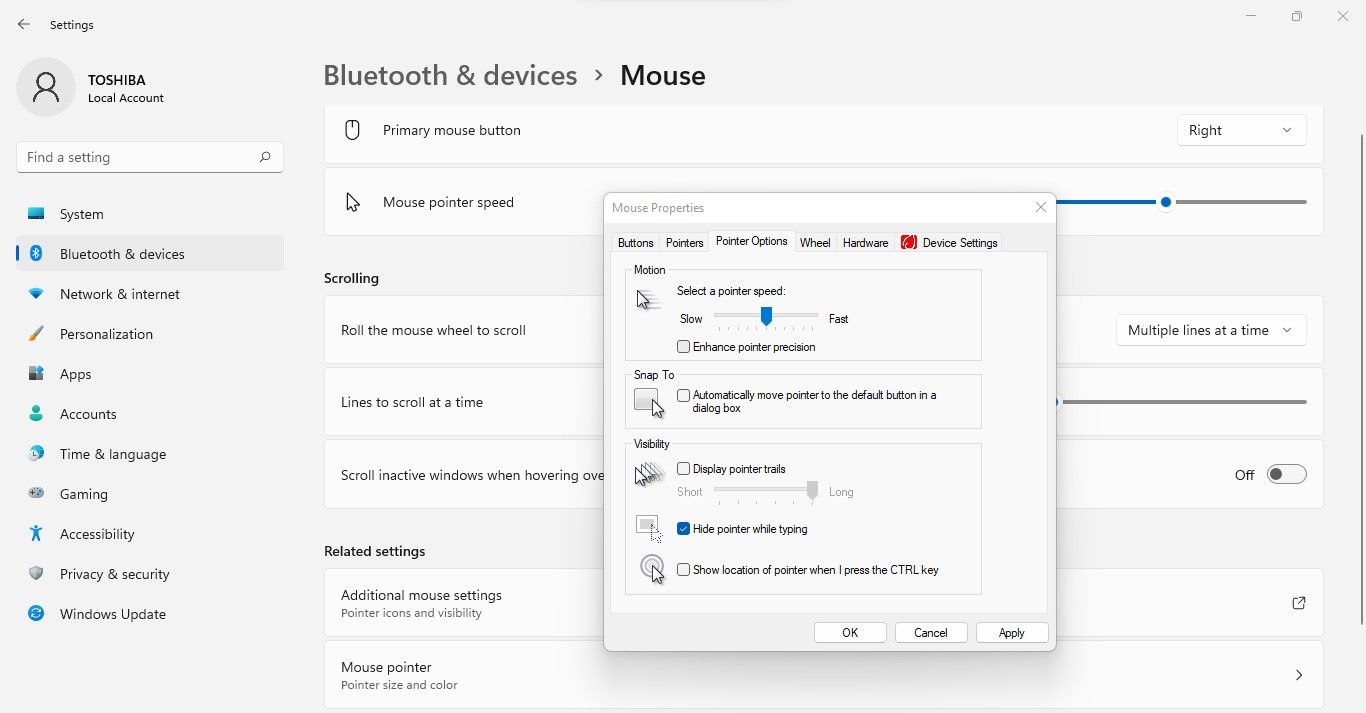
Go to Additional mouse settings.

Navigate to the Pointer Options tab in Mouse Properties.
Uncheck the box for Enhanced pointer precision.

Disabling it should relax your mouse pointer. If the mouse continues to roam on its own, ensure there aren’t any other peripherals connected to your computer that might interfere with it.
9. Disconnect Interfering Peripherals
If none of the fixes have worked, ensure it’s not interference from another pointing device connected to your computer. If you have a joystick, track point, or any other input device currently connected to your computer, you should turn them off.
Also, if you are using a touch-enabled device or a tablet, consider turning off the touch screen and disconnecting the tablet for the time being to rule out interference from them.
To filter out the culprit easily, you should unplug one device at a time and check the mouse cursor before unplugging the next. If disconnecting the other peripherals doesn’t work, run a malware scan to rule out potential damage due to malware.
10. Run a Malware Scan
Windows users make countless careless mistakes that lead to viruses entering their computers. If you fail to run malware scans periodically, this malware can wreak havoc on your computer. That may explain why the mouse cursor moves randomly. Therefore, it’s crucial to rule this out.
Follow these steps to run a malware scan:
- Right-click the Windows Start button and select Settings.
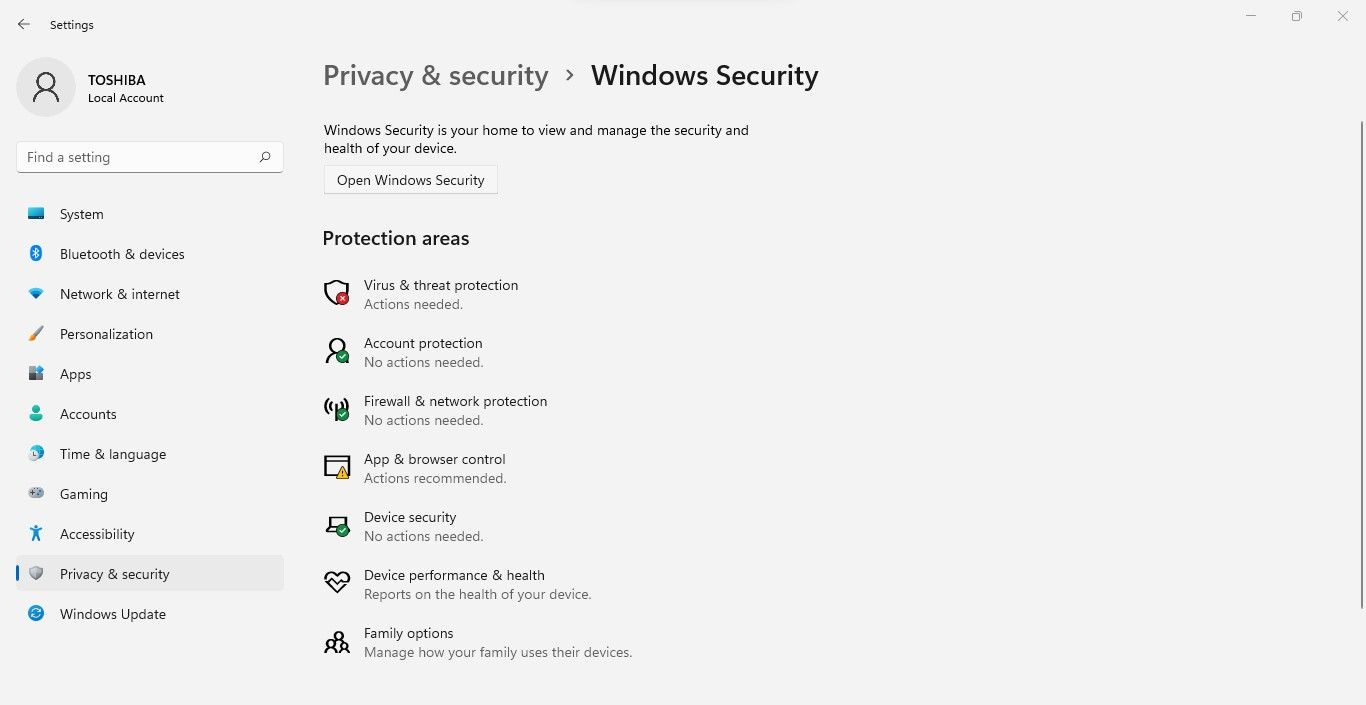
- In the left-sidebar, select Privacy & security.
- In the right-hand pane, click Windows Security.
- Then click on Open Windows Security.

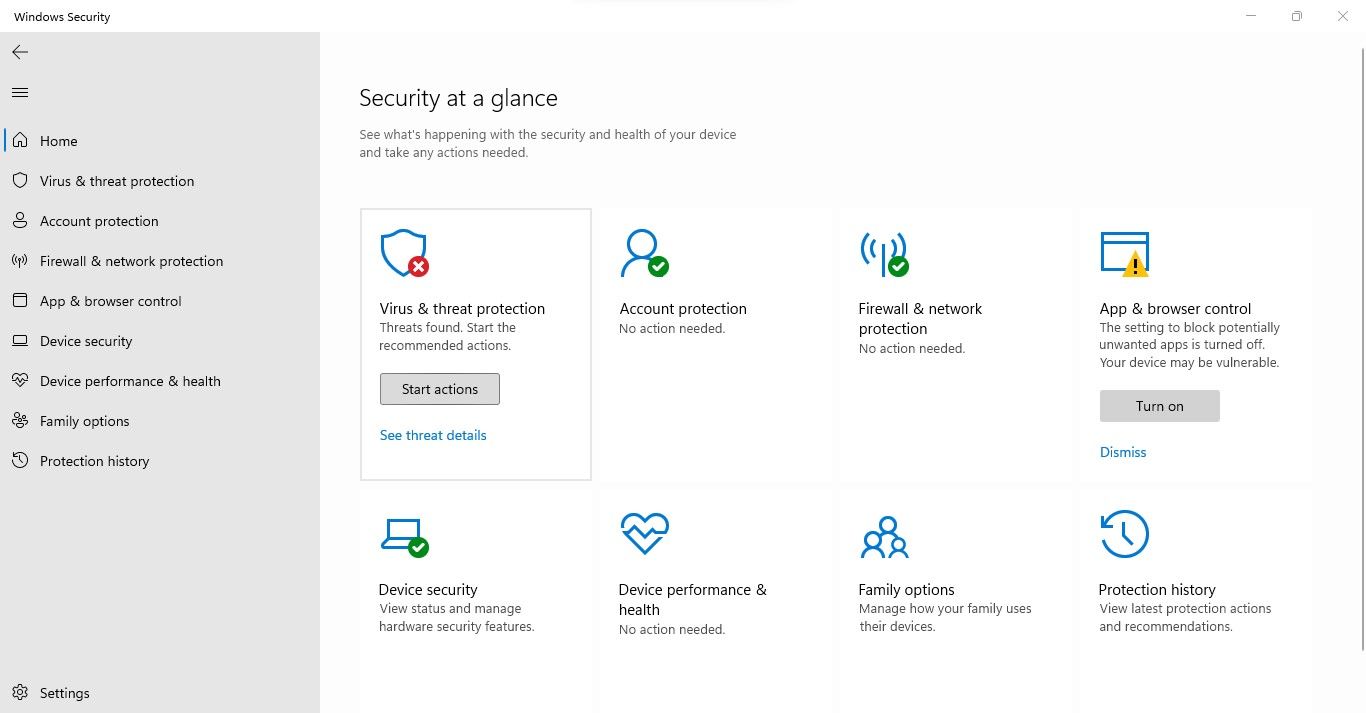
- In the Windows Security window, select Virus and threat protection.

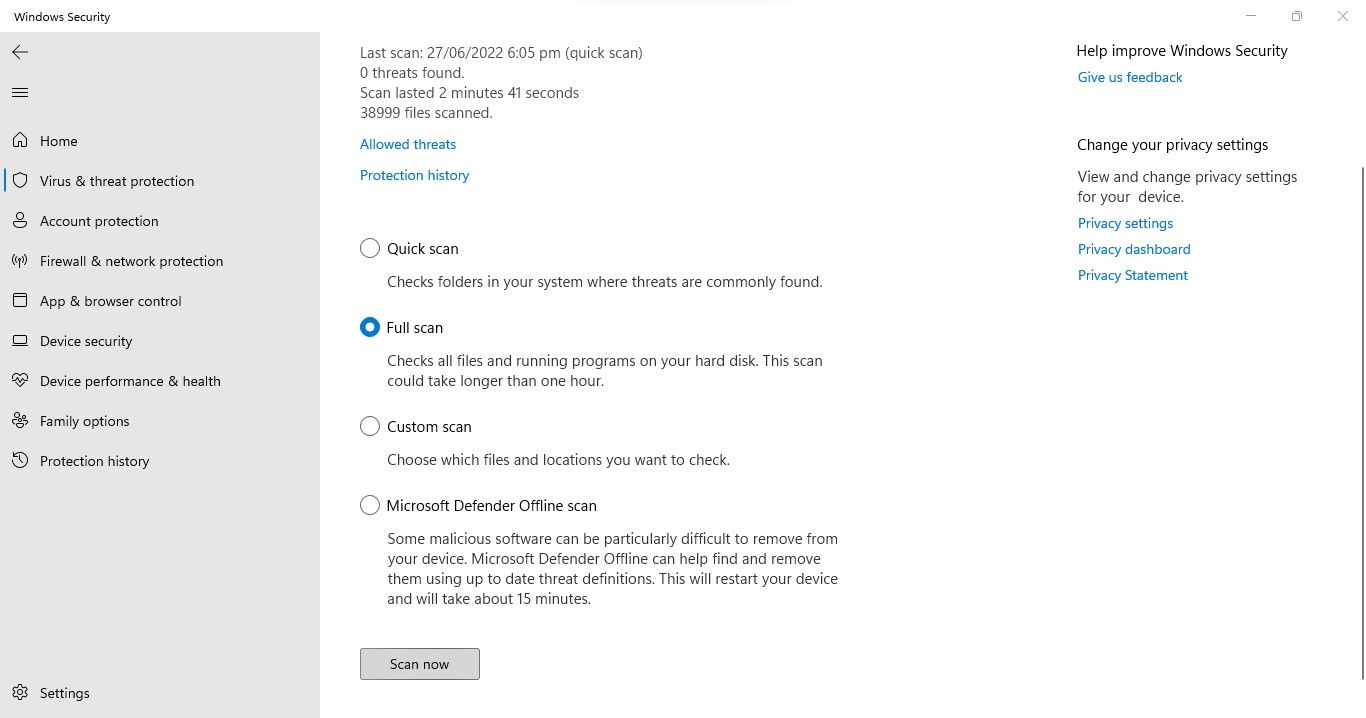
- Under the Quick scan, click Scan options.
- Choose your preferred scan and click Scan now.

That’s it. By scanning your system, Windows will find any malware hidden in your system and remove it from your system. When removing malware fails to put your mouse pointer to rest, you may want to consider resetting your Windows PC as a last resort.
Discipline Your Mouse to Stay Static
By following the above fixes, you should be able to fix the mouse that moves around unconsciously on the screen. If not, it’s likely a hardware issue, which is more likely to occur if you use a cheap, low-quality mouse.
If you find out the problem is hardware-related, try buying a mouse from a reputed company. Check out mice from Microsoft, Logitech, and Seenda—three of the most popular brands.
Windows users occasionally run into issues with their mouse. One common problem is when their cursor wanders on the screen without moving the mouse a little. It is often simply a speck of dust on the table or a loose mouse connection, but sometimes the issue lies in the operating system.
If your mouse has also stopped obeying your orders and is roaming on its own, you will find different solutions in this article to regain control.
Also read:
- [New] 2024 Approved Rotate for Results Instagram Video Alchemy
- [New] Achieve Flawless Video for Instagram Perfection for 2024
- [New] Toolwiz Photography Companion A Thorough 2023 Breakdown
- [Updated] 2024 Approved OBS Essentials Optimizing Your Skype Call Recording Quality
- [Updated] In 2024, Social Media Synergy Connecting Twitch Streams with FB
- 如何解決 Windows 11 儲存器出現的 0X807800C5 錯誤碼?一招神奇的修复技巧
- Deciphering and Resolving Windows Marketplace Failures (Error 0X80073CF3)
- Eliminating Windows' 0X80070194 in OneDrive Errors
- Guide to Solving Blue Screens Caused by Not Handled Error
- How Do I Stop Someone From Tracking My OnePlus 12? | Dr.fone
- In 2024, Will iSpoofer update On Oppo A59 5G | Dr.fone
- Initiating File Explorer with OneDrive Integration
- Latest NVIDIA MX150 Graphics Card Driver Downloads for Windows PCs
- Mastering RDP Troubleshooting in Windows OSes
- Reawakening Computers: Top 8 Windows Restart Techniques
- Spruce Up Your Window's Mail & Schedule With Pics
- Strategies for Revealing Hidden Windows Drives
- Ultimate Metaverse VR Gear List Top 8 Choices
- Windows 11 Screen Sharing: Disabling PIN During Cast
- Title: Pointer Problems Solved: Mastering Control in Win11
- Author: David
- Created at : 2024-11-26 16:07:39
- Updated at : 2024-11-28 03:01:13
- Link: https://win11.techidaily.com/pointer-problems-solved-mastering-control-in-win11/
- License: This work is licensed under CC BY-NC-SA 4.0.


