
Modifying Account Lockout Tally Post Unsuccessful Login Attempts in Windows 10/11
Modifying Account Lockout Tally Post Unsuccessful Login Attempts in Windows 10/11
Enter the wrong local account password too many times and Windows could lock you out. The system also counts how many failed attempts you make when attempting to sign on to the machine.
Exceed this threshold and you will need this counter to be reset, which you can do by waiting a set amount of time. Here’s how to change the time you must wait in order for the counter to be automatically reset.
Reset the Windows Account Lockout Counter in Windows via Local Security Policy
This method should be your preferred choice if the system is running the Pro, Enterprise, or Education edition of Windows 10 or 11.
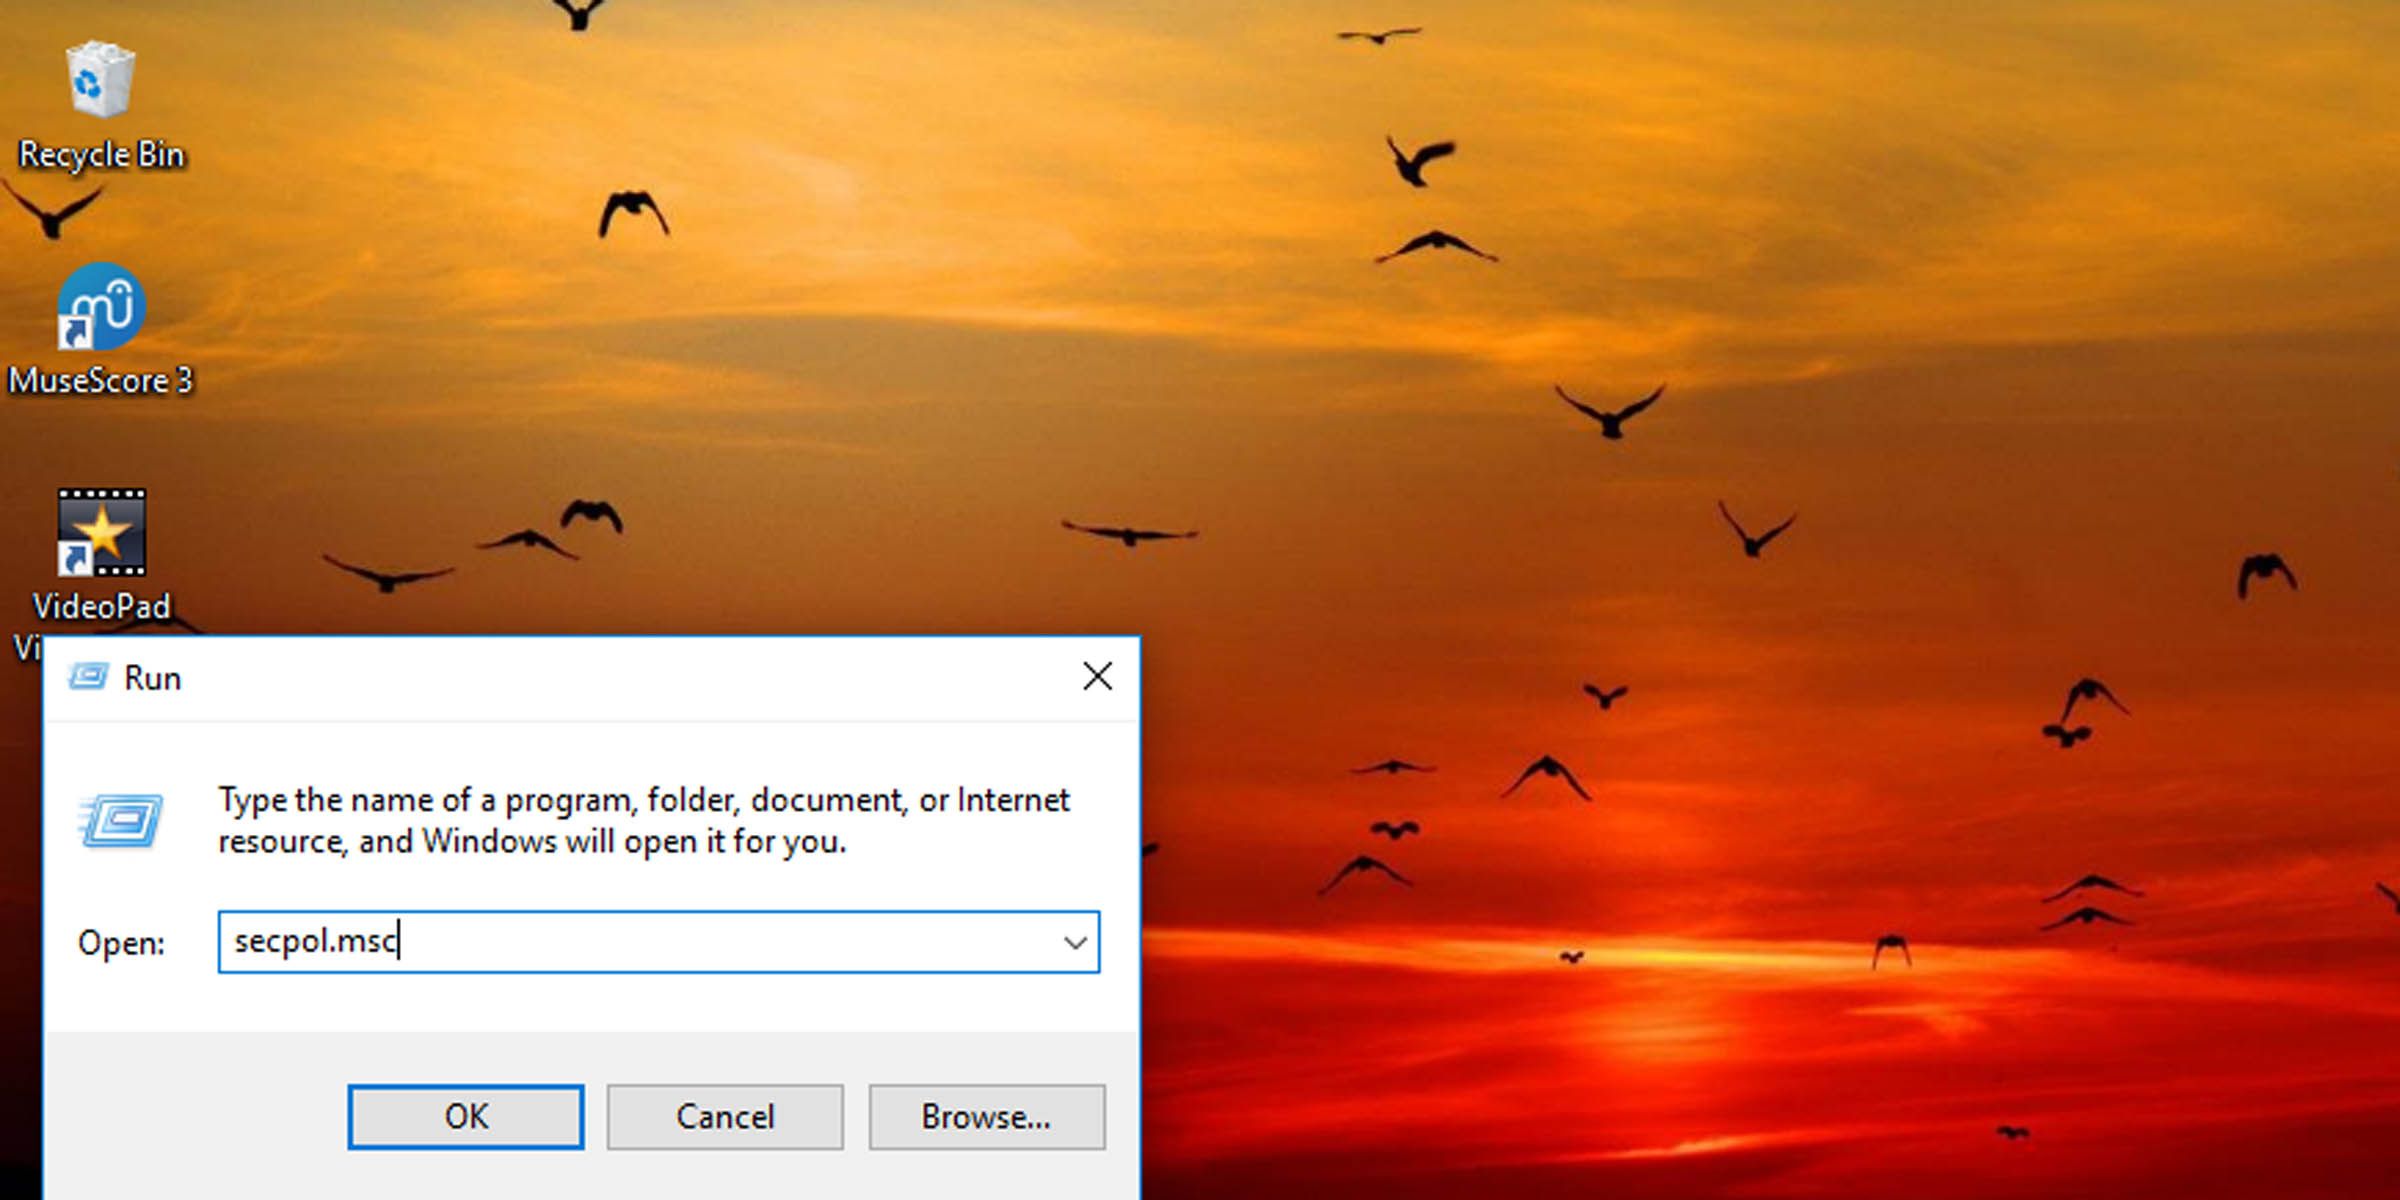
- Press the Windows key + R to open the Run dialogue.
- In the text field, type “secpol.msc” and hit Enter.

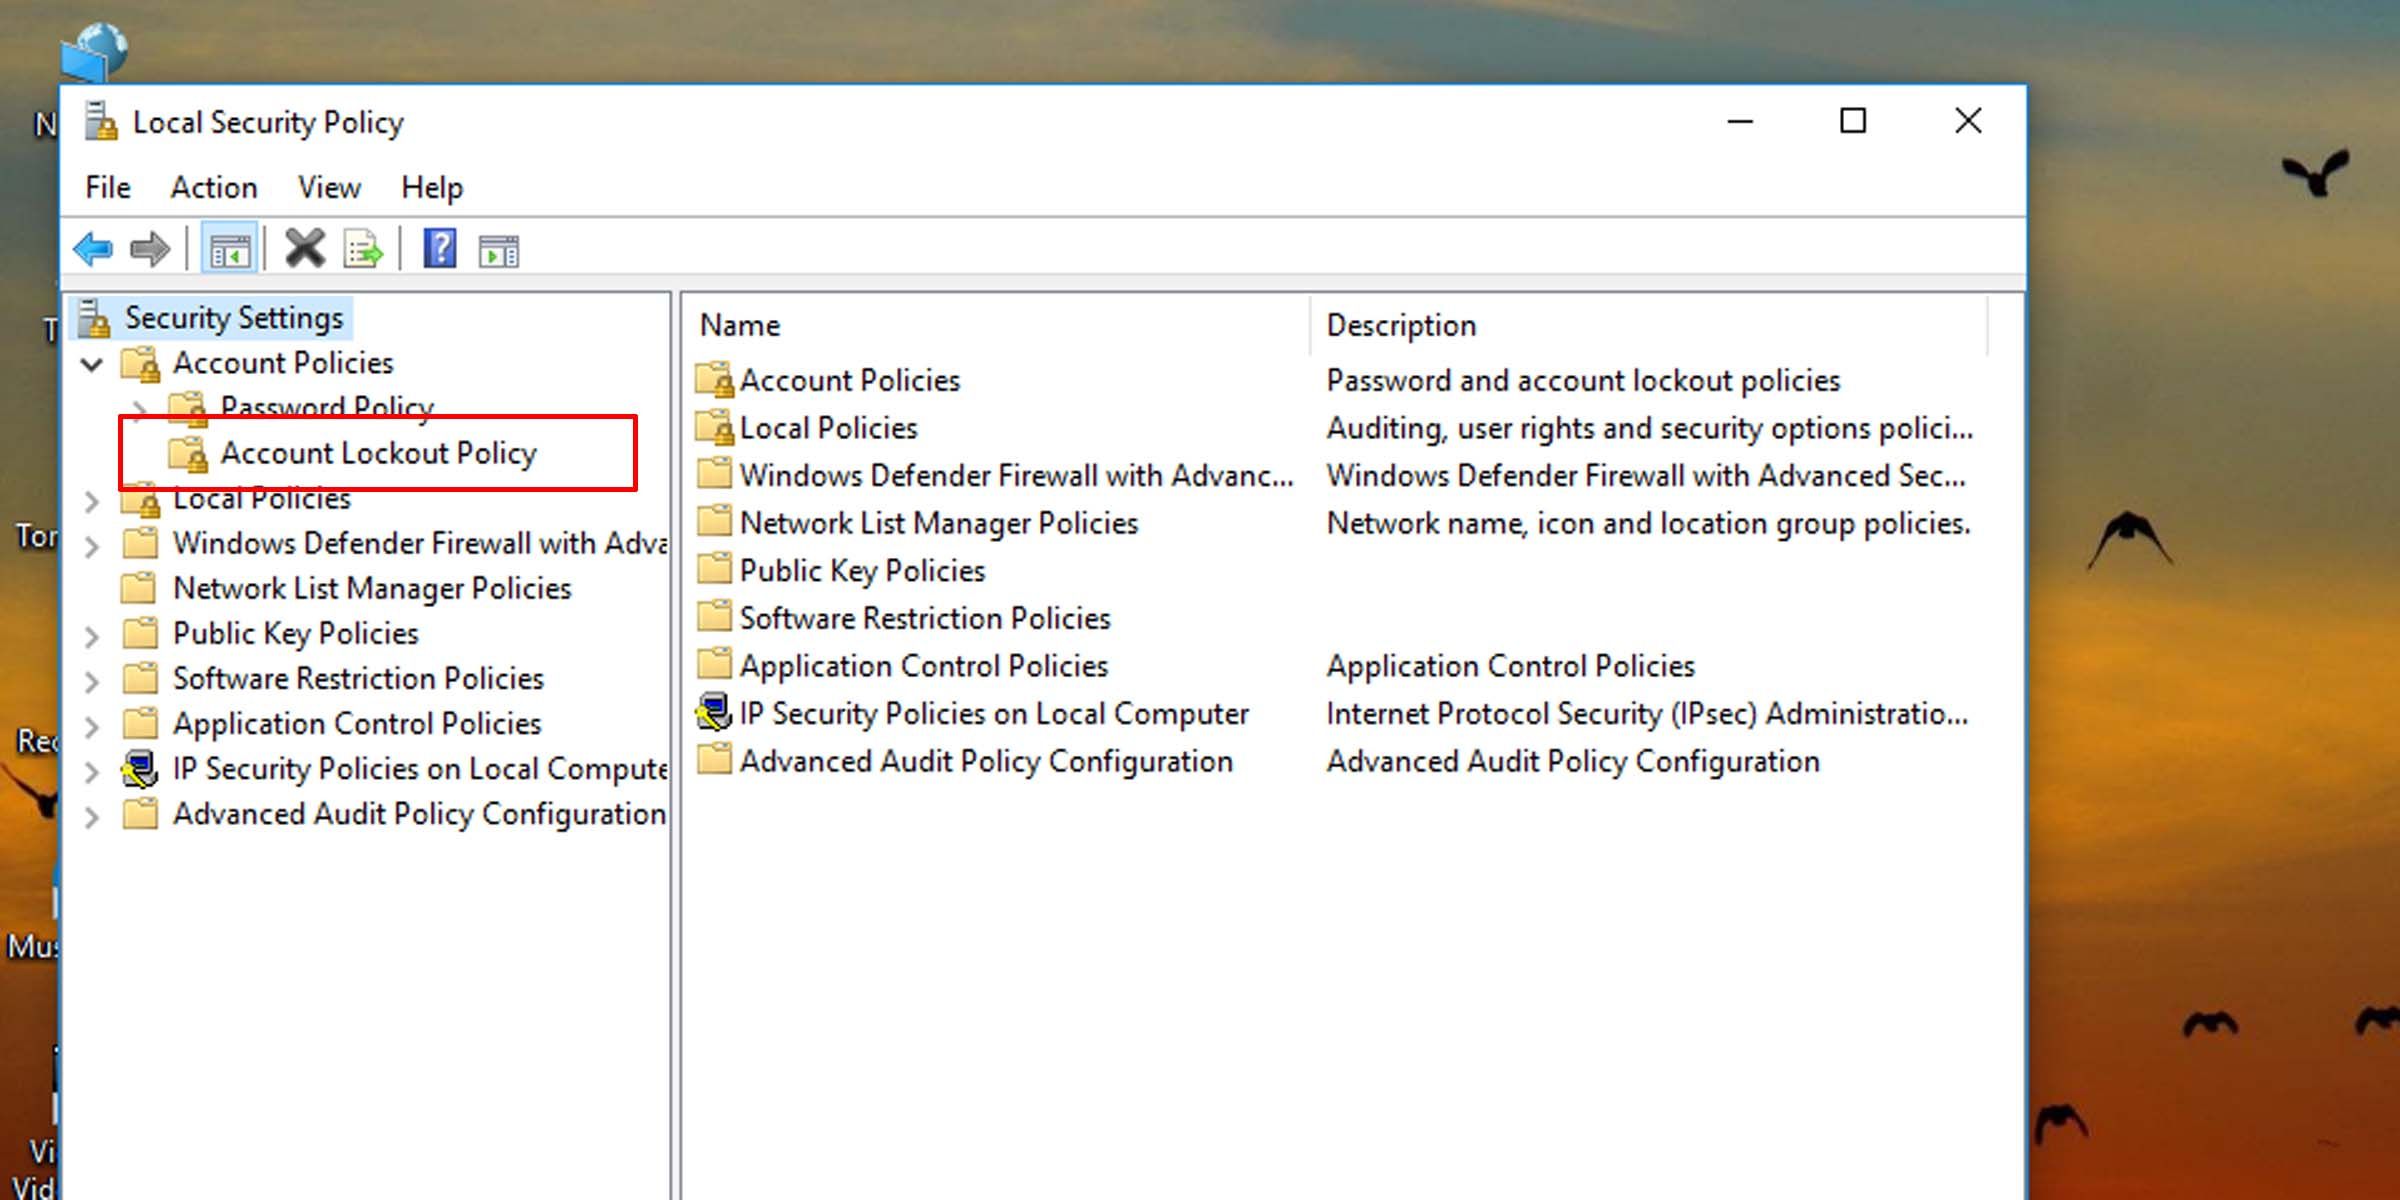
- On the left pane, navigate to Account Lockout Policy under the Account Policies folder.
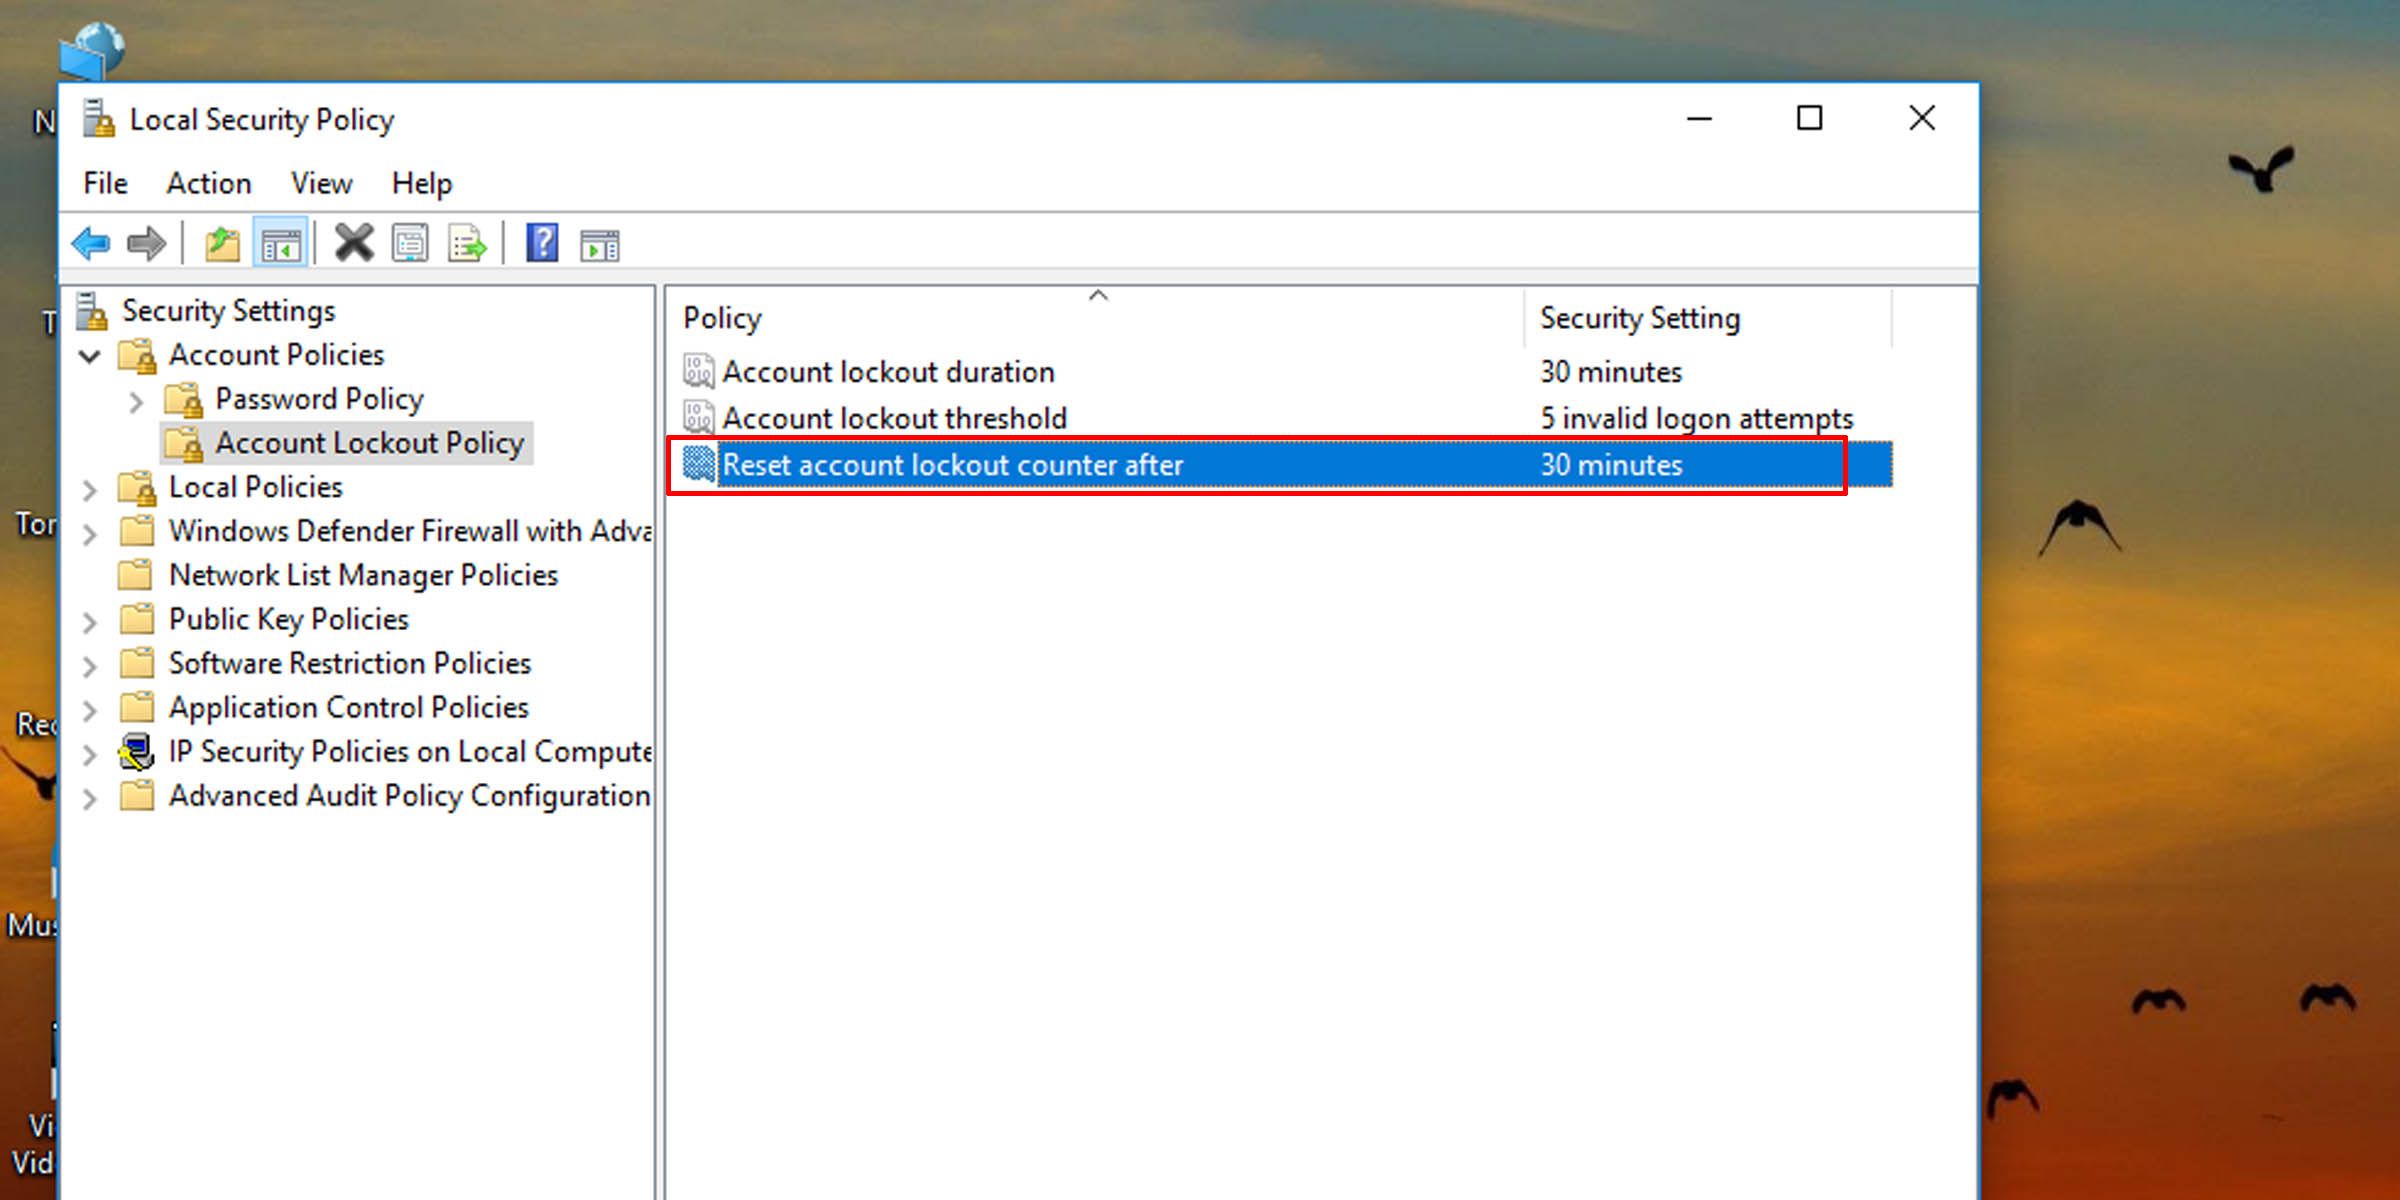
- On the right pane, double-click on the Reset account lockout counter after option.
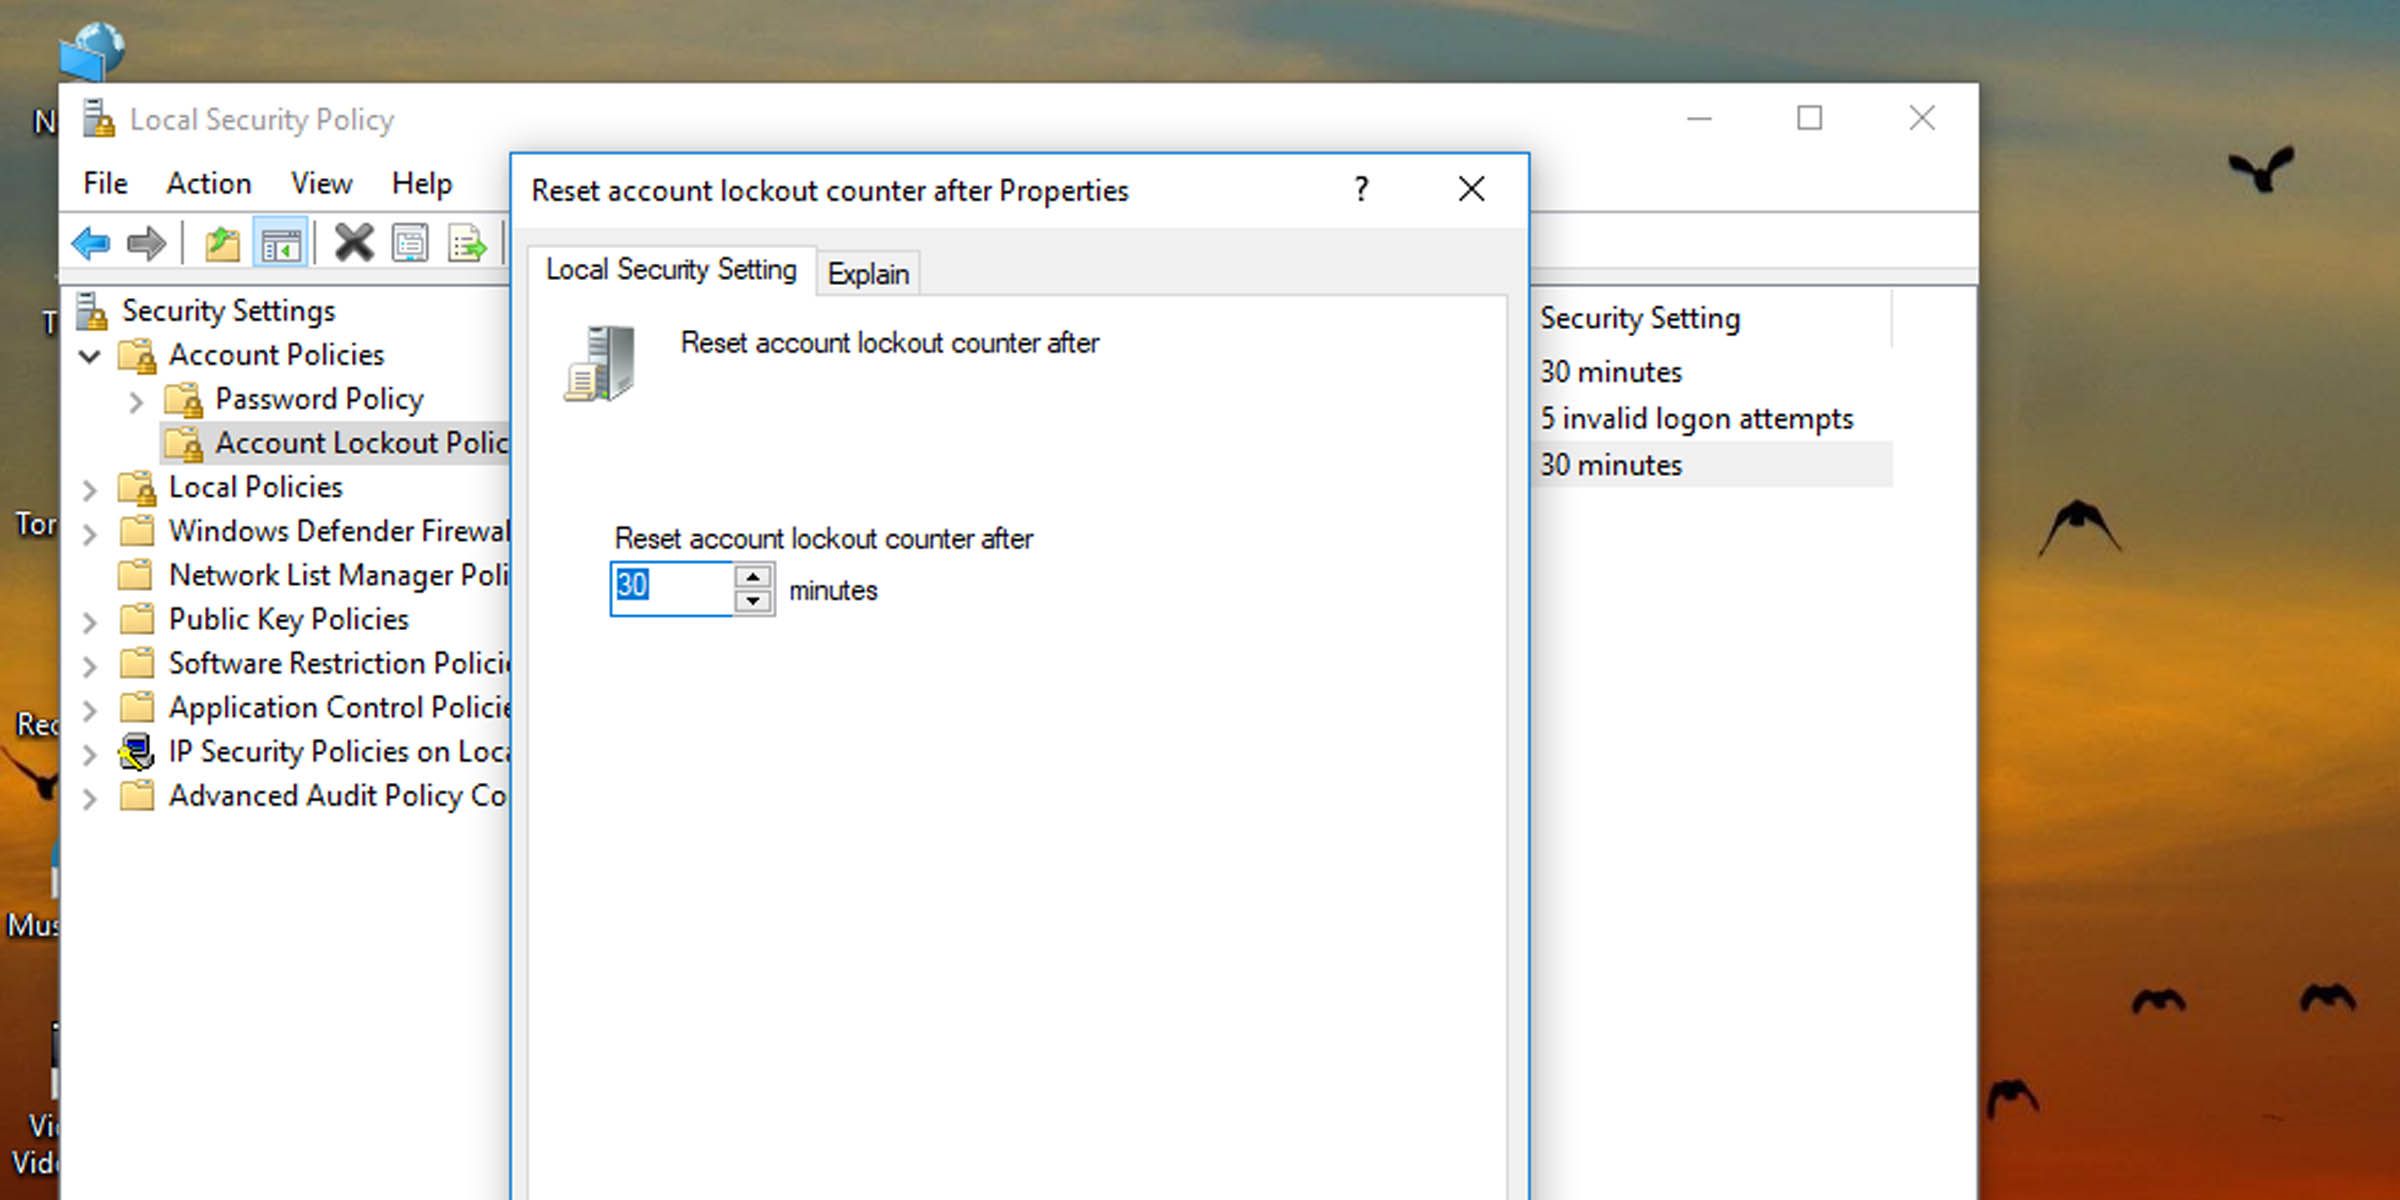
- Choose a number between one and 99,999, and hit OK to change how long the system will require to automatically reset any failed logon attempts.
How to Change Account Lockout Counter Reset Time via Command Prompt
If the system you’re working with isn’t running the Pro, Enterprise, or Education edition of Windows 10 or 11, you’ll have to change how long before the account lockout counter is reset via the command prompt.
- Open command prompt as administrator, also called the elevated command prompt , or Windows PowerShell.
- Type the following command into the console and hit Enter:
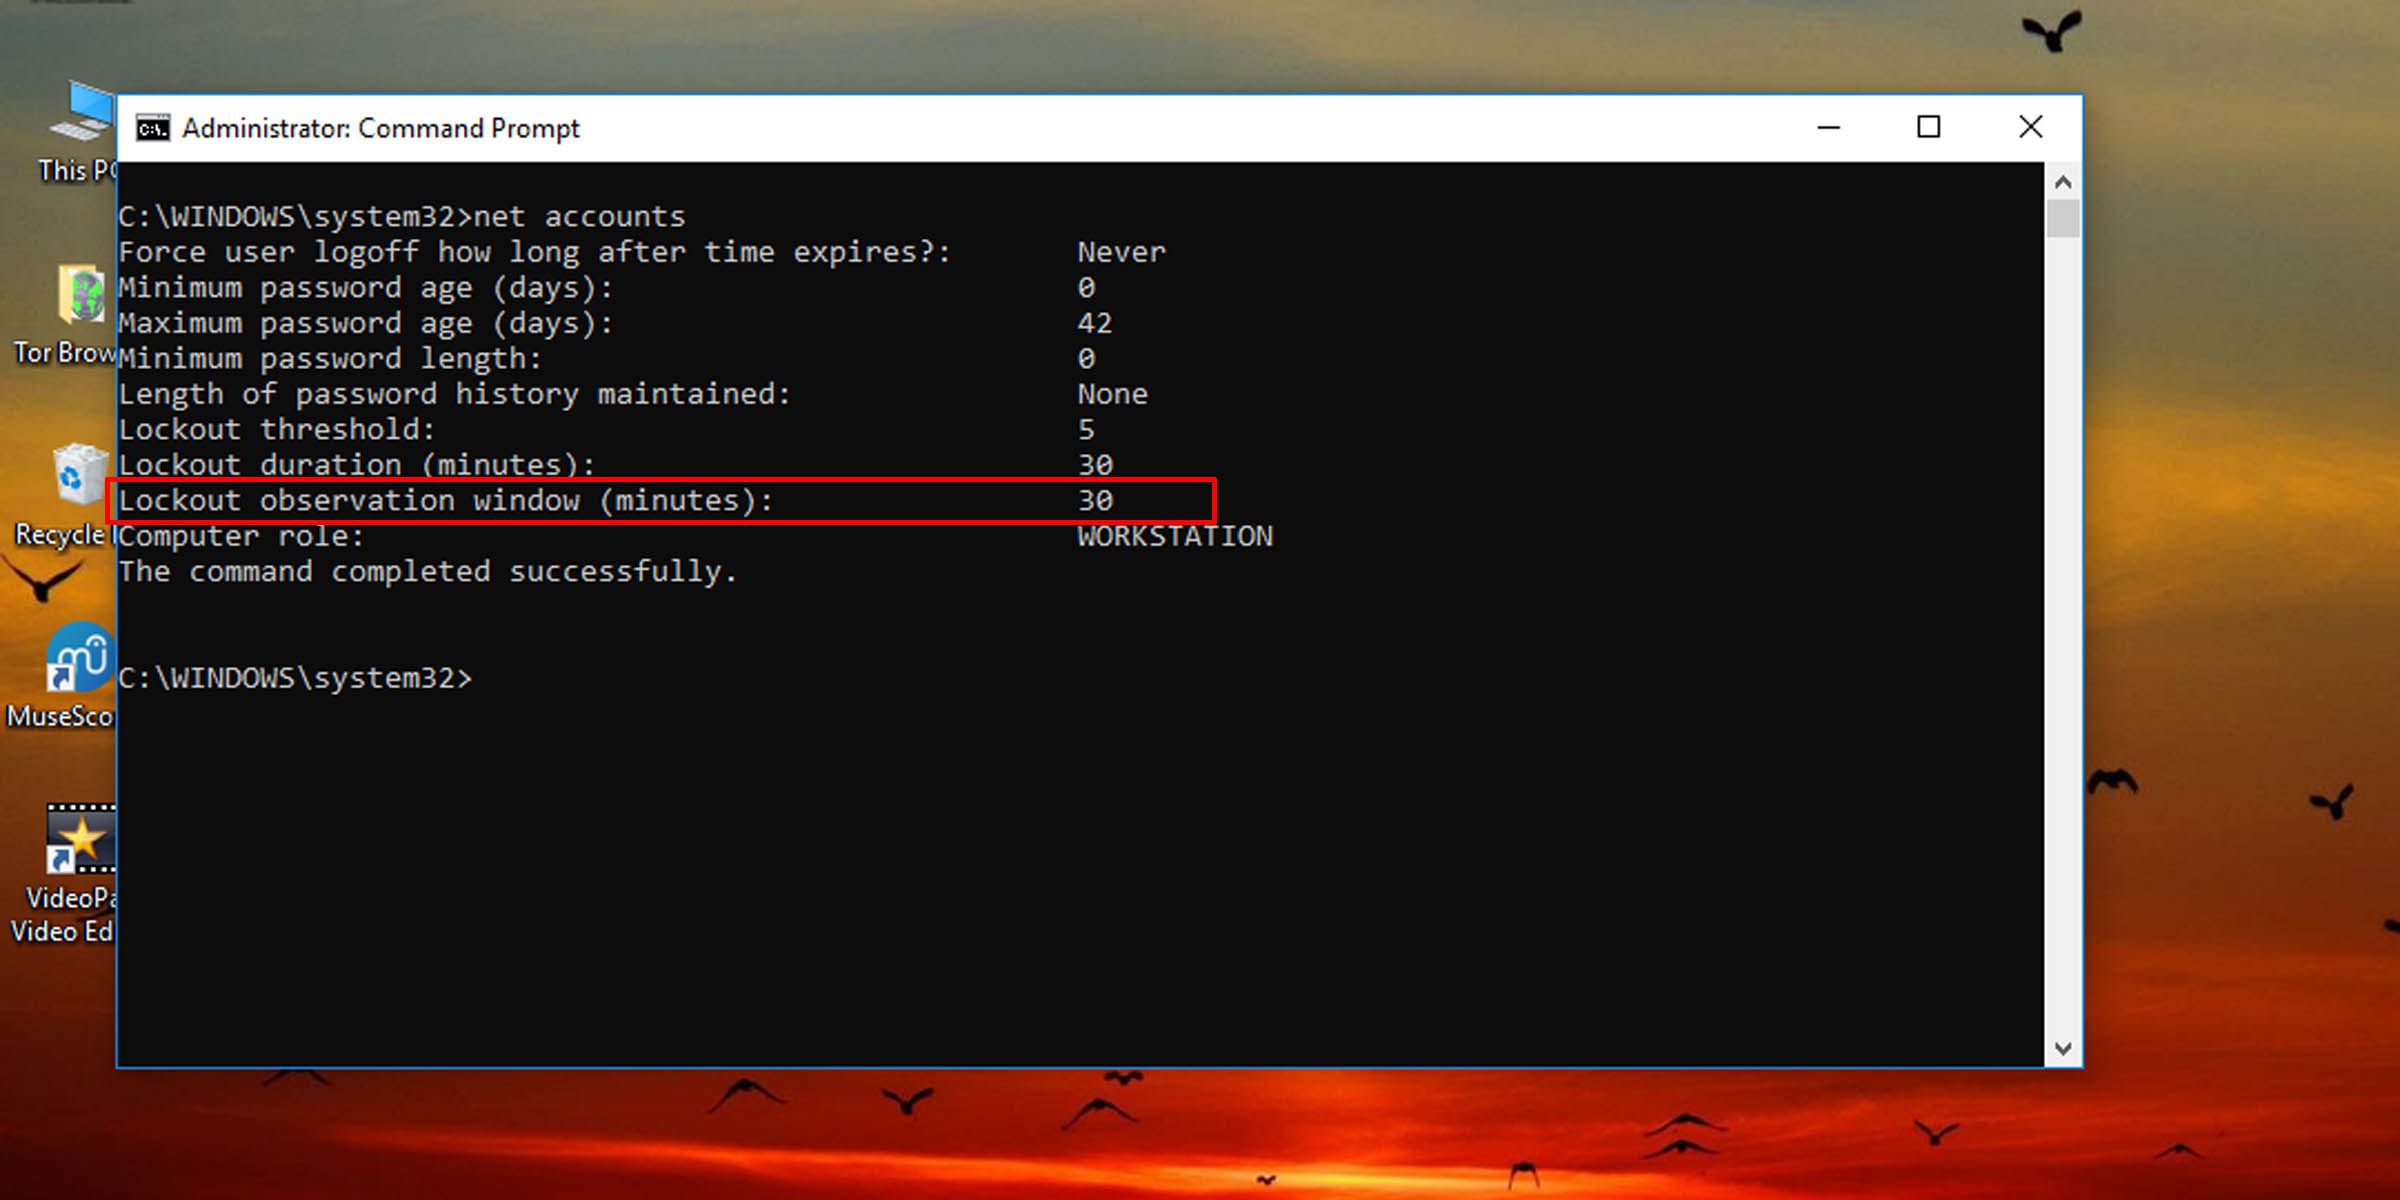
net accounts
- This will pull up information on how long a user has to wait before their account lockout counter is reset. It will be under the heading Lockout observation window.
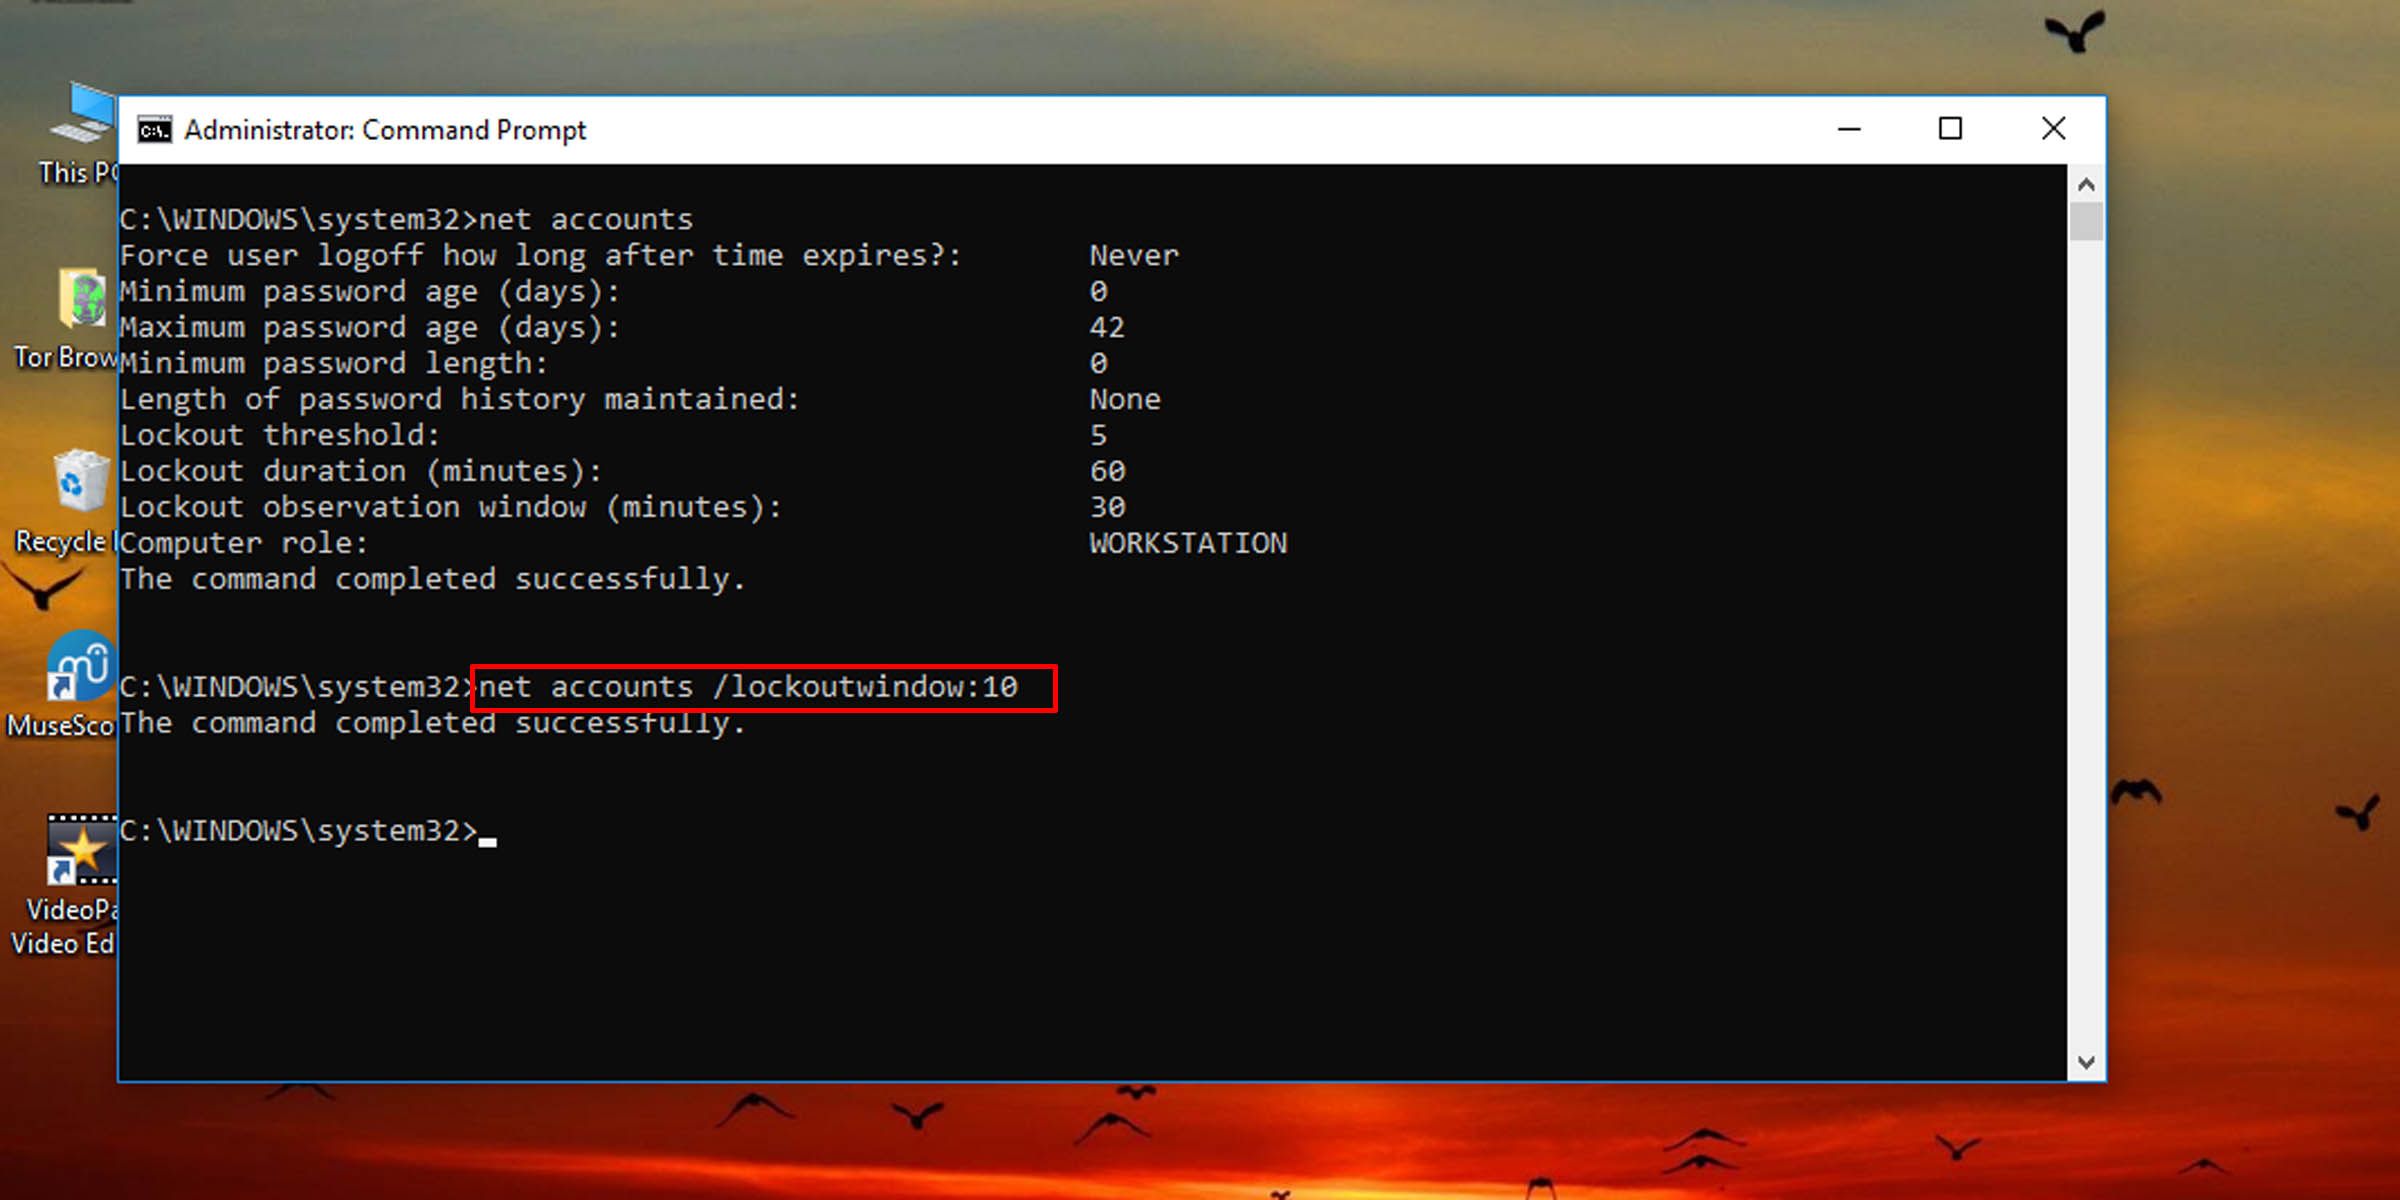
- To change the account lockout counter reset duration on Windows 10 and 11, type the following command into the console and hit Enter:
net accounts /lockoutwindow:60
- Replace the number “60” in the command with any other number from one to 99,999 to set how many minutes a user will have to wait before their failed logon attempts are reset.

A related setting, the account lock-out duration , must equal or exceed the time for the system to automatically reset the number of failed login attempts. If you want, you can change the account lock-out duration on Windows to something that suits you best.
You can also limit the number of failed logon attempts on Windows with a similar setting change.
 WonderFox DVD Ripper Pro
Control How Long Before the Incorrect Logon Counter Is Reset
With this setting, you control how long before the counter that keeps track of incorrect logon attempts is reset. Use it in conjunction with the lockout duration option account policy to make things more convenient for local users.
Exceed this threshold and you will need this counter to be reset, which you can do by waiting a set amount of time. Here’s how to change the time you must wait in order for the counter to be automatically reset.
- Title: Modifying Account Lockout Tally Post Unsuccessful Login Attempts in Windows 10/11
- Author: David
- Created at : 2024-08-16 00:20:13
- Updated at : 2024-08-17 00:20:13
- Link: https://win11.techidaily.com/modifying-account-lockout-tally-post-unsuccessful-login-attempts-in-windows-1011/
- License: This work is licensed under CC BY-NC-SA 4.0.