
Mastering the Art of Invisible Images with Encrypted Zips (WIN)
Mastering the Art of Invisible Images with Encrypted Zips (WIN)
Steganography is the hiding of data (or information in the form of messages). In computing terms, this means concealing data in alternative files. Utilizing steganography techniques enables you to hide important (confidential) files saved on your PC.
One steganography method is to merge a ZIP archive that contains numerous files with an image. Then the ZIP archive will appear to be nothing more than a standard image file. Here are two ways to hide a ZIP archive within an image file on a Windows 11/10 PC.
How to Hide a ZIP in an Image File With the Command Prompt
You can hide a ZIP file within an image without any third-party software by utilizing the Command Prompt. It’s relatively straightforward to do so since you’ll only need to execute a single command. Note that the image you use will need to be in JPG, PNG, or GIF format.
### How to Get Started With the Command PromptThis is how you can hide a ZIP archive within an image with the Command Prompt:
- First, create a ZIP archive that includes some important files to conceal. That will be the ZIP file you’re going to merge with an image.
- Move the ZIP file into the same folder as the image you’re going to merge it with. This trick won’t work if the ZIP archive and image file to merge aren’t in the same folder.
- Next, activate the search box (utilize the Windows logo key + S keyboard shortcut).
- Input a cmd keyword and select to open an elevated Command Prompt by clicking Run as administrator for that search result.
- Now enter the cd command to open the folder that contains the ZIP archive and image to merge. For example, a command for opening the Users folder would look like this:
cd\Users - Input this command and press Enter to merge the ZIP archive with the image file:
copy /B imagefilename.jpg+ZIParchivename.zip newfilename.jpg
You will need to replace the fake file names in that command with real titles. The command will not work if your files’ names include spaces. So, make sure the ZIP archive or image file names don’t have spaces. The three files in the example command above are:
- The original image file to merge with ZIP archive: imagefilename.jpg
- The ZIP archive name: ZIParchivename.zip
- The new image file the command creates: newfilename.jpg
Now check out the new image file created in the same folder. Double-clicking that file will open it in your default image viewer. It doesn’t look like a ZIP file, but you can still access the merged ZIP archive from that image.


How to Access the Archive Within the Image
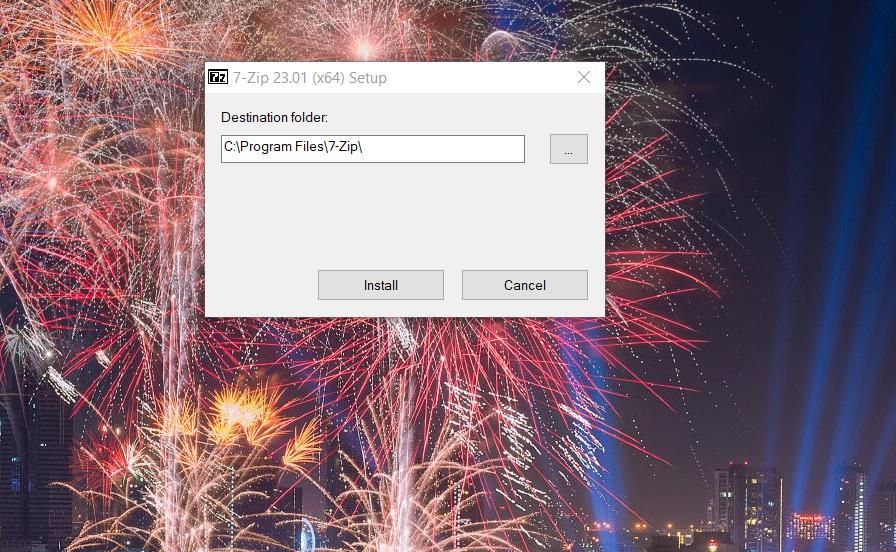
To access the archive hidden within that image, download and install the freely available 7-Zip software, one of the best file extraction tools for Windows ; click the Download link for the 64-bit version on this 7-Zip page . Double-click the 7z2301-x64.exe setup file and click Install.
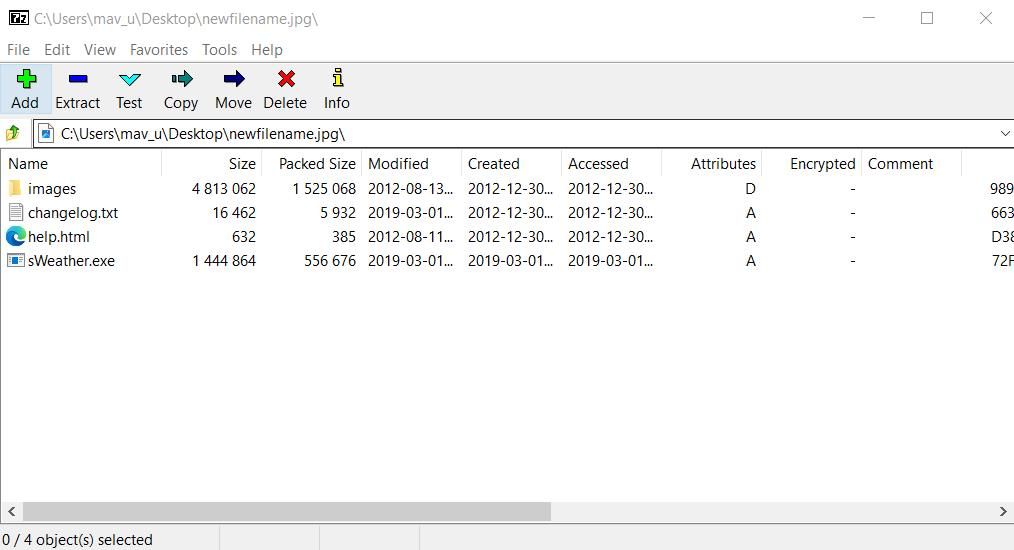
Navigate to the folder containing the new image file the copy /B command created within 7-Zip. Double-clicking that image file will open the ZIP archive you merged it with. Then you can access all the content within the ZIP archive by double-clicking it within 7-Zip.
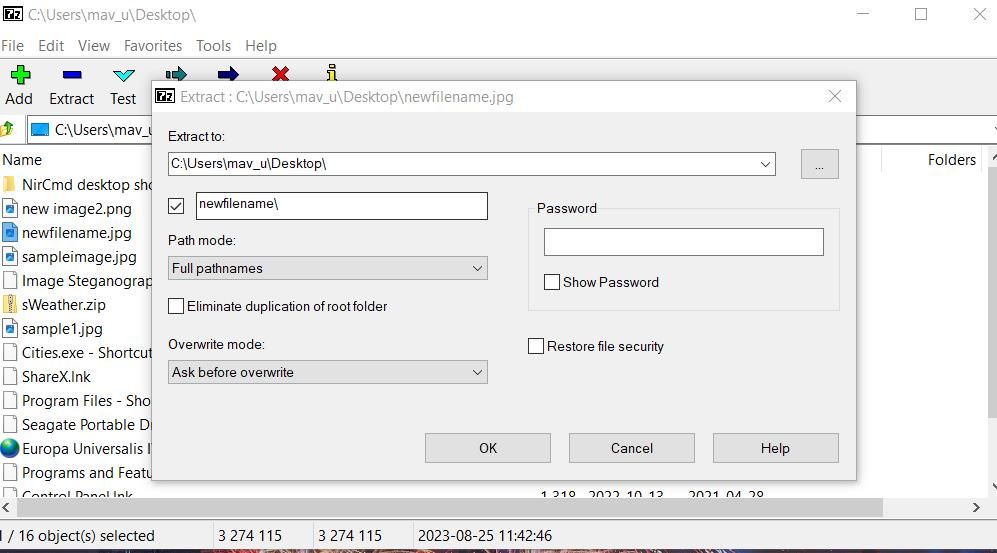
Or you can extract the contents from the archive with 7-Zip by selecting the image file and clicking Extract. Click the ellipses button to choose a folder to include the extracted files. Then press OK to proceed with the extraction.
 Forex Robotron Gold Package
How to Hide a ZIP in an Image File With Image Steganography
If a more automated way to hide a ZIP archive in an image file is preferred, check out the Image Steganography software. Image Steganography is freeware software for Windows 11/10 that enables you to embed ZIP archives in images without any command input necessary. This is how you can hide a ZIP in an image with the Image Steganography software:
- Open this Image Steganography page on Softpedia.
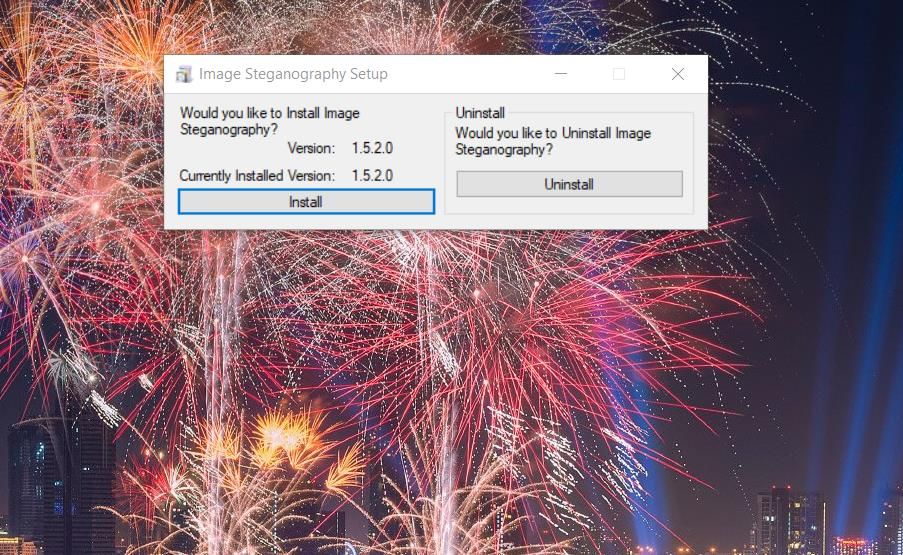
- Download and double-click the Image Steganography Setup.exe file to bring up an installer window.
- Select Yes when prompted to start Image Steganography.
Open the folder that contains the ZIP archive and image file you want to merge. Remember that both files must be in the same folder just like the first method.
Drag and drop the image file from its folder onto the Image box within the software to select it. Now that you’re ready to go, proceed with the following:
- Click the File radio button.
- Then drag and drop the ZIP archive from the folder onto the file box.
- Click the Choose button for the output image.
- Choose a folder to save the output file in. Input a name for the new image file and click Save.
- Make sure the Embed and Encode steganography mode options are selected.
- Press the Start button in Image Steganography.
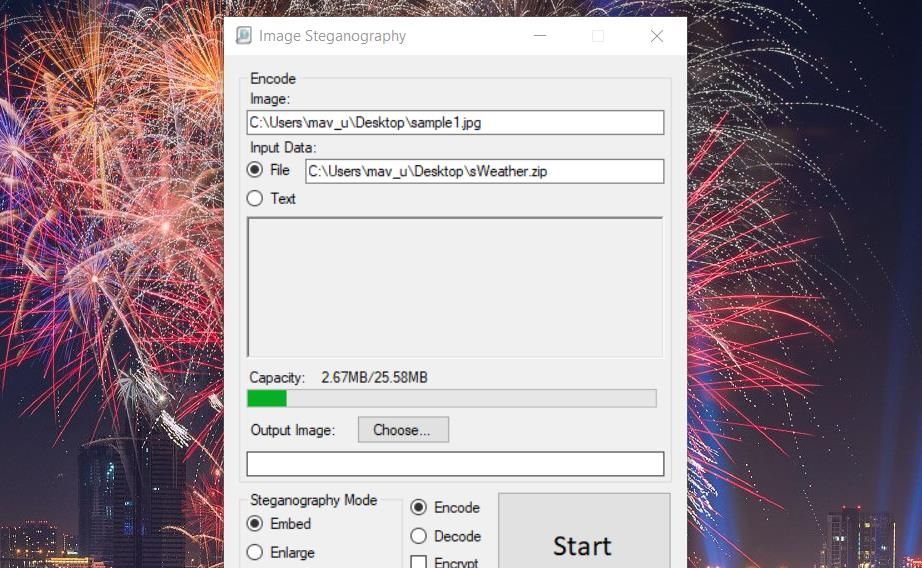
If an error message pops up that says the “image is too small,” you’ll need to select a bigger picture file. The image file must be larger than the ZIP archive you want to merge it with. Alternatively, select the Pre-Scale Image checkbox.
Your new image output file will be in whatever folder you selected to save it in. The ZIP file is embedded in it, but you’ll only see the image with whatever software it opens in.
How to Access the Archive Within the Image
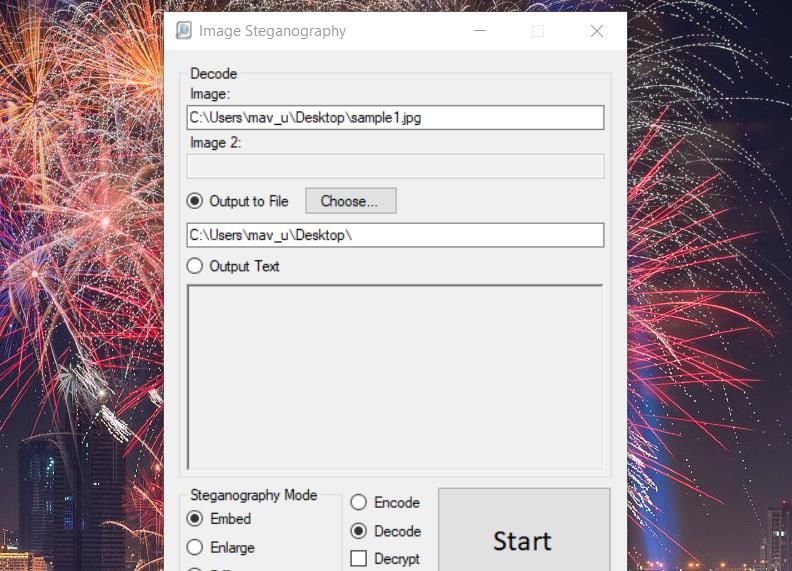
The hidden archive will not be accessible in 7-Zip when created with the Image Steganography software. To access the embedded ZIP archive again, you’ll need to decode the image file it’s hidden in with the stenography software. This is how you can decode an image file that incorporates an embedded ZIP:
- Click the Decode stenography mode option.
- Drag and drop the image file you need to decode onto the Image box within the software.
- Press the Choose button to select a folder location to include the ZIP archive and click OK.
- Click on Image Stenography’s Start button to decode the image file.
- Finally, click OK on the finished dialog box.
The folder location you selected will now include the ZIP archive hidden within the image file. You can access all the contents within that archive by unzipping it with one of the methods in our how to extract ZIP files guide.
Hide Your Most Important Files Within Images
Those alternative software image steganography methods will enable you to disguise ZIP archives that contain important files as images on your Windows 11/10 PC. It’s unlikely anybody could ever guess that an image file includes an embedded ZIP archive. So, that’s a good way to conceal your most confidential files.
One steganography method is to merge a ZIP archive that contains numerous files with an image. Then the ZIP archive will appear to be nothing more than a standard image file. Here are two ways to hide a ZIP archive within an image file on a Windows 11/10 PC.
- Title: Mastering the Art of Invisible Images with Encrypted Zips (WIN)
- Author: David
- Created at : 2024-08-16 00:21:16
- Updated at : 2024-08-17 00:21:16
- Link: https://win11.techidaily.com/mastering-the-art-of-invisible-images-with-encrypted-zips-win/
- License: This work is licensed under CC BY-NC-SA 4.0.