
Mastering Offline Windows Updates: The Portable Guide

Mastering Offline Windows Updates: The Portable Guide
If there’s a computer that’s in an isolated environment, where it can’t access the internet, updating it can seem impossible. Luckily, there’s a program you can use to download the needed Windows Updates on a computer that has internet access and then install them on the offline computer. It’s called Portable Update, and we’re going to show you how to use it.
Disclaimer: This post includes affiliate links
If you click on a link and make a purchase, I may receive a commission at no extra cost to you.
1. Download and Install Portable Update
To kick things off, you’ll need to connect your PC to the internet and download Portable Update , which will be in a ZIP file. Go to where you downloaded the ZIP file, extract it, and place the extracted folder in a USB drive, such as a flash drive or external hard drive.
The PC you’re trying to update should have the same Windows version as the one you’re going to use Portable Update on first to download the update files. That means, if the offline computer is using Windows 11, the other one should also use Windows 11.
Next, double-click PortUp.exe (while it’s still plugged into your computer) to launch the portable, lightweight app.
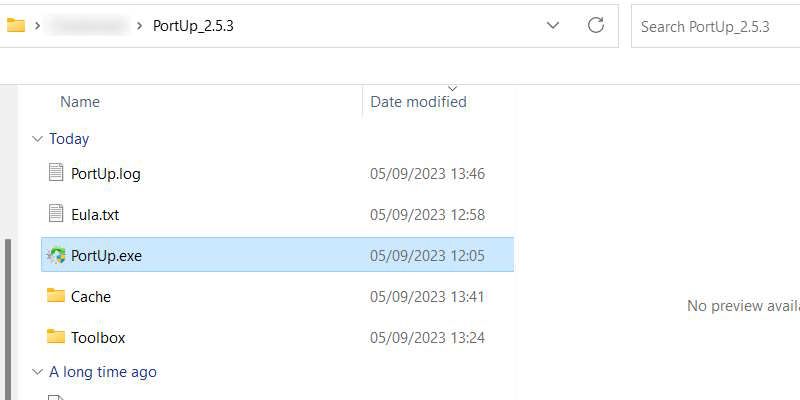
After launching Portable Update, click on Start for the app to download the files it needs to run. This process shouldn’t take long, and when it’s done, the app should open completely.
2. Scan for the Update Files
Next, you’ll have to get Portable Update to search for the update files you need. So, click on the Search tab at the top, and then click on Start in the top-right corner.
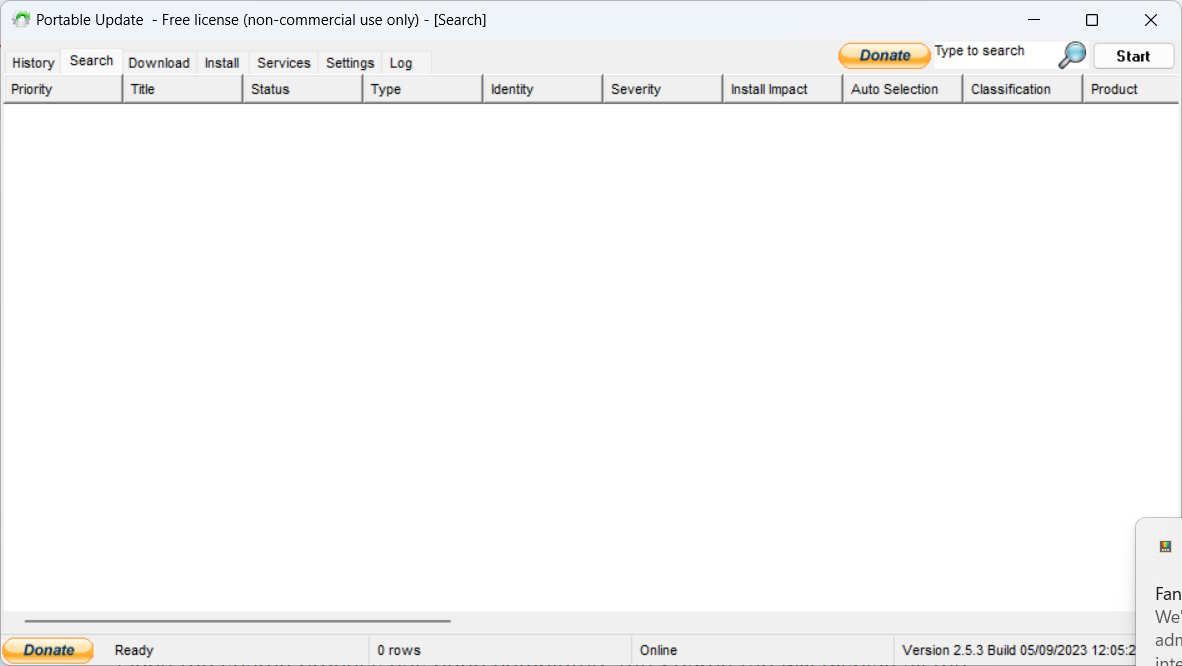
Once the Portable Update completes its search, it will list the available Windows updates that you can download.
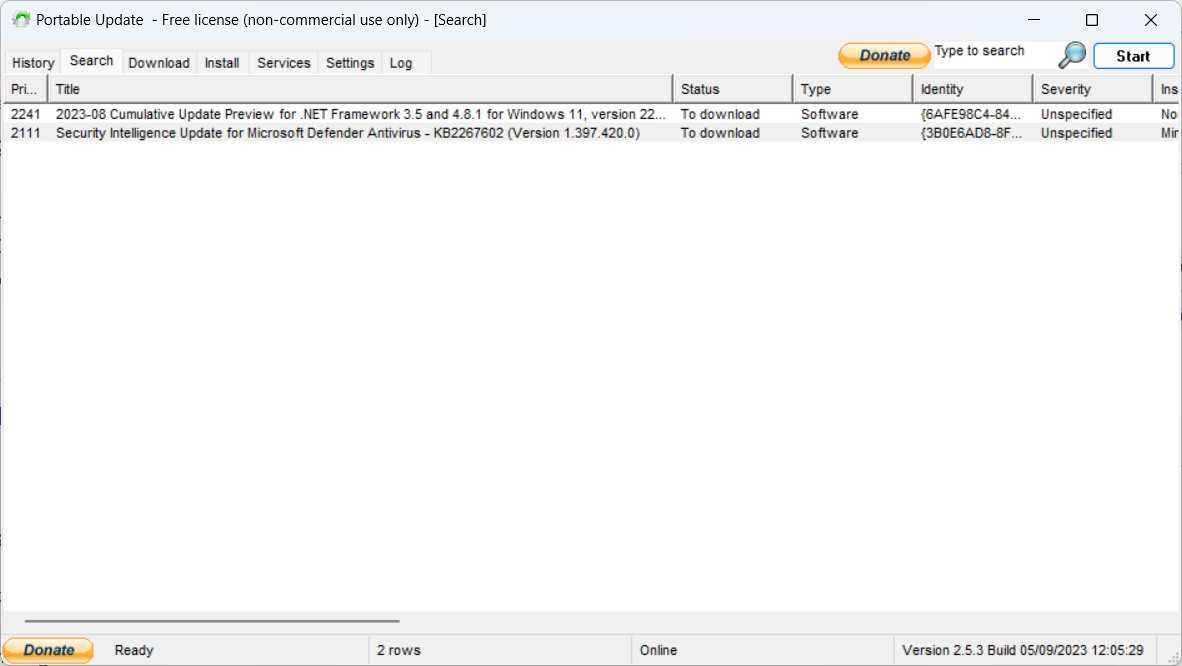
Now, that you know what’s available, it’s time to download the files for offline installation.
3. Download the Windows Update You Want
To download the files, click on the Download tab at the top to view the downloadable files, along with other details, such as their size, and severity. Click on the checkbox on the right of the update you want to download (you can select more than one), and then click on Start in the top-right corner of the screen. When selecting the files to download, make sure their Status column says Not Installed.
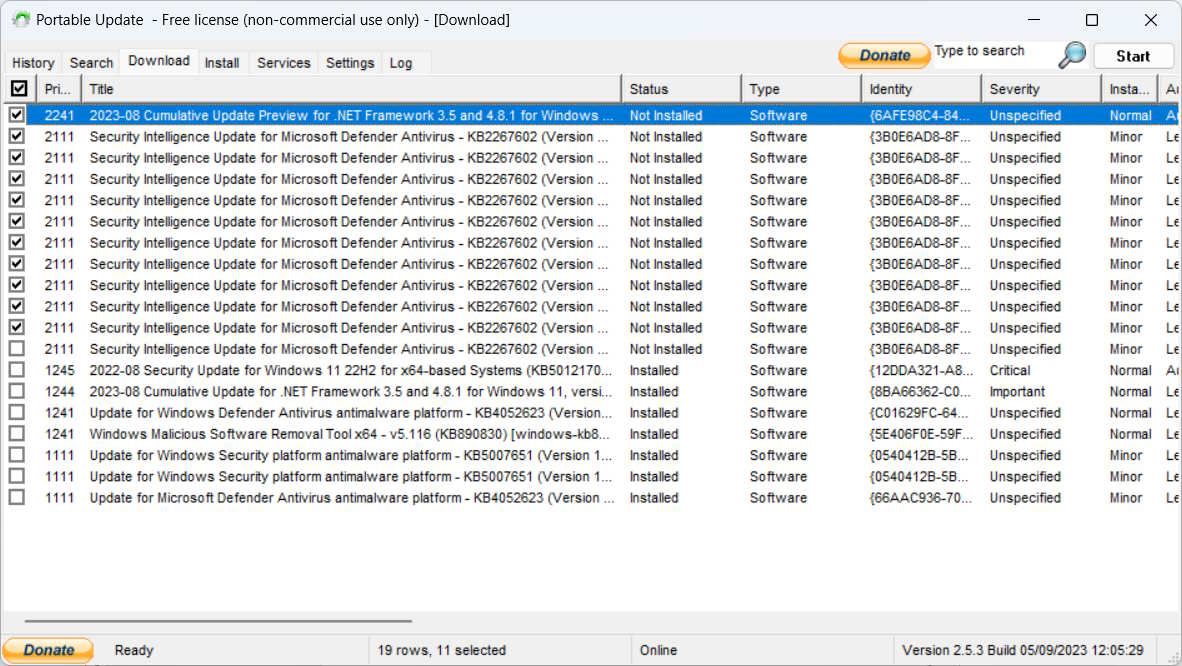
Once the download finishes, it will disappear from the list. Portable Update will place the Windows Update files in the Cache folder, which is where it will look when you try to install them on the other computer.
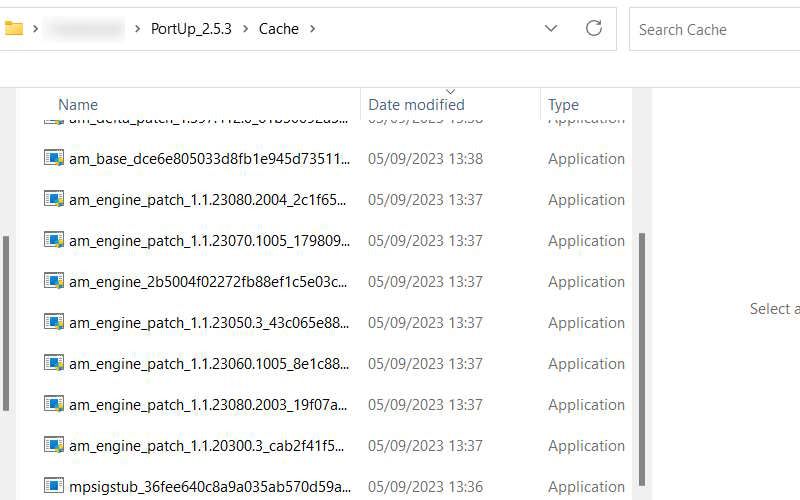
Now you’re ready to move the program over to the offline computer.
4. Install the Selected Windows Updates
Unplug the USB drive with Portable Update on it, plug it into the offline computer, and launch it. Now, go to the Install tab, select all the downloads you want to install, and then click Start in the top-right corner. Portable Update will then install the updates.
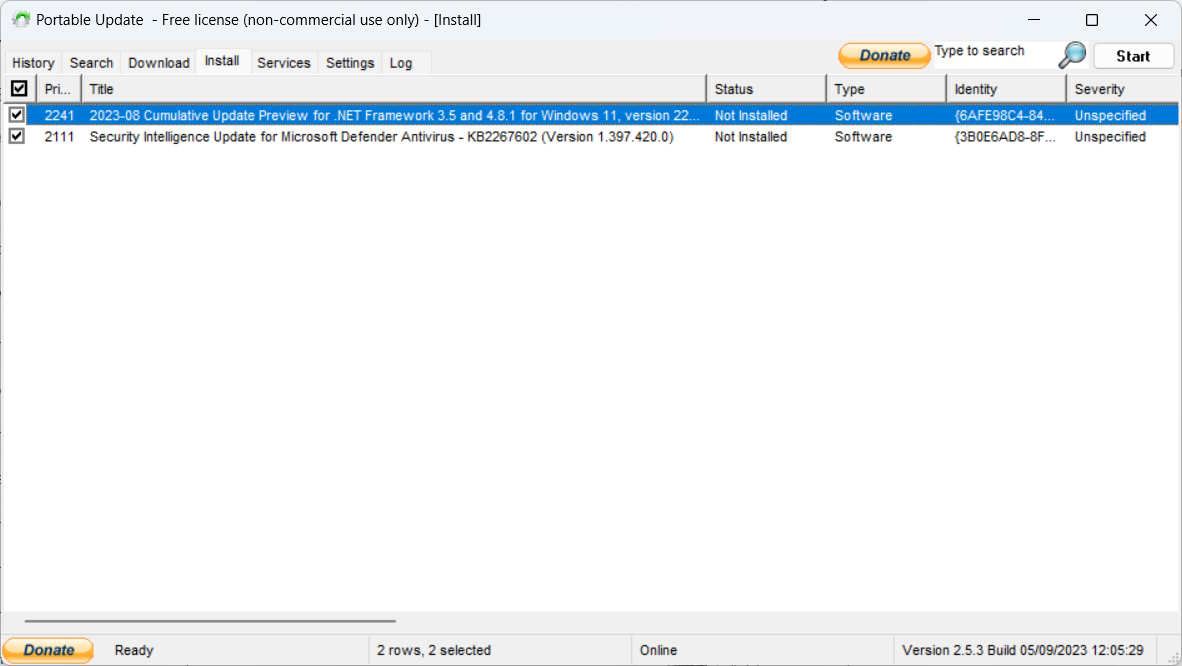
After Portable Update does its thing, restart your Windows computer to let the OS finish installing the updates on its side of things (like it normally does).
Install Windows Updates Another Way
You can update an offline computer easily with Portable Update. As long as you have the program and all the necessary Windows Update files, the process should be a breeze. The best part is that you can update any other computer that needs an update this way, even if it has internet access.
Also read:
- [Updated] 2024 Approved Inexpensive PC Playback Solutions
- [Updated] Elite 10 Royale Combat Titles
- [Updated] In 2024, Best Mobile GIF Software for the Latest iPhones
- 2024 Approved Quantifying Videography Storage Needs, 128GB
- Direct Match Twitch's Battle Against YouTube's Dominance for 2024
- Hypervisor Blues? Here's Your Win 10 & 11 Fix Guide
- Insight Into Windows Logins: Passing or Faltering Attempts
- Resolving Ownership-Related Settings Glitches in Windows 11
- Speed Up Your Media Conversion: Winxvideo AI's Fast, GPU-Boosted Video & Audio Editing
- Unlock Efficiency with Android’s Quick Settings – Tips & Tricks
- Unveiling the Process for Purging History From MS Defender
- Title: Mastering Offline Windows Updates: The Portable Guide
- Author: David
- Created at : 2024-11-15 05:03:40
- Updated at : 2024-11-18 08:00:33
- Link: https://win11.techidaily.com/mastering-offline-windows-updates-the-portable-guide/
- License: This work is licensed under CC BY-NC-SA 4.0.