Insider's Look: How to Access and Erase Windows 10 History

Insider’s Look: How to Access and Erase Windows 10 History
Windows 10 and 11 collect and save your activity history both on your computer and to the cloud, from browsing history to location information. Luckily, Microsoft makes it easy to see all the data they store and allows you to delete it.
Let’s explore how Microsoft stores data on you and how you can view your Windows activity history.
Disclaimer: This post includes affiliate links
If you click on a link and make a purchase, I may receive a commission at no extra cost to you.
What Data Does Windows Track?
The data that Windows collects includes:
- Edge browsing history
- Bing search history
- Location data (if it’s enabled)
- Cortana voice commands
- Windows usage for the Timeline feature
Any activity collected through that service is also stored if you use Microsoft’s HealthVault or the Microsoft Band device. Microsoft says it collects this data to provide you with more relevant results and useful content.
There are plenty of ways to disable Windows’ tracking services , but even after you’ve done that, Microsoft will still have the data you’ve already given it. As such, you’ll need to scrub that data away.
How to Delete Your Windows Activity History
You can easily see what data Microsoft stores and how to delete it.
There are two ways you can clear your recent activity on Windows: from your computer’s settings, or via your Microsoft account settings. The steps for the latter will vary depending on if you’re on Windows 10 or 11.
How to Delete Your Windows Activity History via Settings on Windows 10
If you’re on Windows 10, perform the following:
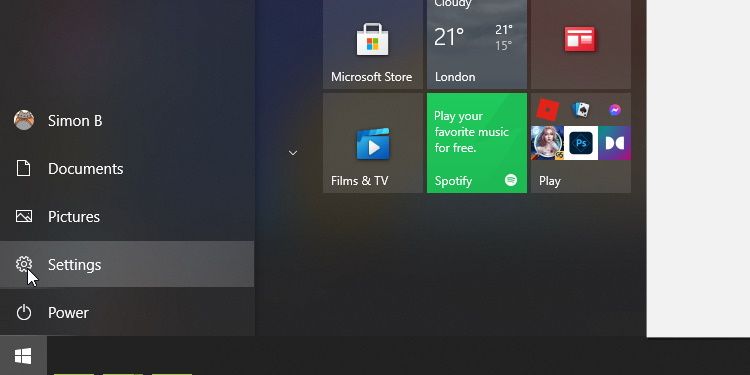
- Click on the Settings button on the Start menu.

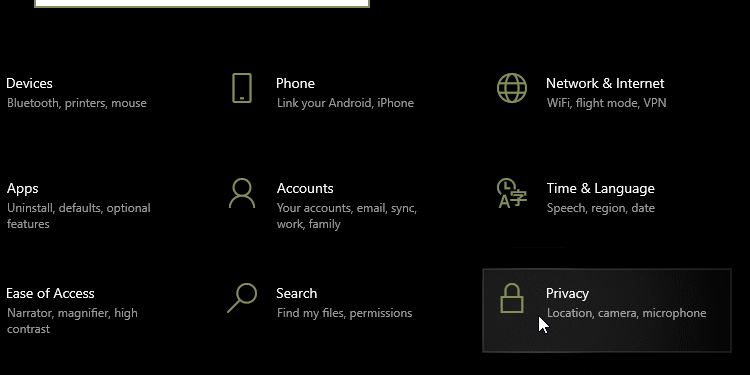
- Then, click Privacy.
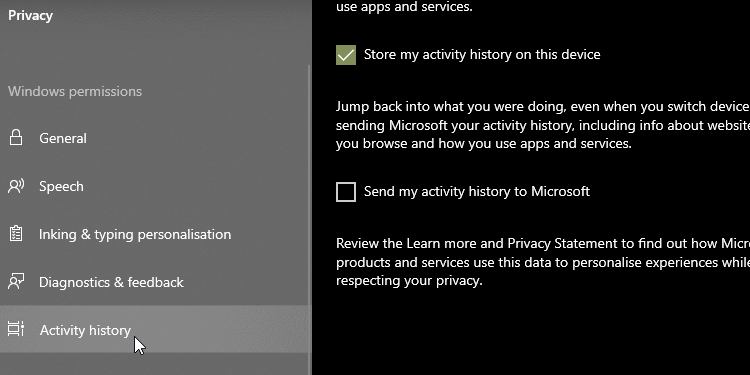
3. On the left bar, select Activity History.
4. Under Clear Activity History, click the Clear button.
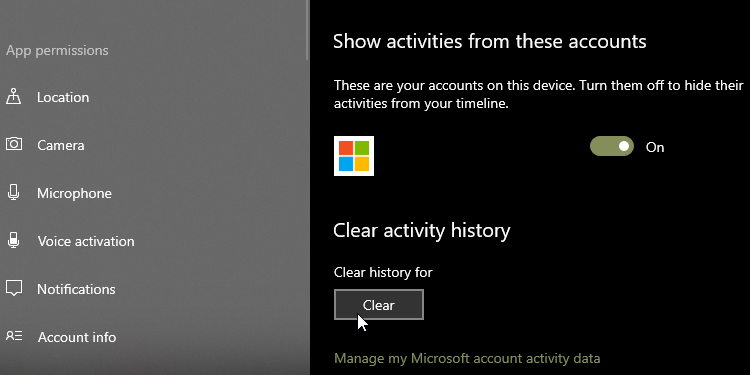
This will clear the activity history for the account you’re currently using.
How to Delete Your Windows Activity History via Settings on Windows 11
If you’re on Windows 11, the interface may look a little different.
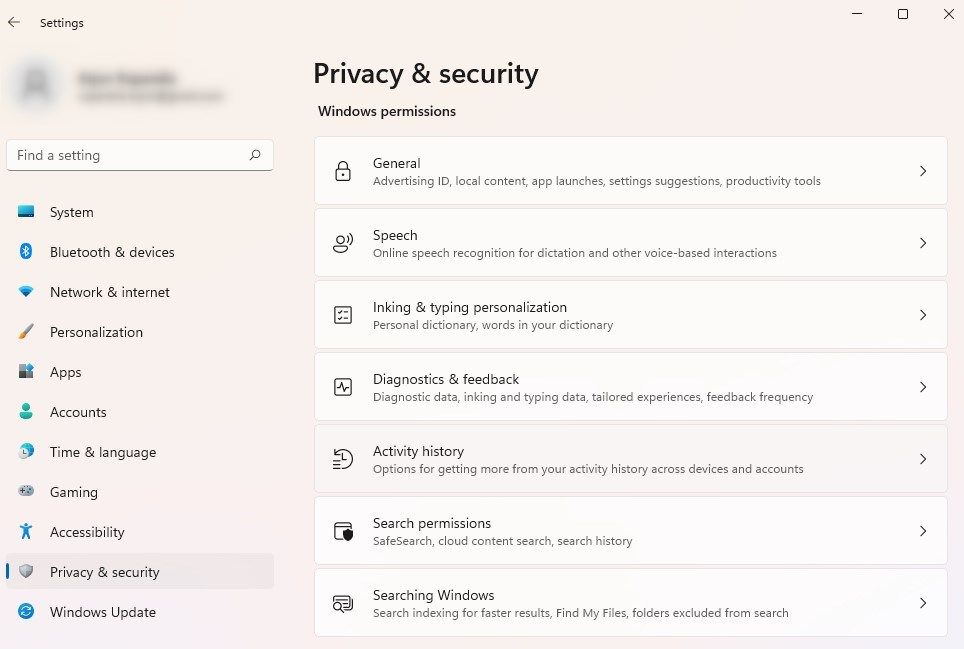
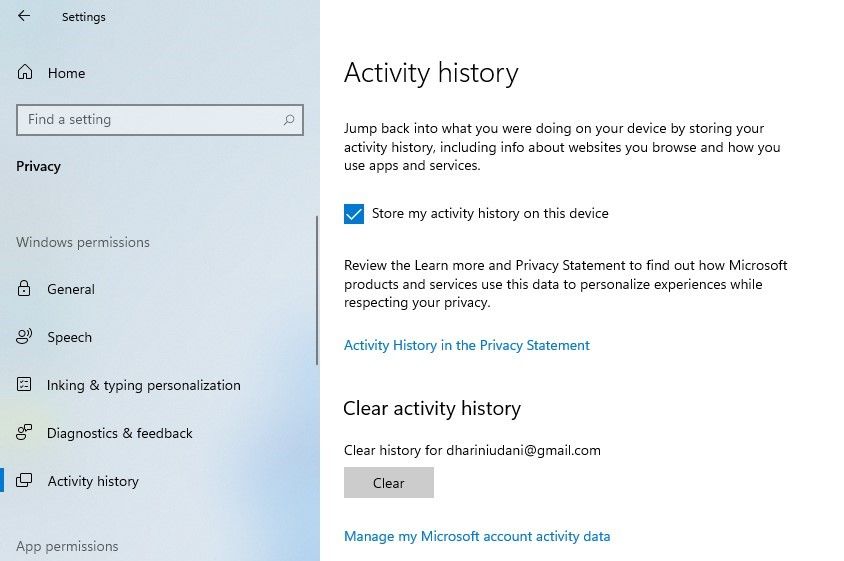
- When you go to Settings, you’ll need to select Privacy & security from the left sidebar. From the right pane, you’ll need to select Activity history.

- Click the Clear button under the Clear activity history section, and you’re done.
How to Delete Your Windows Activity History via Your Microsoft Account
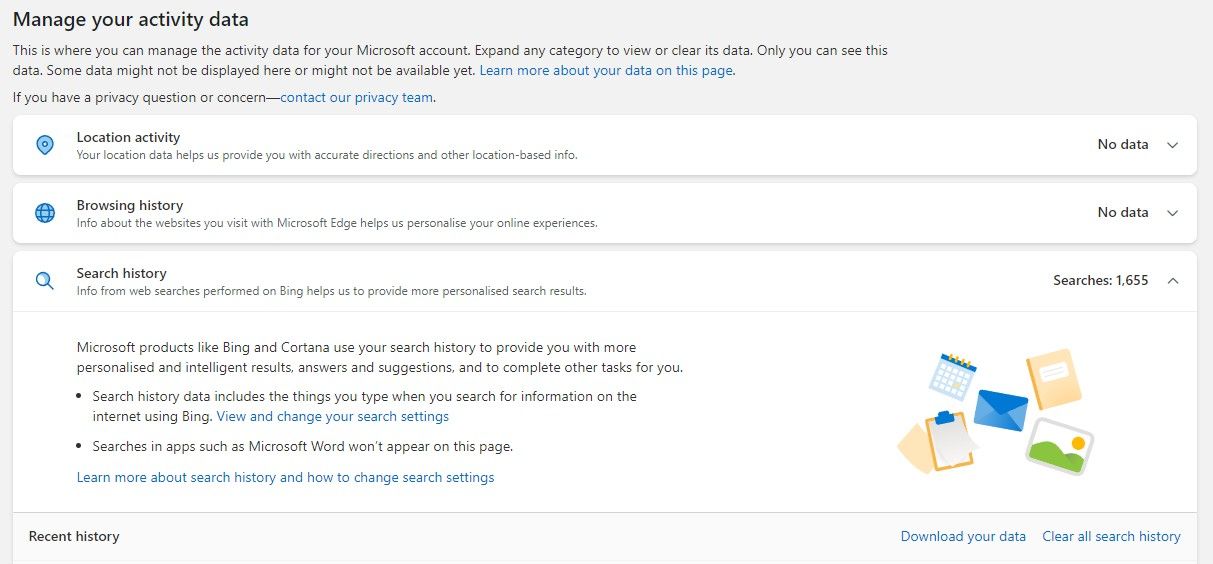
You should also clear data from the cloud. To do that, click on Manage my Microsoft account activity data. Log into your Microsoft account and delete all types of activity data on the cloud. You’ll need to do this separately for each section. For example, if you want to clear your Search history, you’ll need to expand the section and click on Clear all search history.
How to Disable Activity Tracking on the Windows 10 Timeline
Back in 2018, Microsoft added a new Timeline feature that tracks all your recent activities on Windows 10. You can view it by pressing the ALT + Win keys. You’ll see all the windows you currently have open, as well as all the files you’ve opened in the past.
This activity syncs between all your devices, so if you’d rather Windows didn’t store your activity, you should turn this feature off.
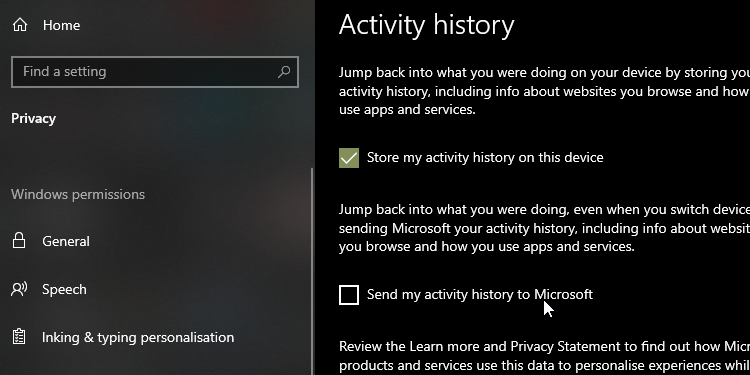
To do this, access the Activity History page as you did above. From here, uncheck Store my activity history on this device. This stops Windows from remembering what you did on your timeline.
Then, untick Send my activity history to Microsoft to stop your data from being sent to Microsoft’s servers. Now that both boxes are unticked, you should notice a lack of activity tracking in the future.
How to View All Windows 10 Activity History
If you want to view all activity history on Windows 10, you can do so on the Microsoft account privacy website . You’ll see various categories when you access the website and log in. Each one will take you to a page that shows all the information Microsoft has stored about you relating to that category.
There’s a lot to take in on this page, so here’s a brief rundown of each category which you should check.
The Windows 10 Activity History Categories
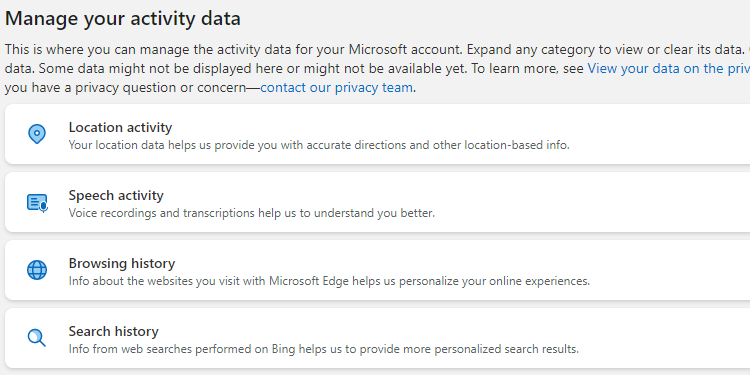
Browsing history handles the data you’ve stored via browsing Microsoft’s browser, Edge. As such, if you only use Edge to download Firefox or Chrome, you probably won’t find much data here. If Edge is your primary browser, take a look to see what browsing habits are stored here.
Search History is only useful if you use Bing. When you use a search engine like Google, they tend to “remember” what you searched for to improve your experience. Microsoft uses your search data to tailor better search results, Cortana answers, and future search suggestions.
Location Activity includes the times when you let a Windows device get access to your location. It’s good to double-check this part to see if Windows is storing your location.
Speech Activity should be the top priority if you’ve ever used Cortana before. Here, you’ll find saved clips of you giving commands to Cortana, used by Microsoft for better speech recognition. If you dislike this, try one ofthe best alternatives to Cortana for Windows .
Media Activity is where Microsoft keeps tabs on what you enjoy watching to further your recommendations. If you’re getting weird suggestions because of something someone else watched, it’s worth checking out.
App and service cover how you use Microsoft products. This category splits into two sections; activity for actions you’ve performed and performance for system logs.
You can also click on the Activity History tab to view a complete list of all data types: voice, search, browsing history, and location information. Microsoft also makes it easy to filter down to each category by clicking on it.
How to Use Windows 10 and Maintain Your Privacy
Microsoft is eager to get everyone using Windows 10 as quickly as possible, resorting to offering free upgrades to encourage migration. However, users have never considered Windows 10 as a bastion of privacy. Ever since its release, users have discovered ways that the operating system tracks what you do.
As such, a privacy-minded person may feel uneasy that their new PC has Windows 10. If you’d rather not scrub the drive clean to install a different operating system, you can take steps to reduce what data Microsoft gathers about you.
Unfortunately, there is no silver bullet for Windows 10 privacy. Recommended steps range from setting options during the initial OS setup to installing third-party tools to keep tabs on everything.
Keeping Your Data Safe in Windows 10
Windows 10 is not the privacy advocate’s top choice for operating systems, but you can monitor your data and tweak the privacy settings to suit your needs. Now you know how to view the data Microsoft has on you and how to erase them.
Now that your data in Windows 10 is secure, it’s time to ensure that all the programs and settings on your PC are equally ironclad. You can do plenty of things to heighten your computer’s security, such as uninstalling Flash and making restore points.
Let’s explore how Microsoft stores data on you and how you can view your Windows activity history.
Also read:
- [New] 2024 Approved Jumpstart to Partner Elevation Secure 10K Views in Minutes!
- [Updated] 2024 Approved Best Affordable PC Video Grabbing Software
- [Updated] In 2024, How to Strategically Use Tags for YouTube Success
- Concurrent App Termination Techniques on Windows OS
- Controlling the Spontaneous Activation of Searchbar, Win11
- Efficient Steps to Address Hypervisor Crashes on WINXOSE
- In 2024, How to Change GPS Location on Xiaomi Redmi K70E Easily & Safely | Dr.fone
- In 2024, Ultimate Guide to Free PPTP VPN For Beginners On Tecno Pop 8 | Dr.fone
- Seamless Video Transfer From YouTube to Instagram
- The 3D Artist's Shortcut Cheat Sheet for Lightning-Fast Workflow
- The Photographer's Keyboard Handbook for Windows
- The Ultimate Troubleshooter for Your Windows Camera App
- Top 7 Premier Free Software for ISO Image Creation
- Understanding Your YouTube Viewer Demographics – How to Know Who Watches Your Videos
- Updated In 2024, How to Stream on Twitch The Ultimate Guide
- Winning at Game Installation with Xbox App Tips
- Title: Insider's Look: How to Access and Erase Windows 10 History
- Author: David
- Created at : 2025-02-25 22:06:48
- Updated at : 2025-03-04 17:37:32
- Link: https://win11.techidaily.com/insiders-look-how-to-access-and-erase-windows-10-history/
- License: This work is licensed under CC BY-NC-SA 4.0.
