Improve System Insights with Hardware Monitoring Tiles

Improve System Insights with Hardware Monitoring Tiles
If you care about how your PC performs, it’s a good idea to set up some hardware monitors to keep an eye on things. Fortunately, Microsoft has added Windows widgets into Dev Home, providing real-time insights into system resources and empowering users to fine-tune their devices.
Below, we delve into the process of acquiring Windows Widgets offered by Dev Home and harnessing their power to effectively monitor and optimize the system’s performance.
Disclaimer: This post includes affiliate links
If you click on a link and make a purchase, I may receive a commission at no extra cost to you.
What Is Dev Home for Windows and How Do You Get It?
Dev Home is a specialized app created for software developers who use Windows 11. Think of it as a central hub that provides a customizable workspace, allowing the developers to configure their machines, install the necessary software and packages, and connect to other platforms like GitHub.
You can use it to create an environment tailored to your needs, whether it is to code for an existing project or start something new.
Within Dev Home, you’ll find a customizable dashboard equipped with widgets that offer valuable insights into your system resources. These widgets cover essential aspects such as:
- Memory: Keep track of memory usage, availability, and pool sizes.
- Network: Monitor bandwidth usage for data transfer and identify the active network.
- CPU: Stay informed about CPU utilization, processing speed, and active processes.
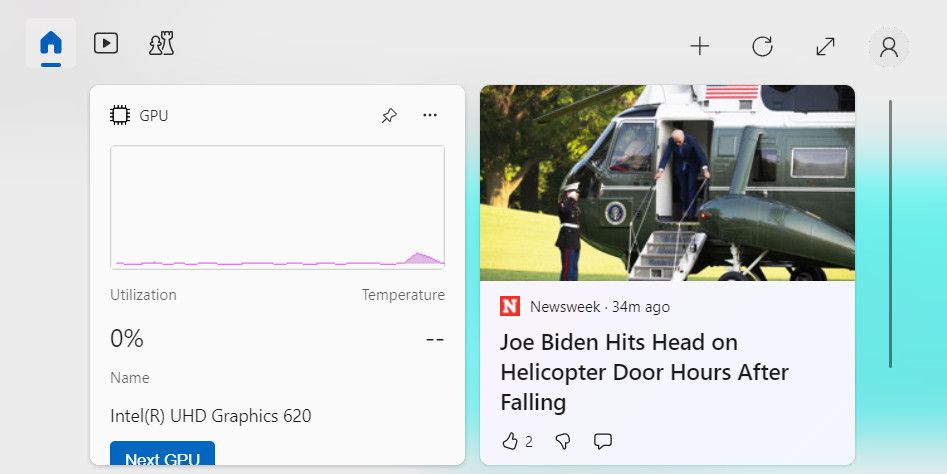
- GPU: Get updates on GPU utilization, temperature, and the model of the graphics chip.
These widgets serve as handy tools to closely monitor and optimize your system’s performance. To access them, simply download Dev Home from the Microsoft Store and set it up.
How to Set Up and Configure Windows Widgets on Dev Home
After downloading Dev Home in Windows 11, it is time to set up and configure the widgets. Here is how you can do that:
- Press the Win + X keys together to open the Widgets window.
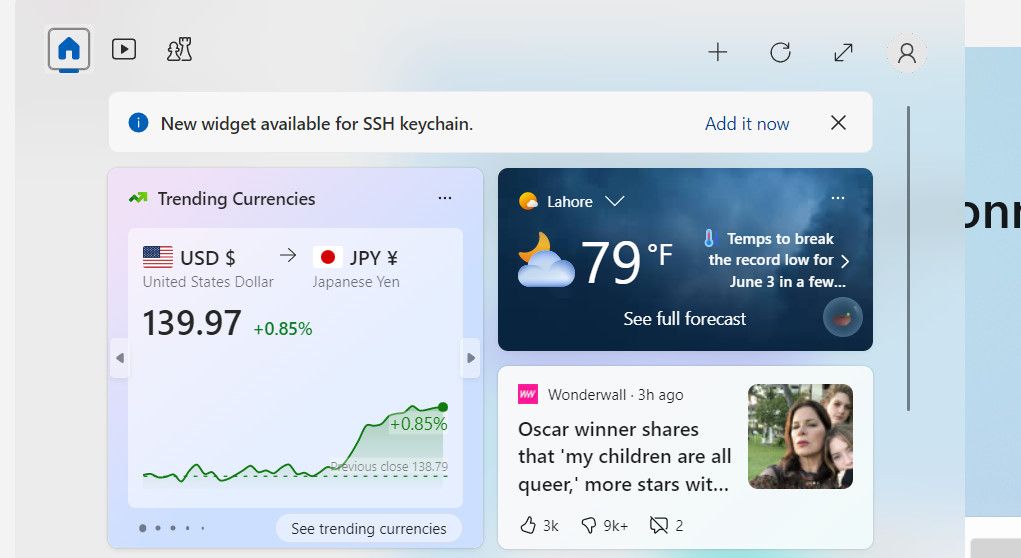
- Click on the Add it now button for the “New widget available” notification.

- You should now see a list of the widgets available. Click on the plus icon associated with the widget you want to access.
![]()
Once you do this, you should be able to see the details of your selected widget. You can use it to monitor hardware usage and access other important information efficiently.

Stay Informed and Optimize Your Hardware Usage With Windows Widgets
Monitoring your hardware usage is crucial to maintain an optimal performance on your device. Thanks to Windows widgets, you can now have real-time information about memory, network, CPU, and GPU utilization. The steps we have outlined above should help you set these widgets up effortlessly and use them to maximize the efficiency of your system.
Below, we delve into the process of acquiring Windows Widgets offered by Dev Home and harnessing their power to effectively monitor and optimize the system’s performance.
Also read:
- [New] 2024 Approved Step-by-Step From Vimeo to Engaging Animated Content
- [Updated] From the Field to Social Sharing GoPro Streams on Facebook/Periscope for 2024
- Bridge the Gap: Top Methods to Reconnect Your USB Wi-Fi on PCs
- Cookiebot-Enabled: Enhancing User Experience & Marketing Success
- Deciding Between Gmail & Outlook - An In-Depth Review of Which Is Better For You
- Eradicating Blank Display of Startup Items
- Essential Tips to Rescue DeskAnywhere on Win11
- Experience Enhanced Viewing with Hisense's Cutting-Edge Mini Projector Featuring 4K and Dolby Vision
- Fine-Tune Monitor Settings in Latest OS Version
- How To Securely Extract and Convert YouTube Audios as MP3 for 2024
- How To Update or Downgrade iPhone 13 mini Without Losing Data? | Dr.fone
- In 2024, Exploring the Pro Features of DJI Phantom 3 Technology
- Mastering Quick Windows 11 Logins Restoration
- Maximizing YouTube Visibility with Key #Hashtags
- Reset Your Microsoft Store Password, Here's How
- The Ultimate Guide to Skyrocketing Your Workflow with Windows Apps
- Tips to Enhance Vintage Cursor Colors
- Title: Improve System Insights with Hardware Monitoring Tiles
- Author: David
- Created at : 2024-11-12 05:00:10
- Updated at : 2024-11-17 20:28:46
- Link: https://win11.techidaily.com/improve-system-insights-with-hardware-monitoring-tiles/
- License: This work is licensed under CC BY-NC-SA 4.0.
