How to Erase Error 0Xc0f1103f From GeForce Now in Win 10/11

How to Erase Error 0Xc0f1103f From GeForce Now in Win 10/11
Some GeForce Now users have reported that their app no longer works because of error 0xc0f1103f. Those players see that error code when they start the GeForce Now app or games with it. Error 0xc0f1103f has a message that says, “Your system does not meet the minimum requirements for streaming.”
That issue occurs on PCs that do meet the minimum streaming system requirements. Is the same error stopping you from playing GeForce Now titles? If so, this is how you can fix error 0xc0f1103f in Windows 10 and 11.
Disclaimer: This post includes affiliate links
If you click on a link and make a purchase, I may receive a commission at no extra cost to you.
Double-Check That Your PC Matches GeForce Now’s System Requirements
If you’re a first-time GeForce Now user, double-check your PC meets the streaming service’s system requirements before troubleshooting. Open theGeForce Now system requirement page for Windows PCs to check hardware requirements.
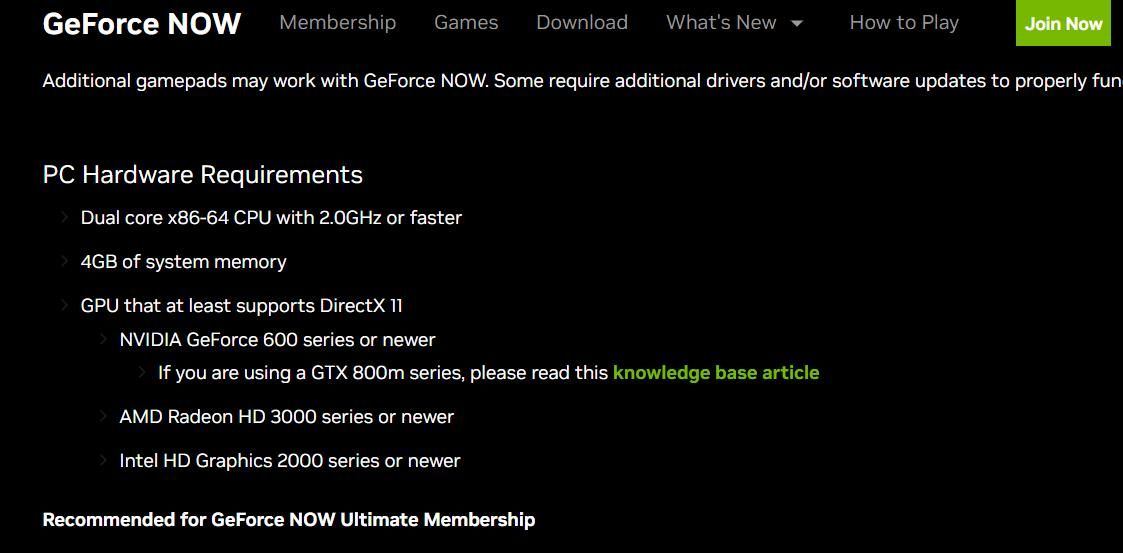
You can check how your PC’s specs match up byopening the System Information app . The system summary shows most of the essential hardware specs for GeForce Now streaming. You can view GPU details by clickingComponents >Display in the System Information app.
You’ll need to upgrade your PC if it doesn’t match a system requirement. Desktop users can add new graphics adapters or even processors to their PCs if required. If your PC does indeed match all the GeForce Now requirements, proceed with the troubleshooting below.
1. Double-Check if GeForce Now’s Servers Are Operational
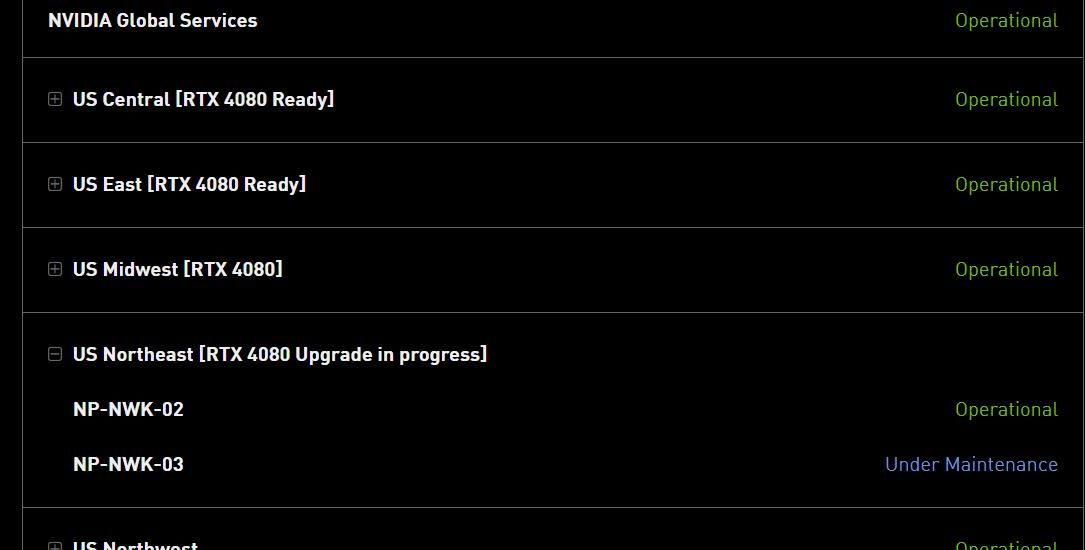
This error can occur because the GeForce Now server is down. For example, the server could be down for maintenance. You can check the service status for various regions on theGeForce Now service status page. If a server for your region is down, wait until the service is operational again before opening the GeForce Now app again.
2. Run GeForce Now With Administrator Rights
Running GeForce Now with admin rights is a simple potential solution to try that’s worth a try. If you have a desktop shortcut for the software, right-click and select theRun as administrator option. Or you can enterGeForce Now in the Windows search box and right-click the app in the results to selectRun as administrator .
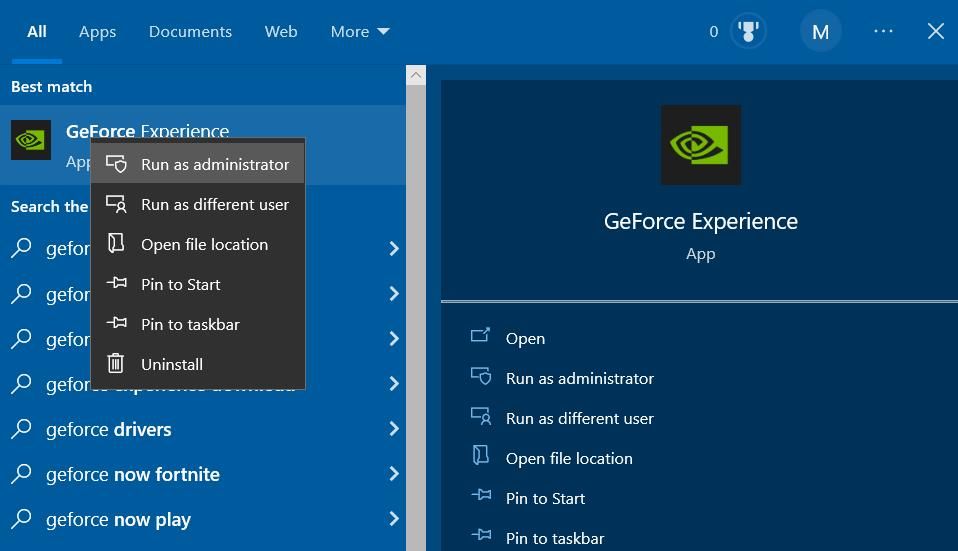
If that works, it’s best to set GeForce Now to always run with elevated rights. You can do that by opening the properties window for the GeForce Now EXE (Application) and selecting theRun as administrator checkbox. Check out our guide aboutalways running apps as an administrator for further details.
3. Select a Power Saving GPU for the GeForce Now App
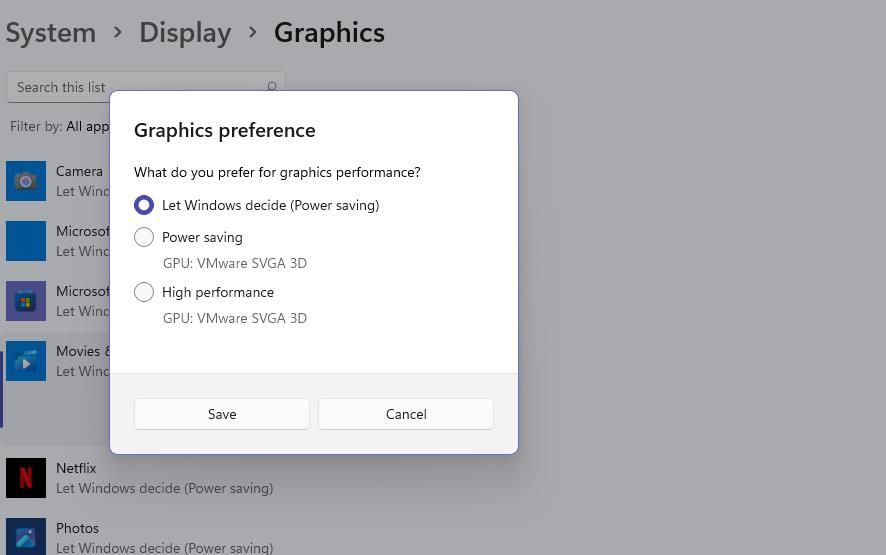
This resolution applies to users with PCs that have two GPUs (graphics processing units). Selecting a power-saving integrated GPU for the GeForce Now app is a widely confirmed fix for error 0xc0f1103f. This is how you can select an integrated GPU for the GeForce Now app in Windows:
- First, activate the search utility with theWin+ S key combination.
- Typegraphics settings in the search box.
- ClickGraphics settings to open the options in Settings.
- Then clickBrowse to bring up an Open window.
- Select the GeForceNow app at this path:
C:\Users\[user folder]\AppData\Local\NVIDIA Corporation\GeForceNOW\CEF\GeForceNow.exe - Click theAdd button.
- Select the addedGeForce Now app and click itsOptions button.
- Then select thePower saving (integrated GPU) option.

- ClickSave to apply the selected option.
4. Update Your Graphics Card’s Driver
Other users have said updating graphics drivers resolved the issue for them. You can update your PC’s graphics driver with third-party driver update software or download it from the NVIDIA, AMD, or Intel manufacturer site. Check out our guide forupdating graphics drivers on Windows for further details about applying this potential error 0xc0f1103f solution.
5. Restart All NVIDIA-Related Services
This GeForceNow error can occur because certain NVIDIA certain services are not running or need restarting. You can fix that by going through and restarting (or starting) all NVIDIA services as follows:
- Bring up Windows Search (seehow to find Windows Search if you need help).
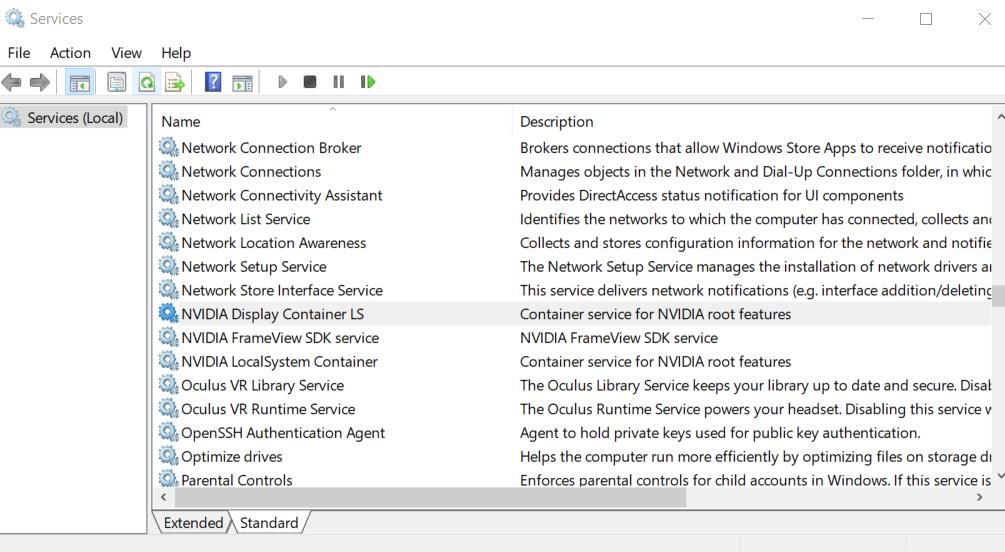
- InputServices , then click theServices app the search tool finds.
- Then scroll to NVIDIA-related services.

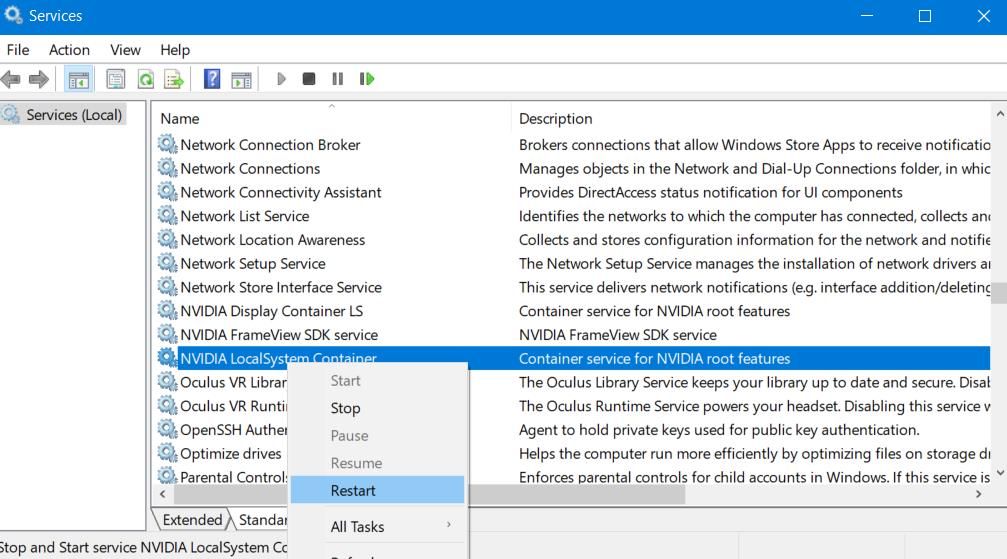
- Right-click every NVIDIA-related service you can see and selectRestart . If an NVIDIA service isn’t already running, select theStart option for it instead.

6. Turn Off Any Active Proxy Servers
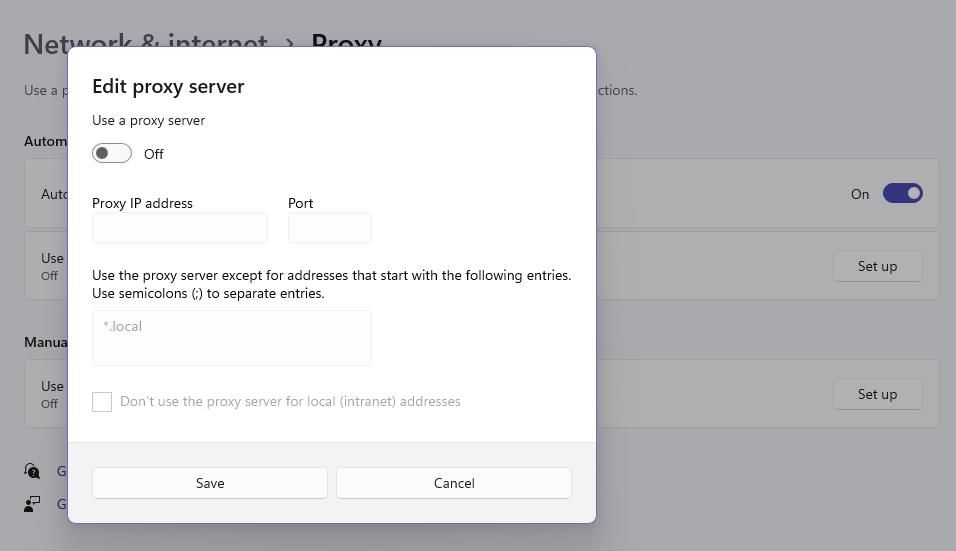
Do you have a proxy server on your PC? If so, that could be causing the 0xc0f1103f error by generating a server issue. So, try disabling your proxy server on Windows via Settings or the Control Panel. Our article aboutdisabling your proxy server on Windows includes instructions for how to do so.
7. Disable Any Active VPNs
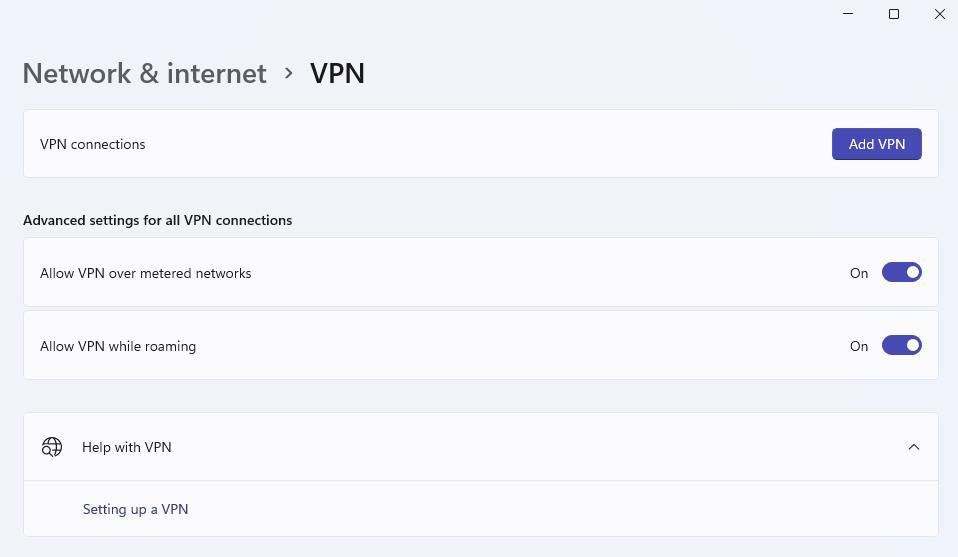
Weaker VPN (Virtual Private Network) connections can also cause this game streaming issue to arise. If you utilize a VPN connection, disable it via the Windows Settings app like this:
- Launch Settings by clicking the Start menu button or pinned shortcut for opening that app.
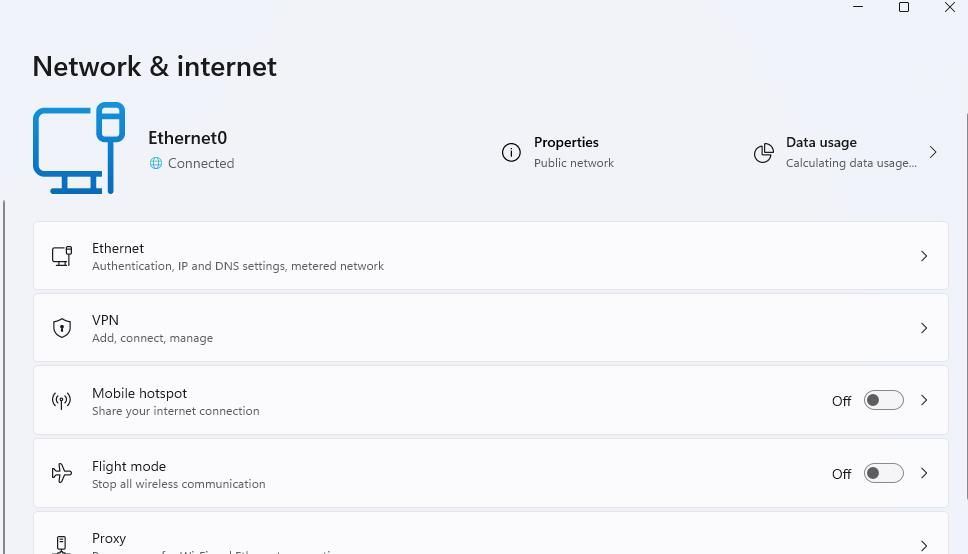
- Then select theNetwork & Internet tab or category.
- Click theVPN navigation option or tab.

- Select a listed VPN connection added.

- Then select theDisconnect option for the VPN.
- Open GeForce Now and try playing some games with the VPN disconnected.
8. Reinstall GeForce Now
The GeForce Now app might be corrupted if none of the alternative troubleshooting methods specified here work for you. In this case, you’ll probably need to reinstall the GeForce Now software to resolve such an issue. These are the steps for reinstalling GeForce Experience:
Open Programs and Features (seehow to open Programs and Features for methods) and select GeForce Now.
Click GeForce Now’sUninstall/Change option.
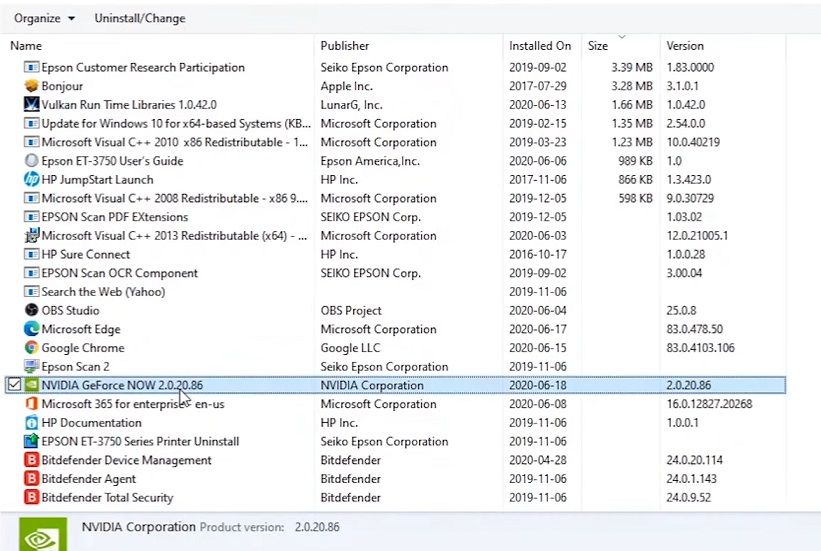
SelectUninstall on the window that opens.
Restart Windows 11 or 10 after uninstalling GeForce Now.
Open theGeForce Now download page .
ClickDownload for the GeForce Now Windows software.

Double-click theGeForce-Now-release.exe file to open the software’s setup wizard.Then go through the setup wizard steps to reinstall GeForce Now.
Play GeForce Now Games on Windows Again
Those are the most likely potential fixes for error 0xc0f1103f that have worked for users. So, there’s a pretty good chance one will resolve that issue on your PC if it meets the minimum GeForce Now system requirements. With error 0xc0f1103f fixed, you can enjoy all the best games the GeForce Now streaming service has to offer again.
Also read:
- [New] 2024 Approved Convert Twitter Vids Into AAC/MP4 Files
- [New] In 2024, Essential Steps to Apply a Creative Commons Copyright
- [New] Premier HD Visual Capture Systems for 2024
- Essential Guide: Mapping W11 Troubleshooter Icons to Buttons
- Free Guide: Easily Transforming Your ePub Files Into Editable PDFs
- Halt at Snippy's Errors? Uncover Repair Routines Now
- How to Bypass FRP from Vivo Y17s?
- In 2024, How To Fake GPS On Lava Yuva 2 Pro For Mobile Legends? | Dr.fone
- In 2024, Spin the Wheel of Viewers How to Stream Round-the-Clock Videos on YouTube
- Mastering Disguise: Concealing Linguistic Line From Windows 11 Status Bar
- Navigate Multi-Task Mastery on a Windows 11 Device Like an Expert
- Prepping Windows Users: Webcam & Mic Checks for Meetings
- Quick Fix: Enabling and Disabling Windows Key
- Recovering Rockalldll.dll From PC Disappearance
- Rectifying Error Code 0X00709 in Windows
- Unleash Creativity Build Logos Using Free Template Inspiration
- Unleashing AI’s Potency: Pioneering Profound Global Change
- Title: How to Erase Error 0Xc0f1103f From GeForce Now in Win 10/11
- Author: David
- Created at : 2024-12-01 17:56:34
- Updated at : 2024-12-07 00:26:39
- Link: https://win11.techidaily.com/how-to-erase-error-0xc0f1103f-from-geforce-now-in-win-1011/
- License: This work is licensed under CC BY-NC-SA 4.0.
