
From Apple to Microsoft: Transition Guide for Windows 11 via Parallels

From Apple to Microsoft: Transition Guide for Windows 11 via Parallels
Pity you can’t use Boot Camp to run Windows 11 anymore, as Apple hasn’t updated it to work with Microsoft’s latest operating system. Thankfully, third-party developers have filled the gap with virtualization software, so it’s still possible.
Read along as we walk you through the steps to install and run Windows 11 alongside macOS, whether your Mac is powered by an Intel chip or Apple silicon. You can use the seven-day trial of Parallels Desktop for this, but you’ll need to pay $80 for a full license after it expires.
What Is Parallels Desktop? How Does It Work?
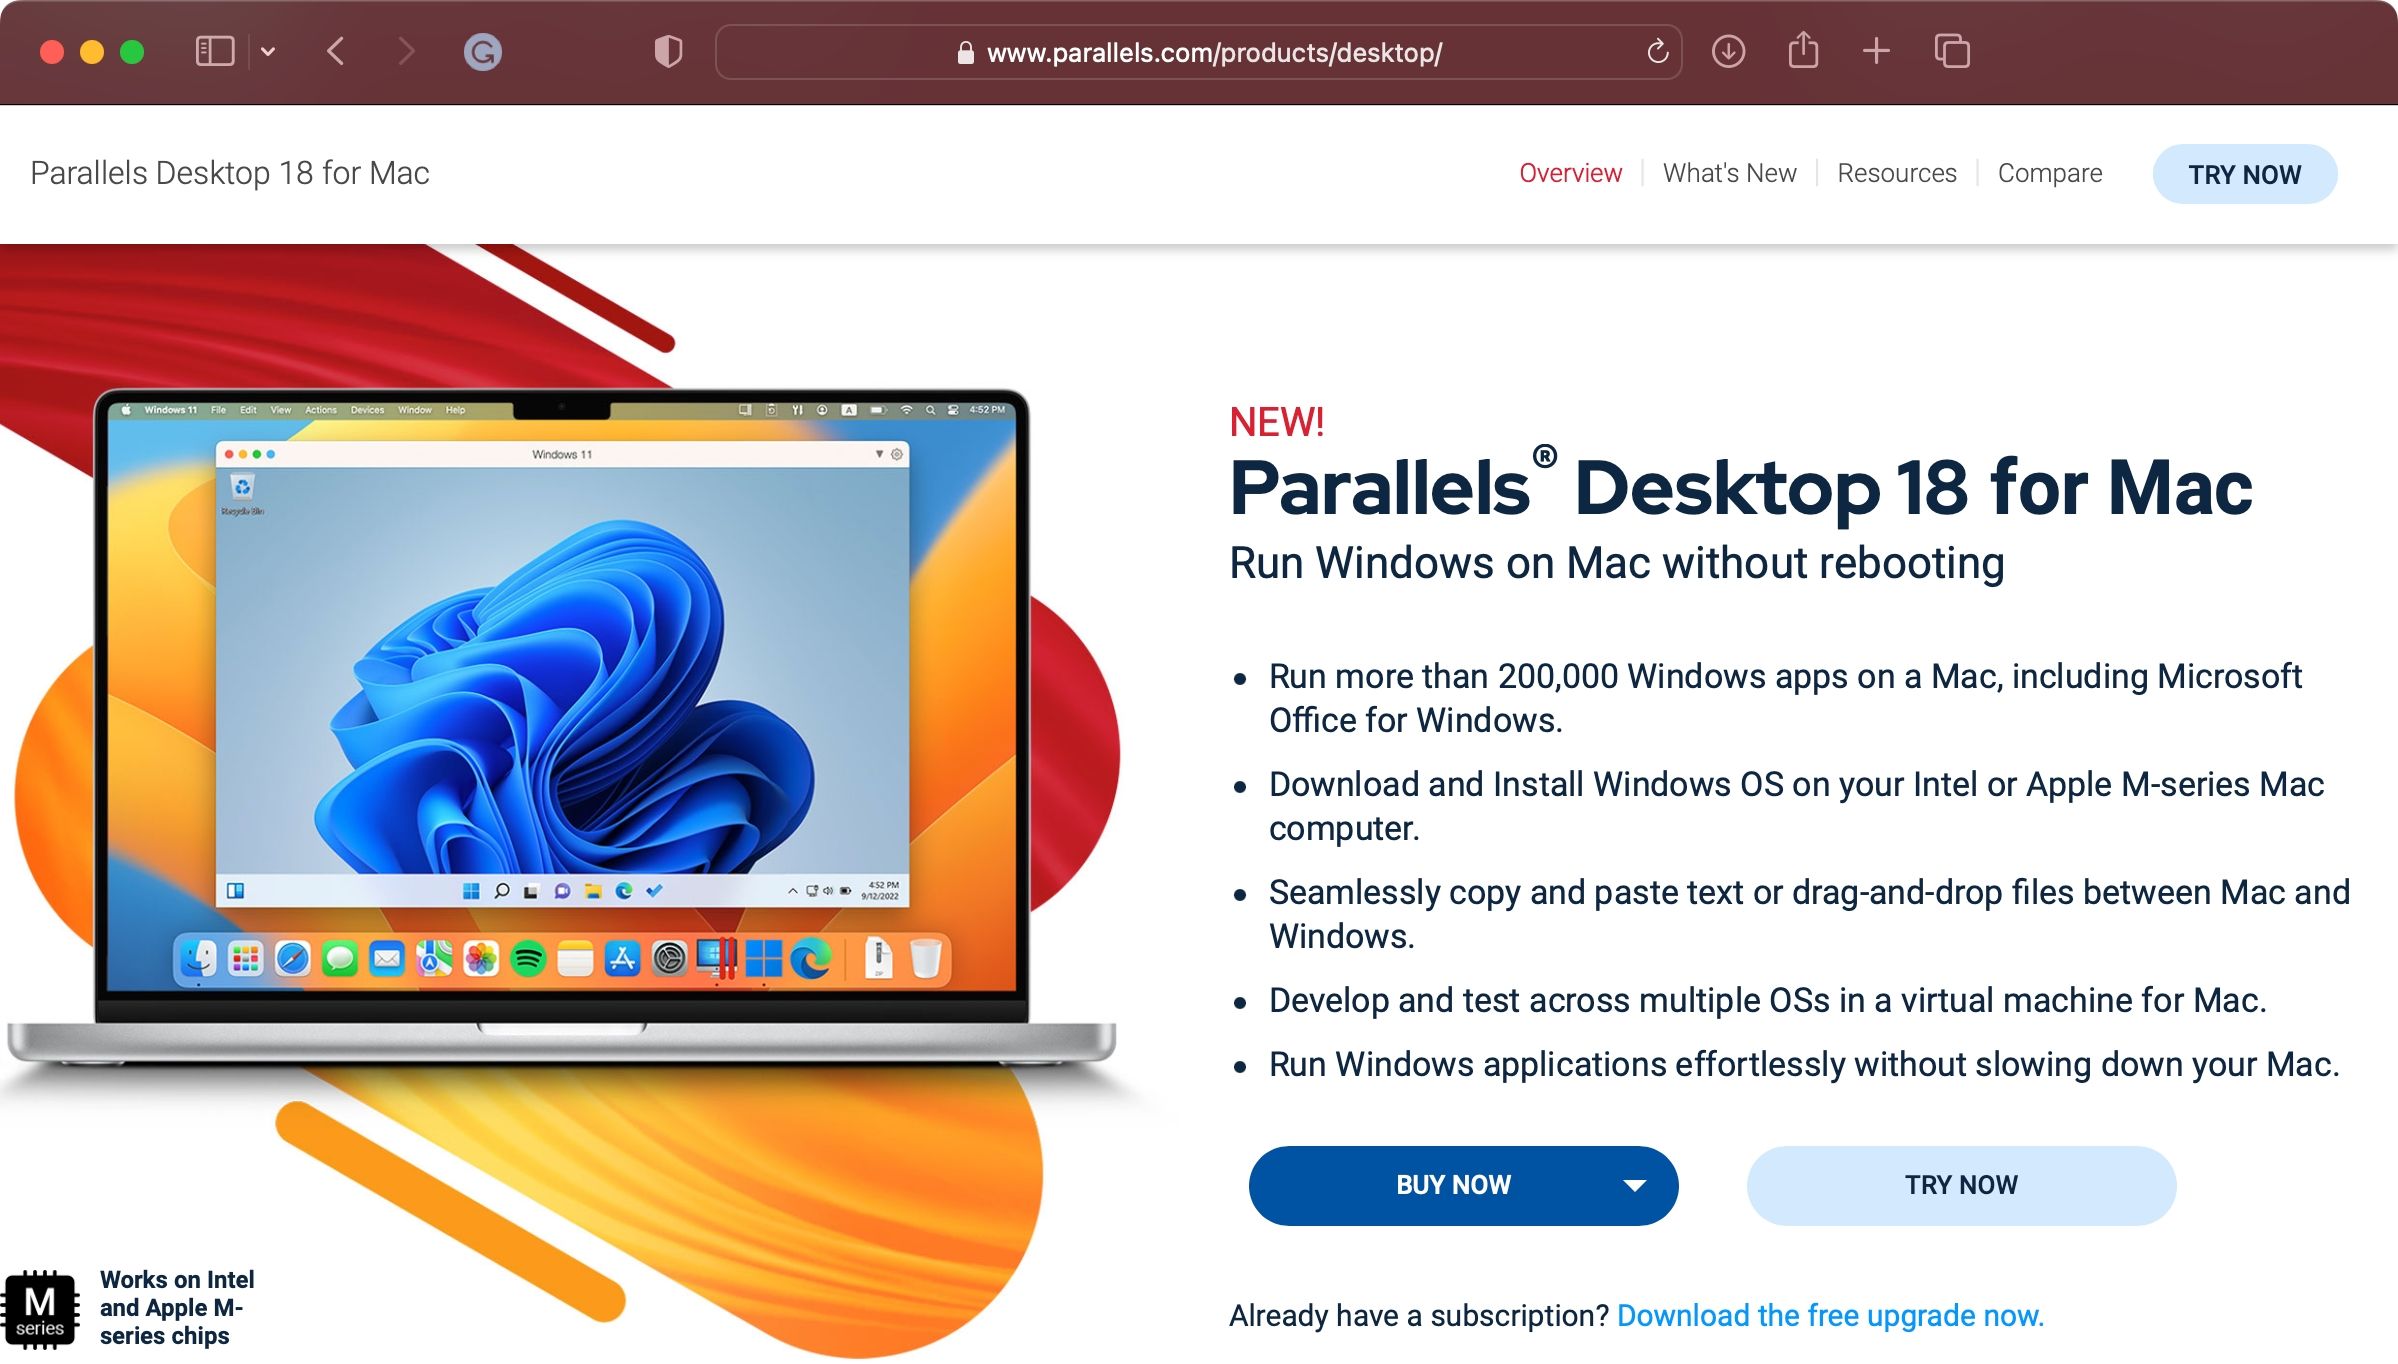
While there have been various workarounds, neither Apple nor Microsoft officially supports booting directly into Windows 11 using the Boot Camp feature built into macOS.
Thanks to virtualization, you can run Windows 11 in a window alongside macOS (at the expense of speed and battery life). Keep in mind that not many PC apps are compatible with Windows on ARM, a version of Windows compiled for ARM64 devices like Apple silicon Macs.
Parallels Desktop is one of the best virtualization platforms for running a second operating system—like Windows or Linux—inside the current one. To do this, Parallels emulates a complete computer system with a so-called virtual machine.
In February 2023, Microsoft announced official support for Windows virtualization on ARM via Parallels Desktop 18.1. With it, you can safely run the ARM version of Windows 11 on Apple silicon Macs and regular Windows versions on Intel-based Macs, knowing Microsoft has blessed this solution from a licensing perspective.
Windows 11 Virtualization With Parallels 18
As a result of this collaboration, Parallels customers can download, install, and configure Windows 11 on their Macs in just a few clicks. Parallels 18.1 also provides a virtualTPM chip and support for Windows features like BitLocker, Secure Boot, and Windows Hello. Getting these security features is one of thereasons to install Windows on a Mac .
For this tutorial, we’ll use a trial version of Parallels and a non-activated copy of Windows 11 to get Microsoft’s operating system up and running on your Mac for free. If you decide the solution works for you, you can always upgrade to the full version of Parallels and purchase a Windows license at a later date.
Parallels 18 will automatically download the Windows installer, but you can also provide a copy of the installer if you’vedownloaded a Windows 11 ISO file on your computer.
Step 1: Download Parallels Desktop 18
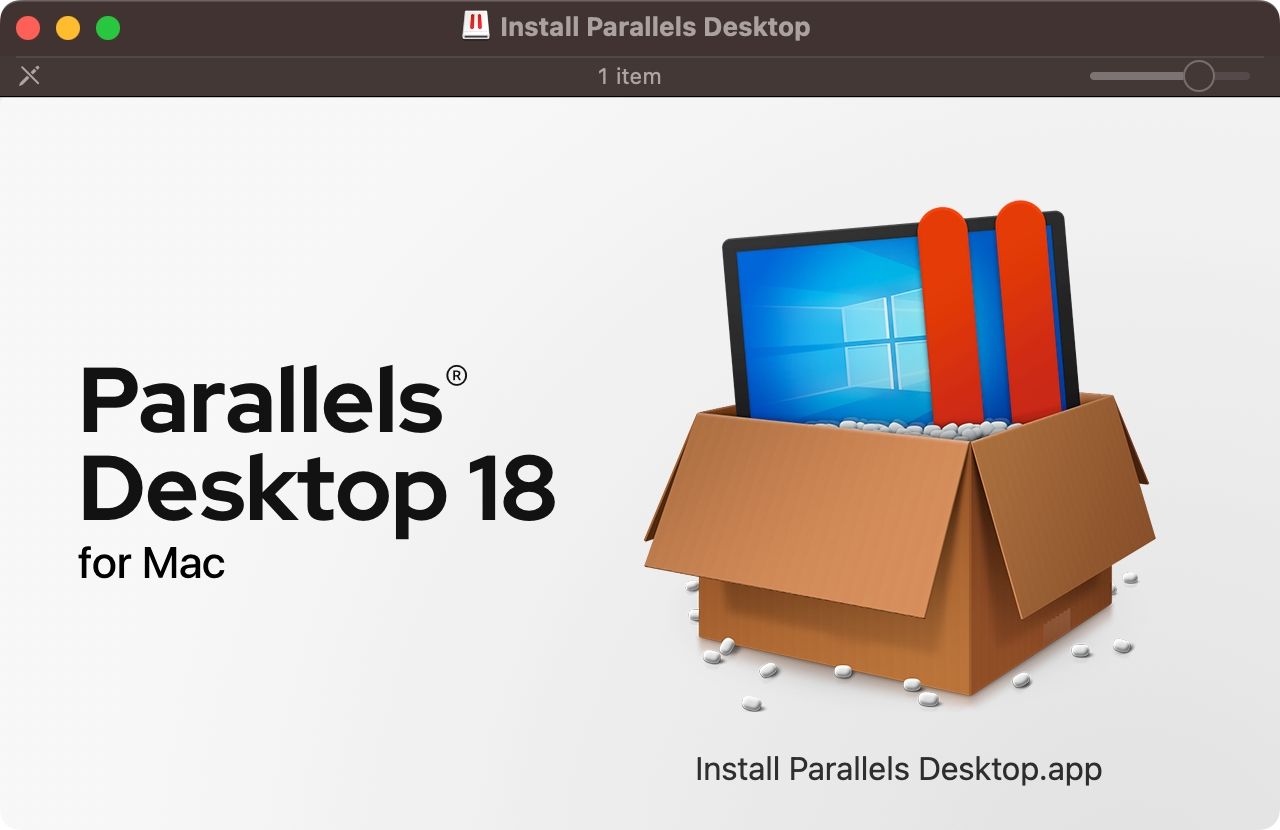
Grab a free trial of Parallels Desktop 18 for macOS by visiting theParallels Desktop website , then click theDownload Free Trial button. You can use Parallels features without restriction during your 14-day trial period. With the installer downloaded, open theInstall Parallels Desktop disk image from your Downloads folder.
If macOS throws a message saying it couldn’t open the installer because it wasn’t downloaded from the App Store,Control -click the file icon and chooseOpen from the context menu, then confirm the action by clicking theOpen button.
With the disk image mounted, double-click theInstall Parallels Desktop app. To finish installing Parallels, you must accept the terms, provide your Mac’s username and password, and permit Parallels to access your Mac.
Step 2: Install Windows 11 in Parallels
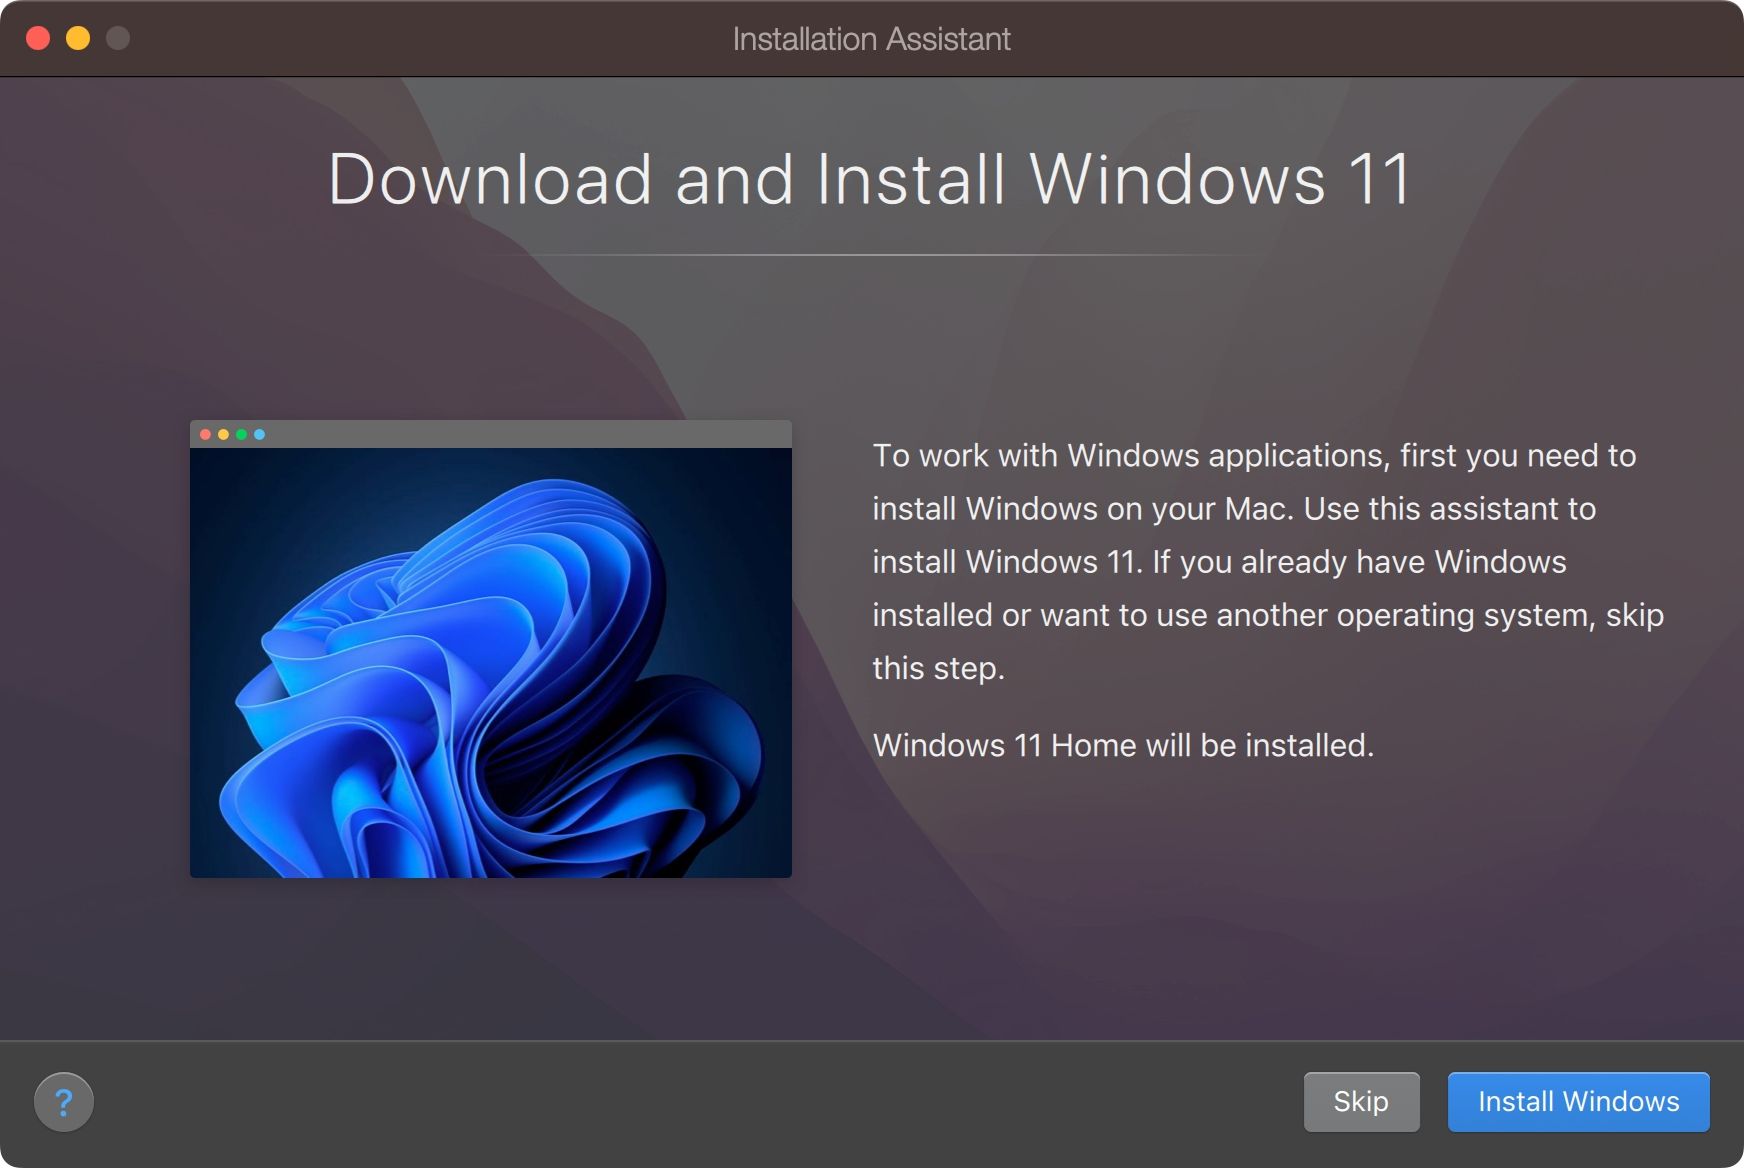
Launch Parallels, and the Installation Assistant should take over. If it doesn’t show up, click theFile menu and chooseNew to create a fresh virtual machine. If the Installation Assistant offers to download and install Windows 11, accept by clicking theInstall Windows button.
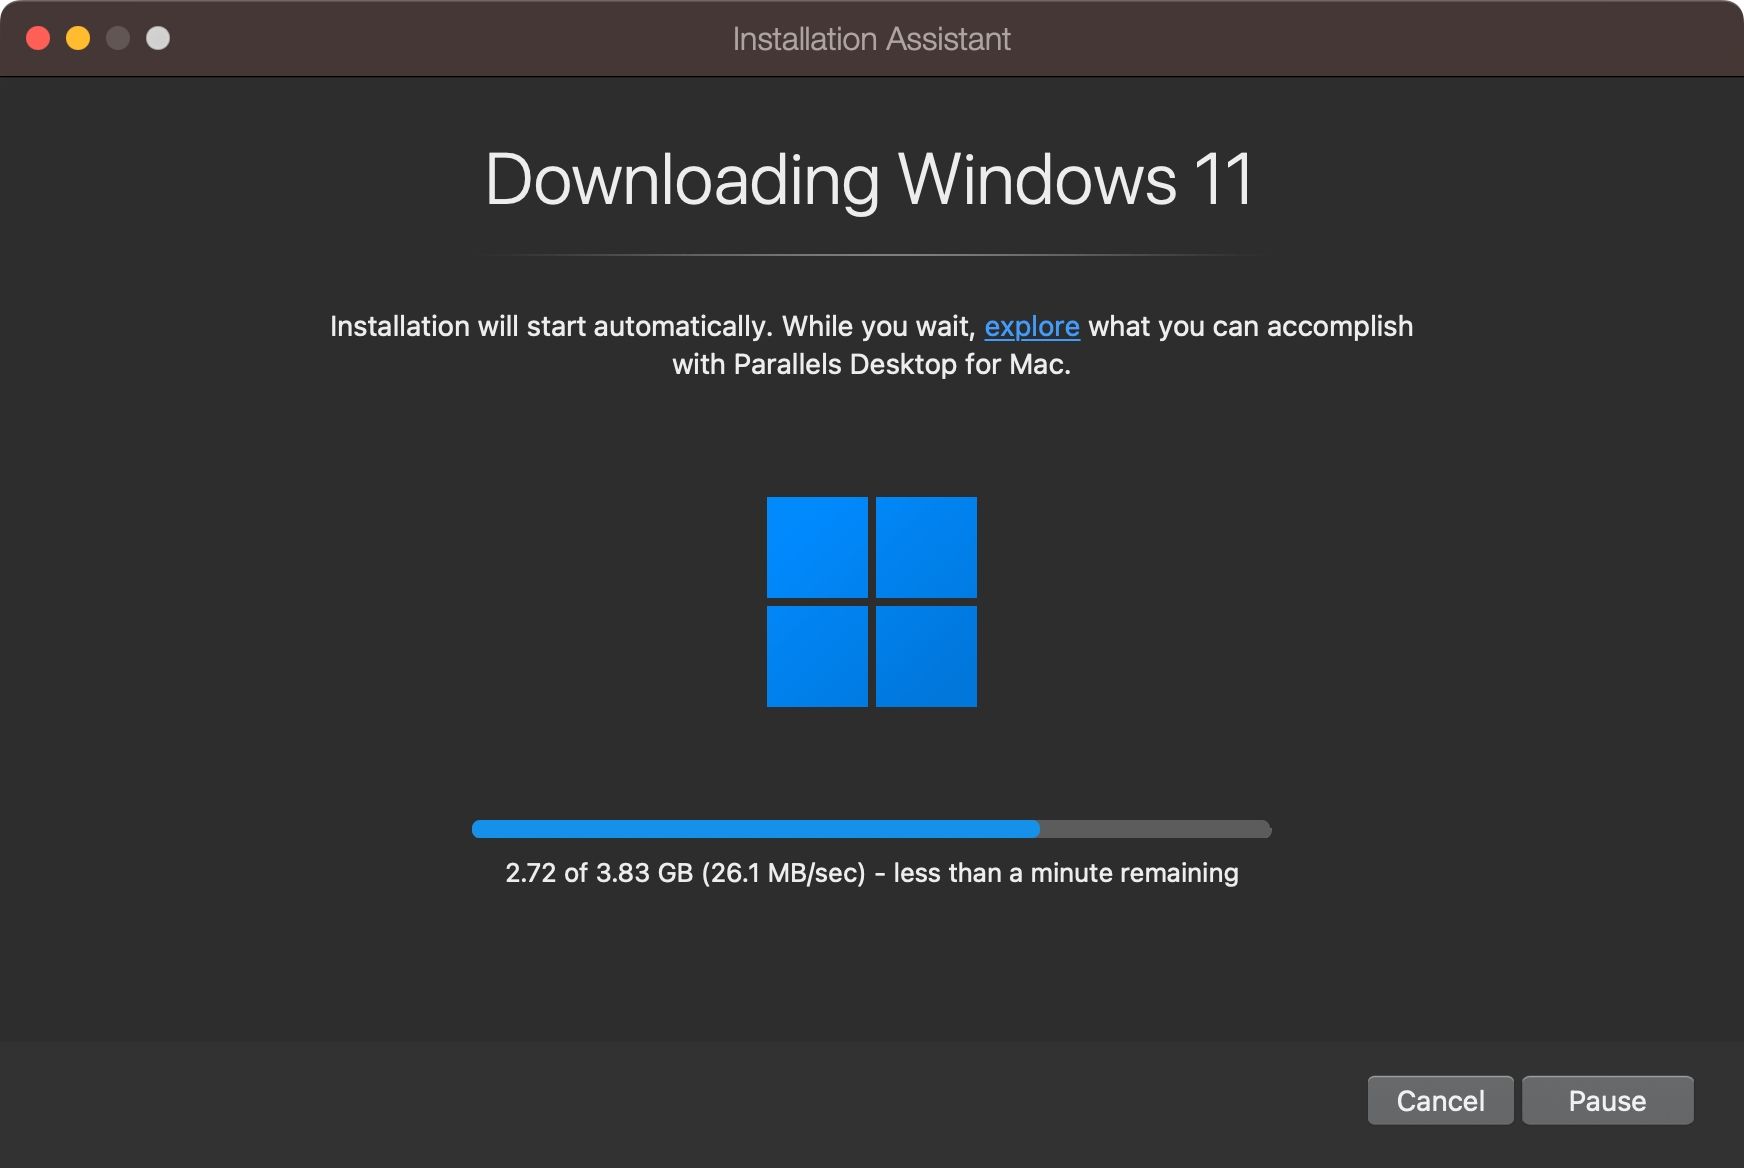
People with a Windows 11 ISO file already downloaded can optionally choose theInstall Windows or another OS from a DVD or image file option and hitContinue . Assuming you’ve opted for automatic installation, Parallels will now automatically download a version of the Windows 11 ISO from Microsoft’s website that’s appropriate for your Mac hardware.
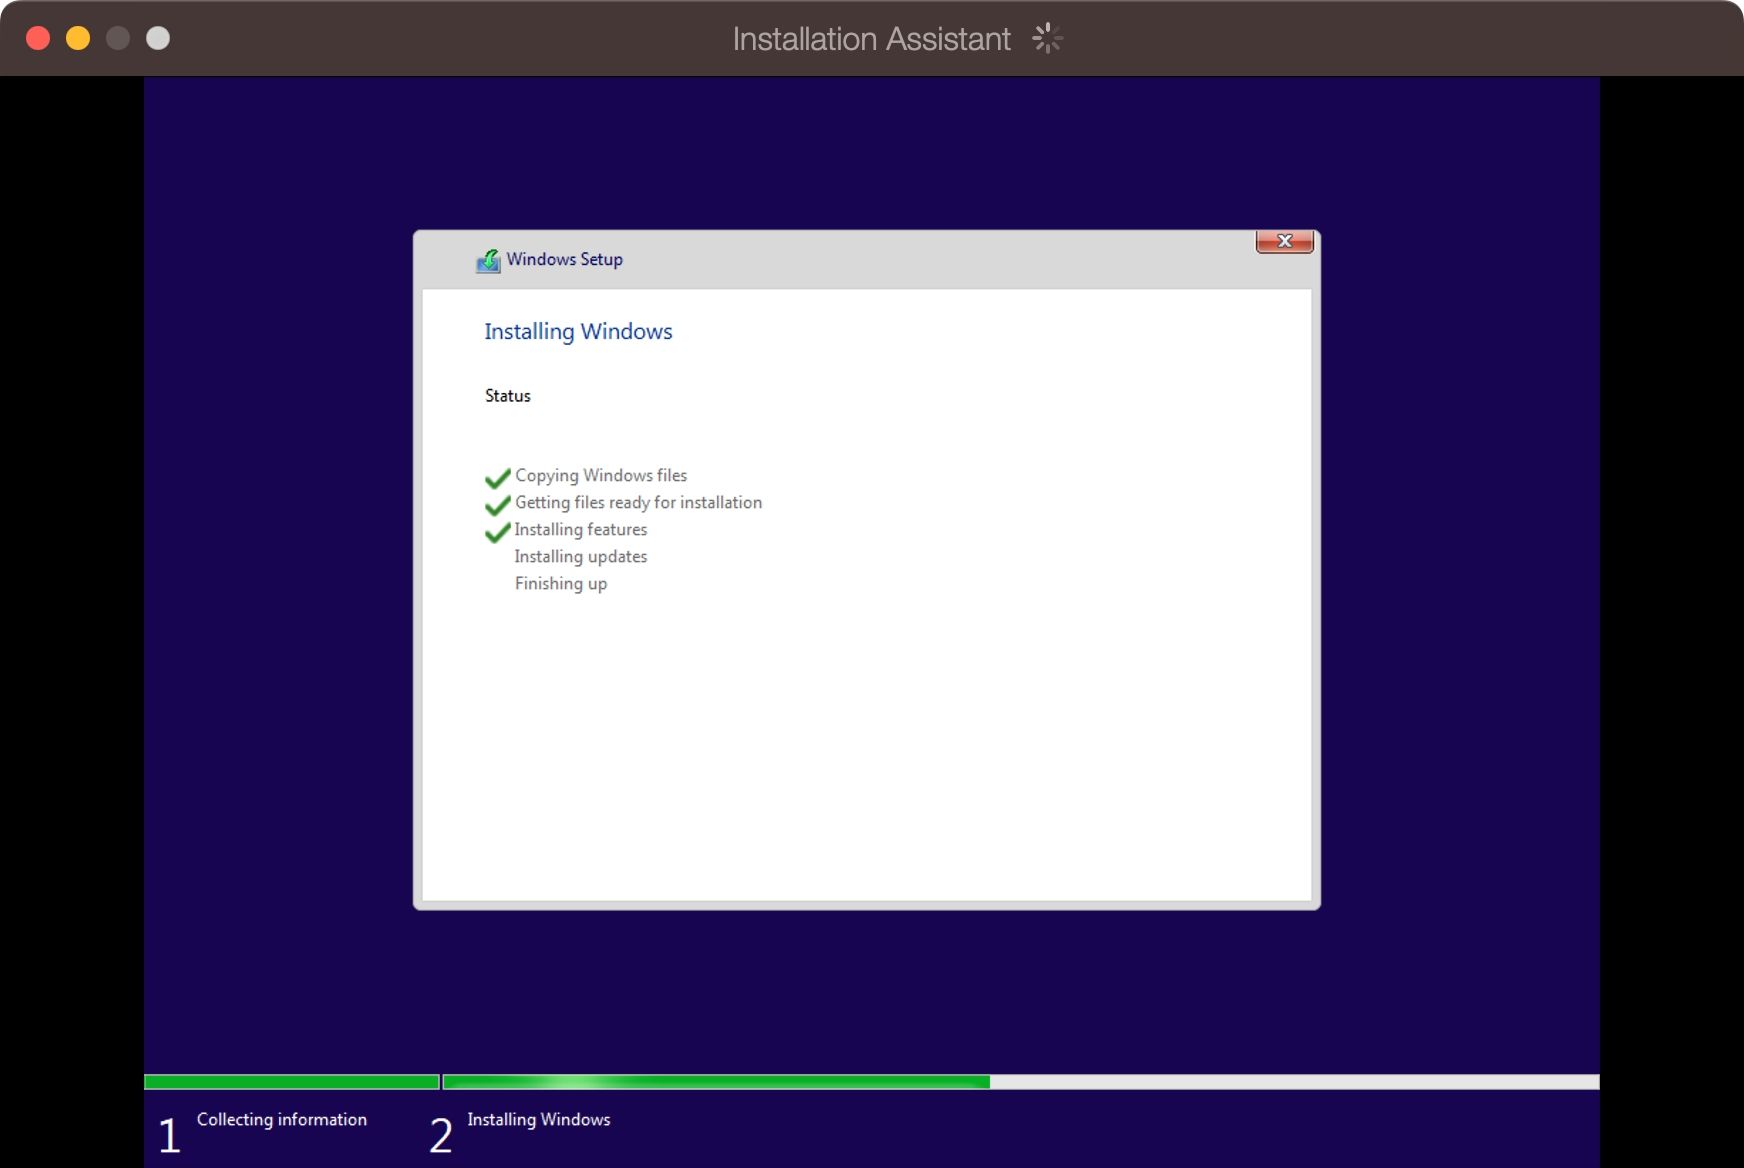
With that done, Parallels will validate and launch the installer. It may take a while to install Windows 11—be patient as Parallels optimizes Windows 11 on your Mac. You’ll see an “Installation Complete” message at the end of the process. At that point, click the mouse to continue.
Step 3: Complete the Installation
You’ll be prompted to create a free Parallels account, but you canSign in with Apple and avoid sharing your real email address. Parallels Desktop 18 includes a free trial without limitations. After it expires, you’ll need to buy a license from theParallels website .
Parallels will now boot your virtual machine to finish installing Windows 11. The Windows License Agreement comes up next, so click theAccept button to continue.
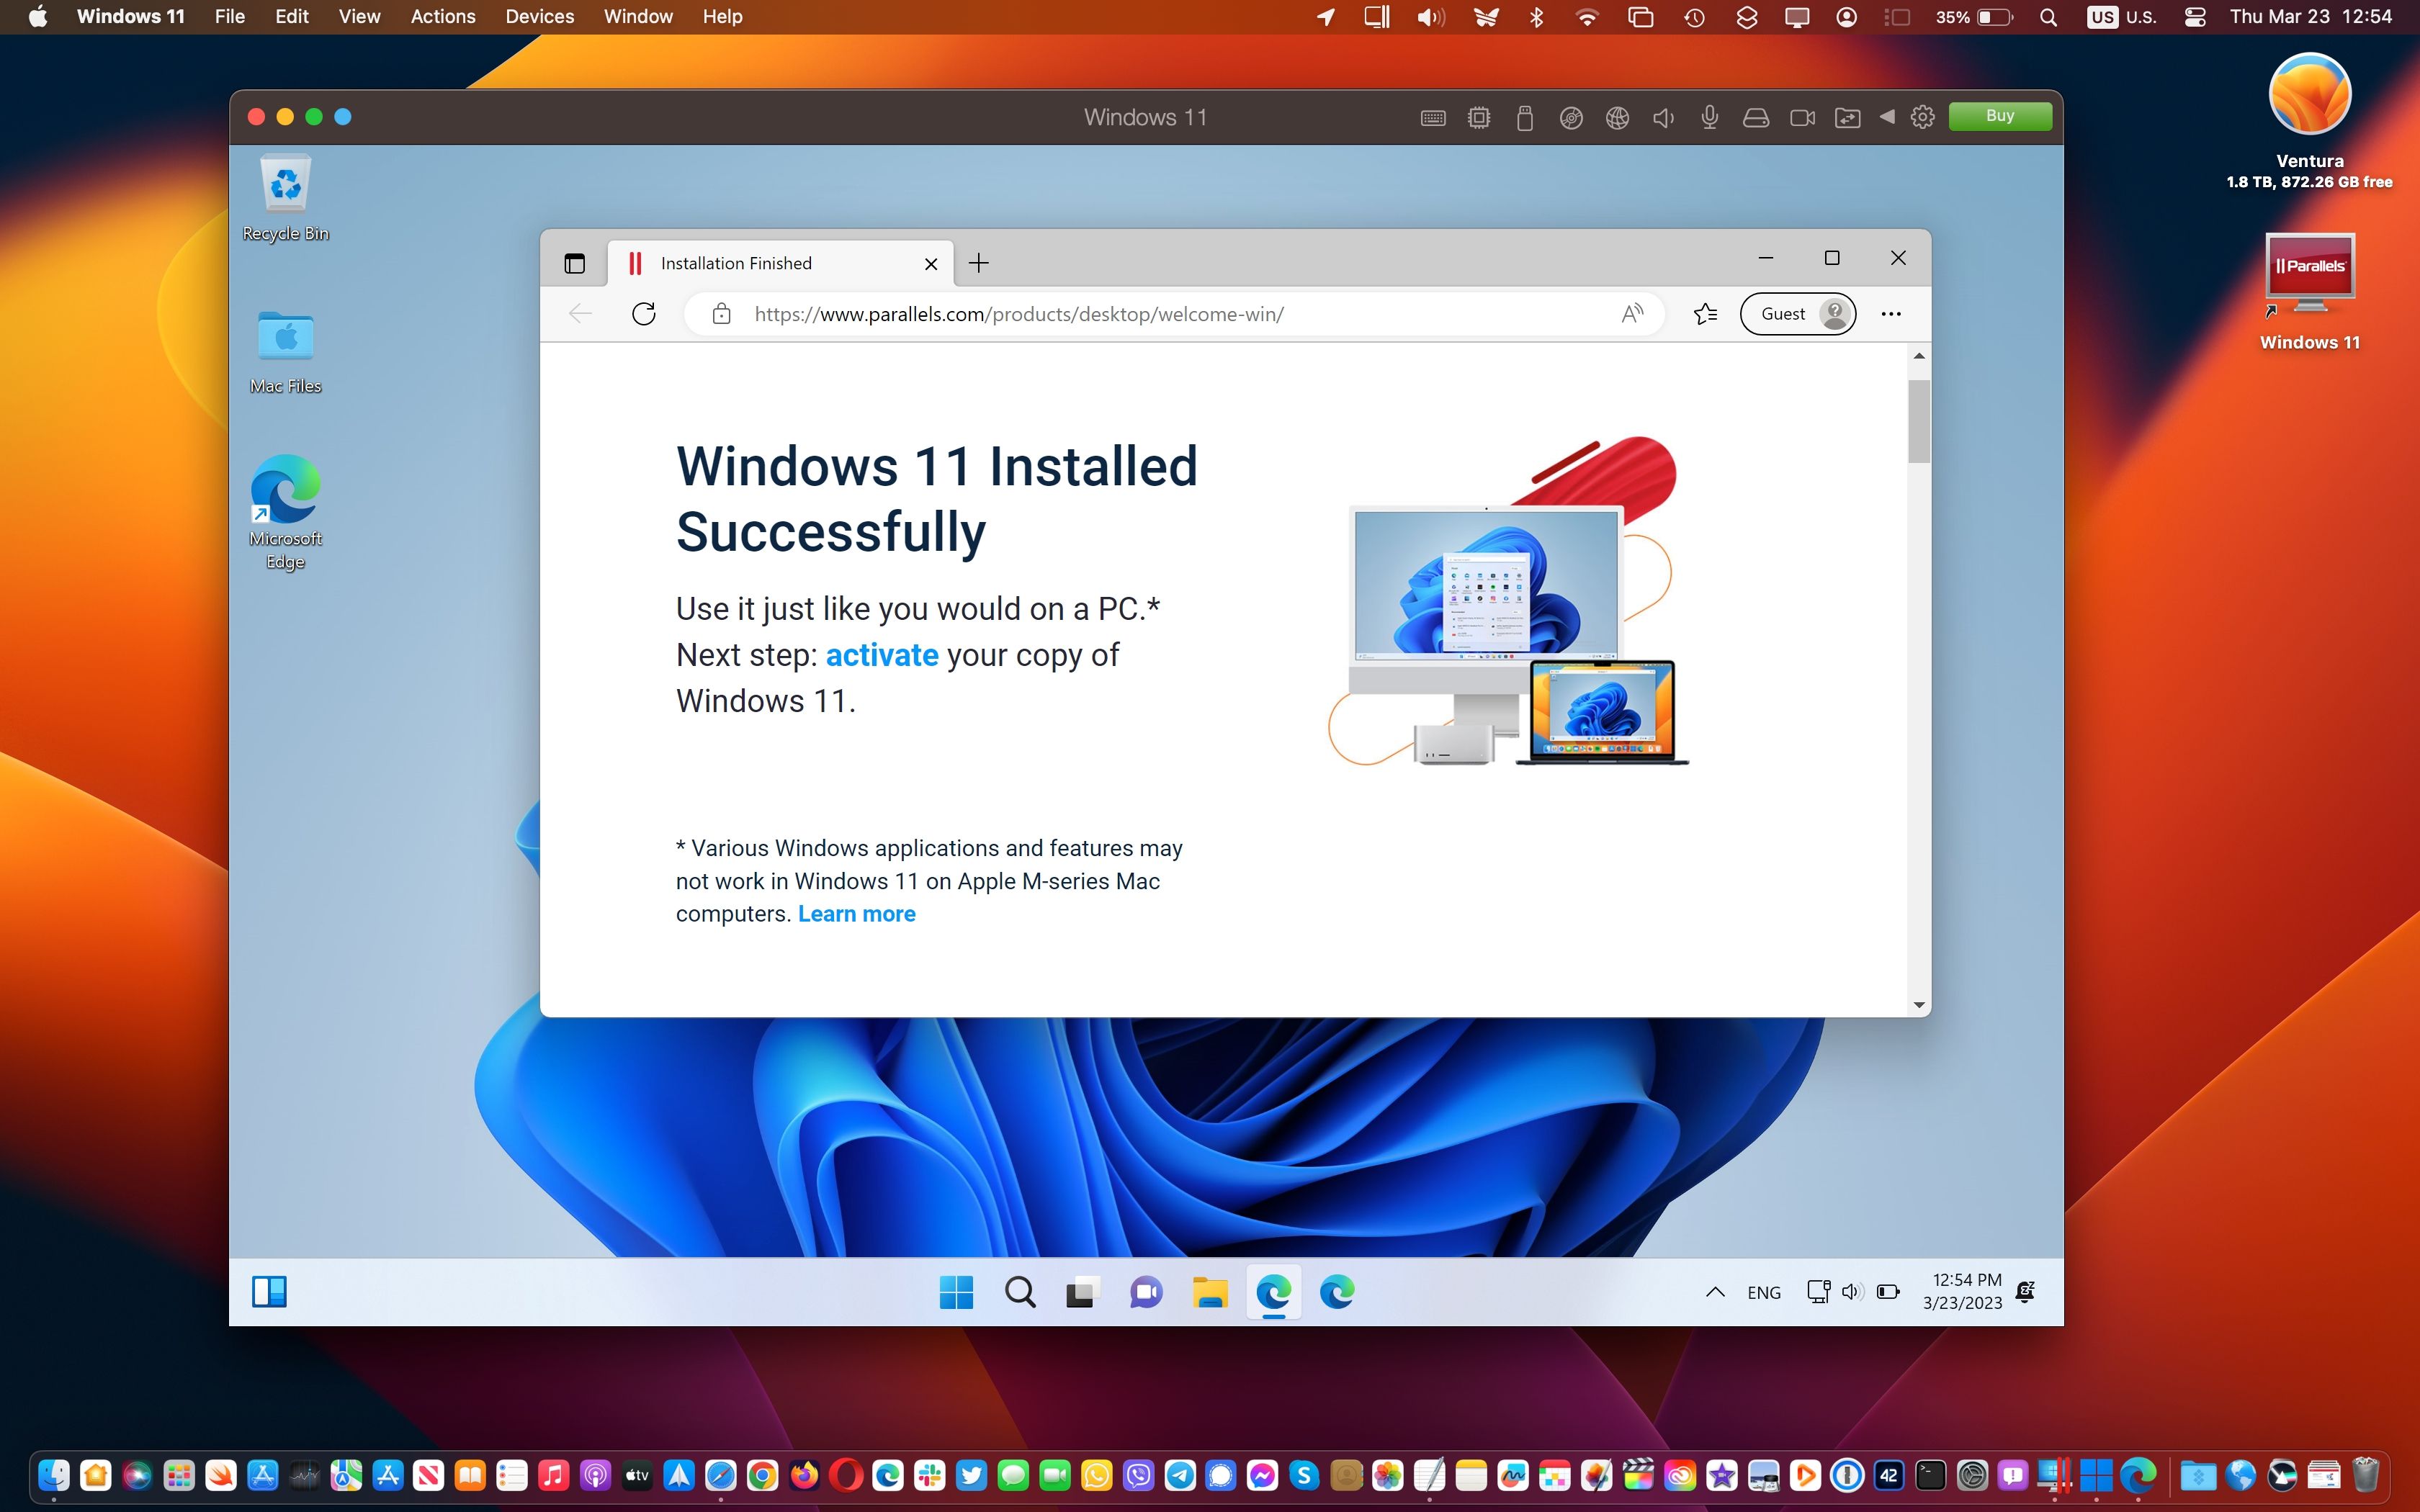
You should now land on the Windows 11 desktop in a macOS window. With everything installed and set up correctly, you can run your favorite Windows apps and games alongside macOS!
Step 4. Install the Parallels Toolbox
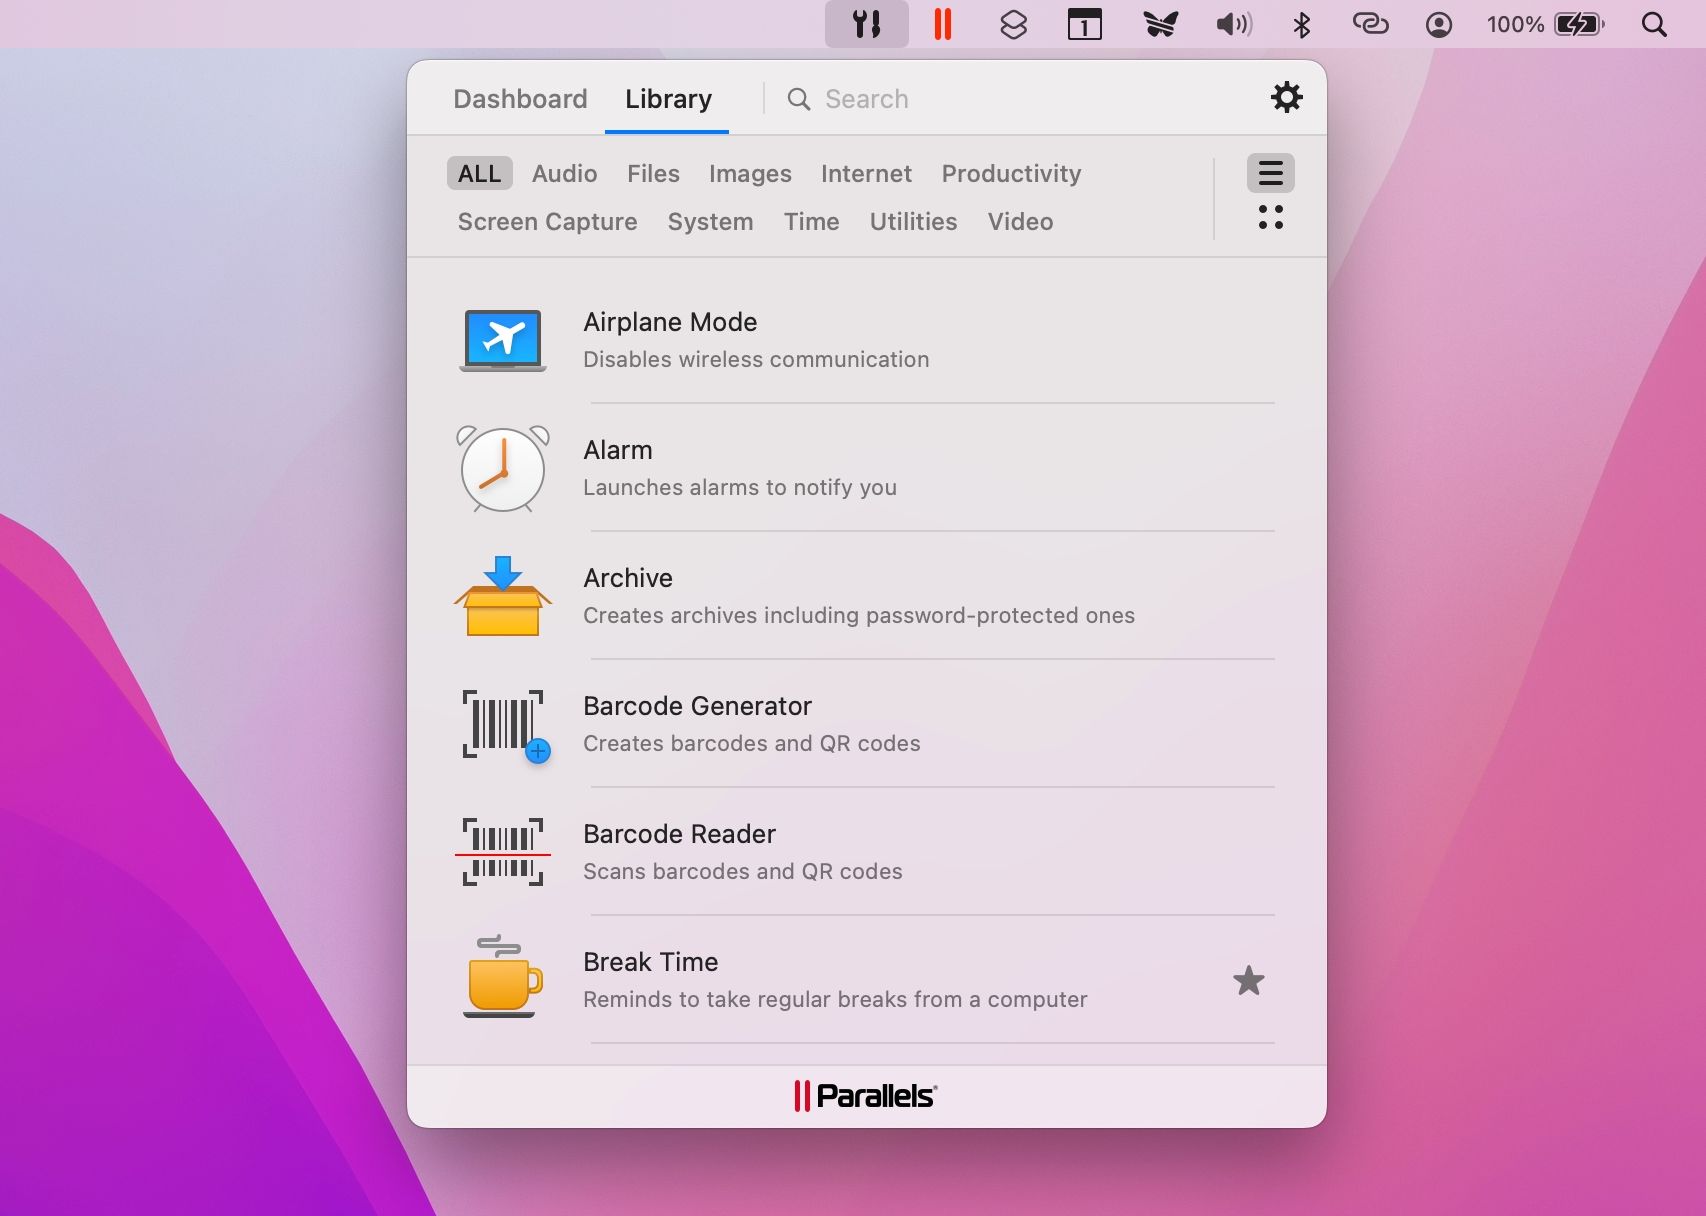
This step is optional, but the Parallels Toolbox includes a variety of helpful utilities for freeing up storage space, content creation, optimizing computer settings for a presentation, and more. To get them, launch Parallels Desktop and clickParallels > Install Parallels Toolbox for Mac from the menu bar, then clickInstall Now .
You can access the various apps in the Parallels Toolbox from the macOS menu bar in the top-right corner. Parallels Toolbox won’t replace the need for multiple apps, so we wholeheartedly recommend installing your favorite Windows apps, too.
You can get third-party Windows apps via the Microsoft Store or the developers’ websites, just like on a real PC. Parallels Desktop even allows you to open a downloaded Windows app installer directly from the macOS Finder, and it’ll take over and do the right thing.
For inspiration, check out our list ofmust-have Windows apps for any new PC .
Step 5. Customize Your Windows 11 Virtual Machine
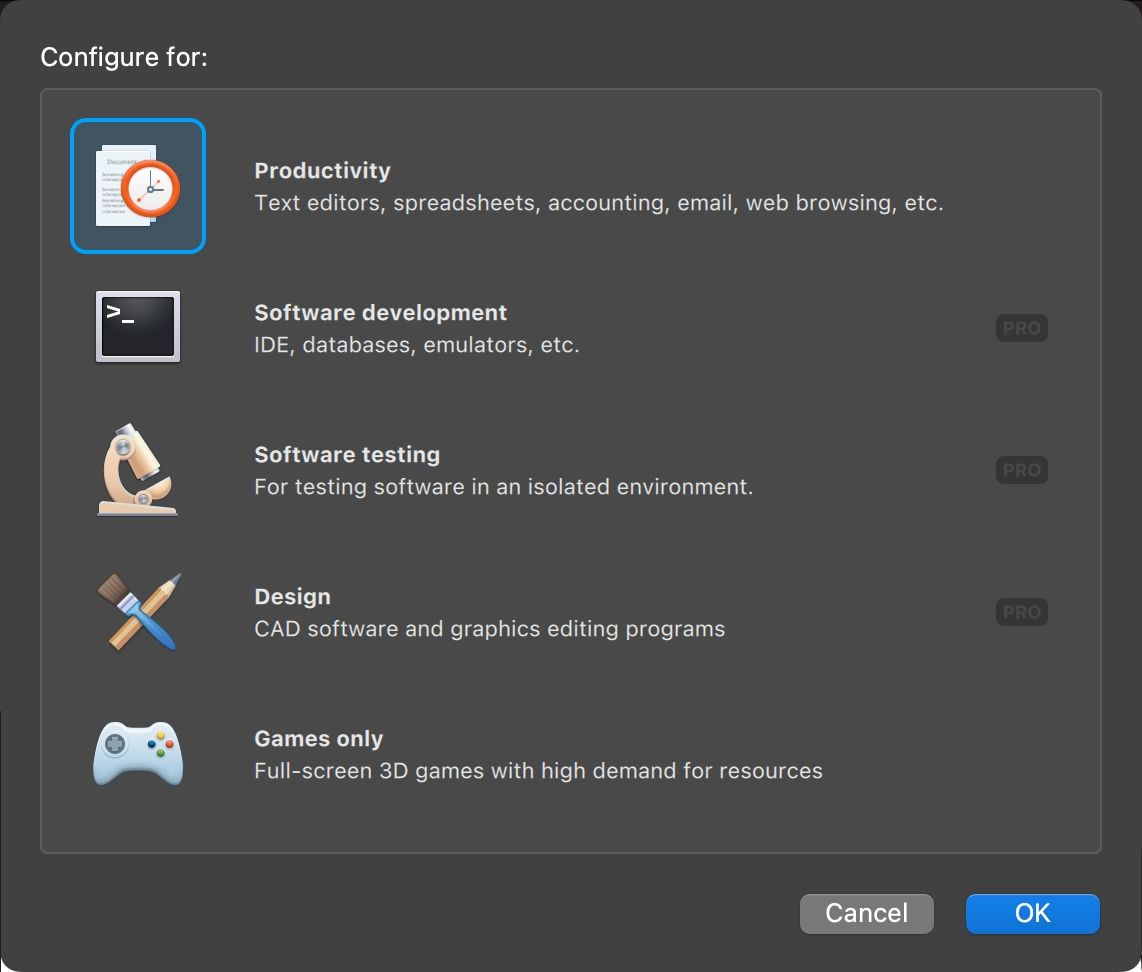
You can adjust various settings by clickingParallels > Configure from the menu bar (some of the settings cannot be changed until your virtual machine is shut down). Under theGeneral tab, click theChange button next toConfigure for to choose whether you’ll primarily use Windows 11 for productivity, gaming, development, etc.
You can give your Windows 11 virtual machine a custom title in theName field.
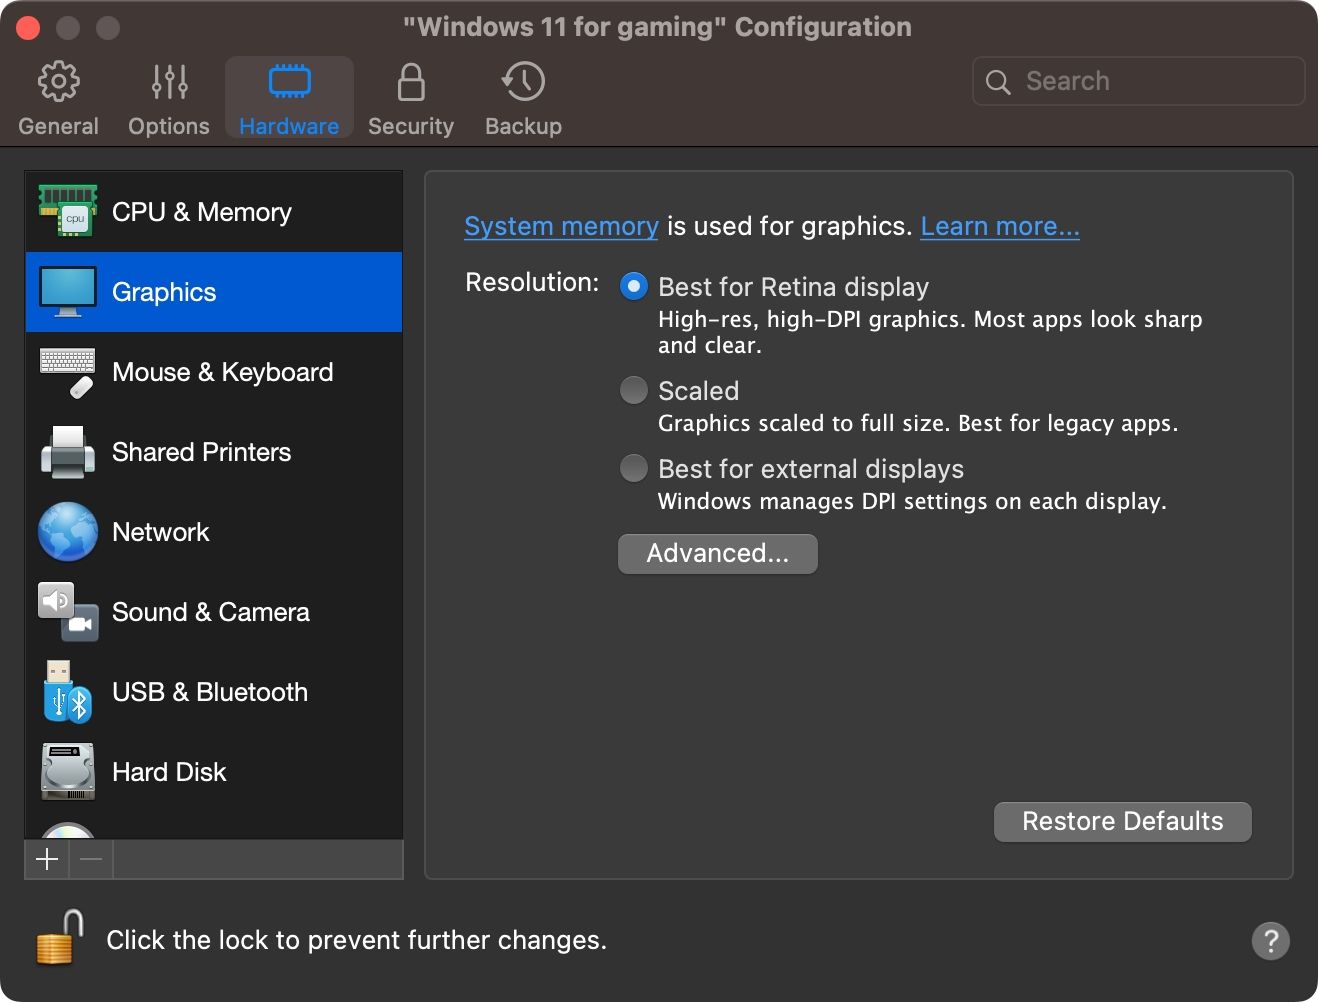
Next, click theHardware tab to fine-tune your virtual machine by adjusting the amount of virtual RAM, processors, graphics cores, and other features available to Windows 11.
Click additional sections in the sidebar to configure other simulated hardware capabilities and how software features like sharing and picture-in-picture behave. Close the settings window to save the changes to your virtual PC.
Unsupported Features in Windows on ARM
According toMicrosoft’s support document , some features are unsupported in Windows on ARM:
- DirectX 12: Games and apps that use Direct X are not supported.
- 32-bit apps: 32-bit ARM apps on the Windows Store don’t work on M1 and M2 Macs.
- Android apps: Running Android apps available in the Amazon Appstore doesn’t work.
- GNU/Linux: You cannot use a GNU/Linux environment on Windows 11.
- Windows Sandbox: You can’t run Windows apps in isolation.
- Virtualization-based Security: Isolating a secure region of memory from the normal operating system is unsupported.
Reasons to Run Windows on Your Mac
There are some perfectly valid reasons to run Windows 11 on a Mac. For example, you may need to use an old accessory that lacks macOS support. Occasionally, you may need to run a niche app or an ancient piece of software that doesn’t exist in macOS.
Or, maybe you want to check out cool Windows games on your Mac. Regardless of your reason, virtualization software like Parallels is a very convenient method to run Microsoft’s latest and greatest operating system alongside macOS with minimal effort.
Also read:
- [New] 2024 Approved 2023 | How to Solve Facebook Videos Are Partially Muted?
- [New] The Full Picture Mastering PicsArt with the 2024 Guide
- 2024 Approved Maximize Your Google Meet Experience with Effective Use of Digital Boards on Any OS
- Elevating Meetings A Comprehensive Guide to Zoom Filters
- Eliminate Latency in Win 10/11 Keystrokes with 7 Tips
- Enabling/Disabling Battery Saving Mode on Windows PCs
- How to Easily Hard reset my Poco X6 | Dr.fone
- In 2024, How to Unlock iCloud Activation Lock and iCloud Account On Apple iPhone XS Max?
- In 2024, Strategic Planning Aligning Research with Business Objectives
- In 2024, Tips for Quicker/Slower Video in Instagram Stories
- Maximizing Search in Windows 11: The Ultimate Guide's Top Five
- Navigating Corporate Governance on Your Windows PC: A Guide to Controlled Settings
- Reactivating Your MS Store Applications in Windows OSes
- Solutions for Non-Existent PowerShell in Windows OS
- Steps to Enable/Disable Windows 11 Registry Tools
- Streamlining Epic Sign-In: A Quick Fix Guide for Windows
- Win-Friendly Techniques to Test Mics
- Title: From Apple to Microsoft: Transition Guide for Windows 11 via Parallels
- Author: David
- Created at : 2025-01-05 21:19:04
- Updated at : 2025-01-13 04:00:38
- Link: https://win11.techidaily.com/from-apple-to-microsoft-transition-guide-for-windows-11-via-parallels/
- License: This work is licensed under CC BY-NC-SA 4.0.