
Frame Perfecting: Eliminating Lags with These 9 Windows Strategies
Frame Perfecting: Eliminating Lags with These 9 Windows Strategies
It can be hard to enjoy a video on your Windows PC when it’s stuttering throughout, considering you can’t see what’s happening on the screen clearly. There are many reasons why this might happen, and it can be hard to pinpoint the exact cause.
In this guide, we’re going to look into several solutions to help you get rid of a video stuttering problem on Windows.
1. Make Sure the Video or Media Player Isn’t the Problem
Before you start doing the more advanced fixes, you need to rule out the possibility that there’s something wrong with the video file you’re trying to play. To do that, simply play another video and see if that one too is stuttering. If it isn’t, then you know the original video you tried to play has a problem.
If the other video stutters as well, then check if the media player has a problem. Try playing the video using another player, and if it doesn’t stutter, then you can simply use that media player from now on. You can try updating or reinstalling the first media player you tried to use and see if that fixes the stuttering issue.

2. Check if You Are Using the Right Display Cable
If you’re using the wrong display cable, it could be that it doesn’t support the resolution of the video, causing it to stutter.
For example, if you tried playing a 4K video at 60Hz using an HDMI 1.4 cable, there’s a high chance you’ll experience stutter compared to using an HDMI 2.0 cable. To fix that, you’ll have to purchase a better display cable at your local computer hardware store or online.
 Nero Burning ROM:
The ultimate burning program for all your needs!
3. Scan for Hardware Changes on Your Computer
If your graphics hardware encounters a glitch or somehow becomes misconfigured, it can lead to the video stuttering problem. To fix that, you can use the Device Manager to scan for and fix any hardware changes that might have occurred.
Follow these steps to proceed:
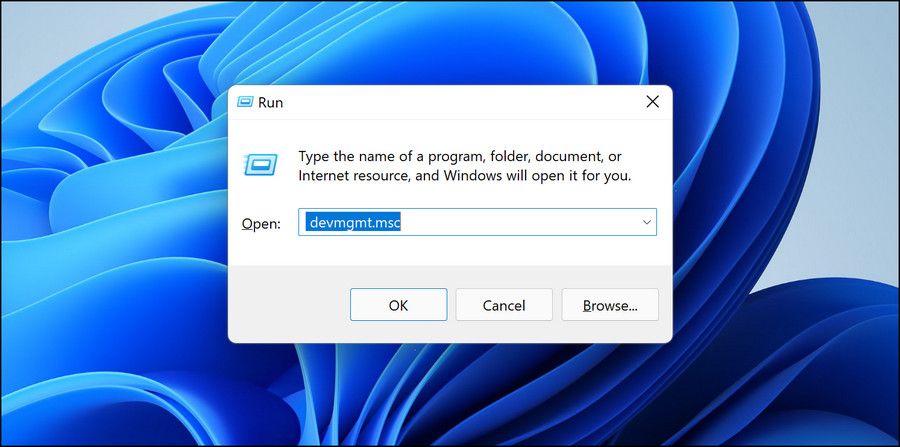
- Press Win + R to open Windows Run.
- In the text box, enter devmgmt.msc and hit the Enter key to open Device Manager.

- In the top menu, click Action and select Scan for hardware changes.
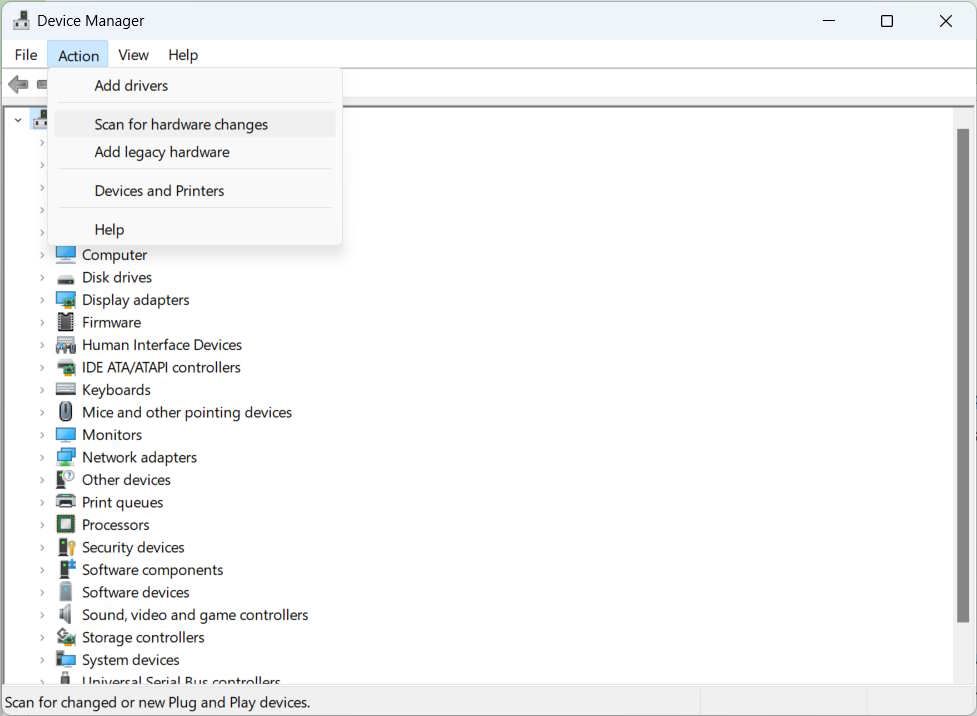
Once the Device Manager finishes the scan, try and play the video again and see if the stuttering persists or not.
4. Update Your Graphics Driver
If scanning for hardware changes didn’t fix things, then you can try updating the graphics driver while you still have the Device Manager open. If you don’t know how to do this, then you can learn how to find and replace outdated drivers on Windows .
Make sure you update your display drivers and that the graphics drivers have all the necessary performance improvements and fixes to run the video smoothly.
5. Close Any Resource-Intensive Applications
Some Windows applications are resource intensive, meaning they require a significant amount of systems resources to run properly. For example, if you’re playing a modern 3D game on your computer, Windows would have to dedicate a large chunk of the CPU and GPU resources to ensure that you have a smooth gaming experience.
So, if you try to play a high-quality video alongside this app, it might end up stuttering due to a lack of free resources. Try closing any resource-intensive application that you’re running before playing the video.
6. Run the Video Playback Troubleshooter
Windows has a built-in tool for diagnosing and fixing issues with video playback. It’s called the Video Playback troubleshooter, and it will search for problems affecting video playback on your computer, including driver issues, missing codecs, and misconfigured display and resolution settings.
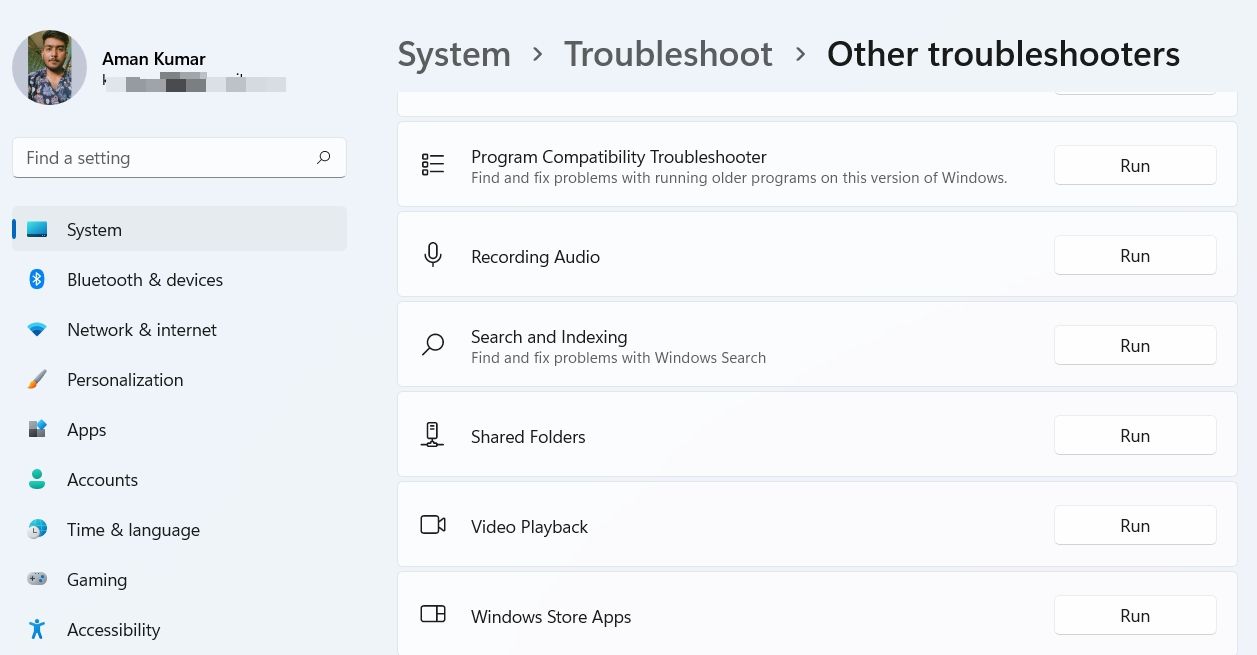
To run the Video Playback Troubleshooter on Windows 11, follow the steps below:
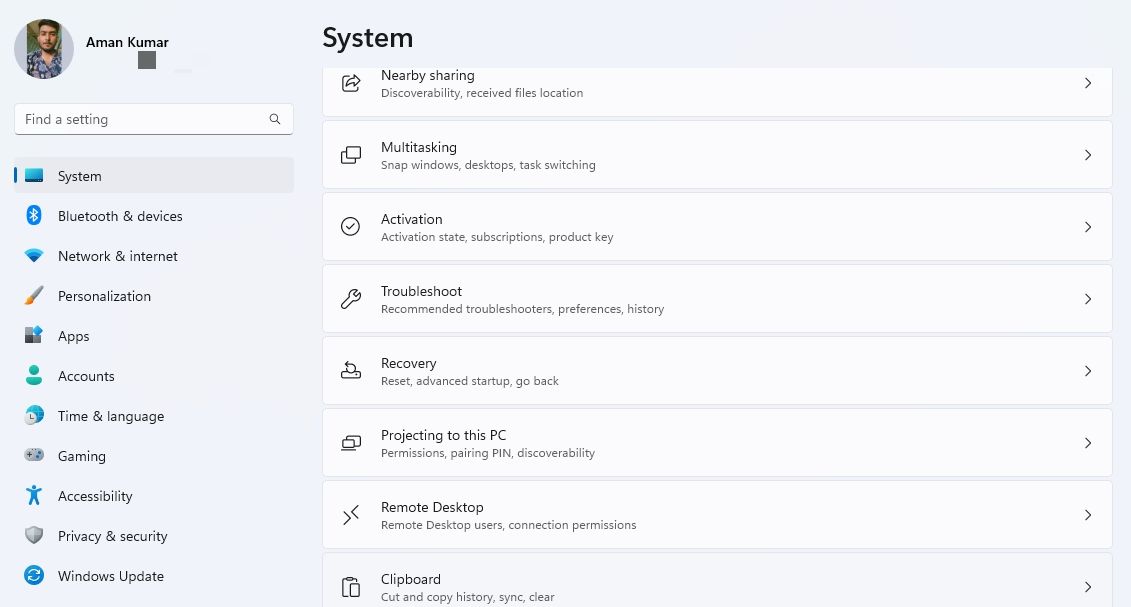
- Press Win + I to open Settings and select System > Troubleshoot.
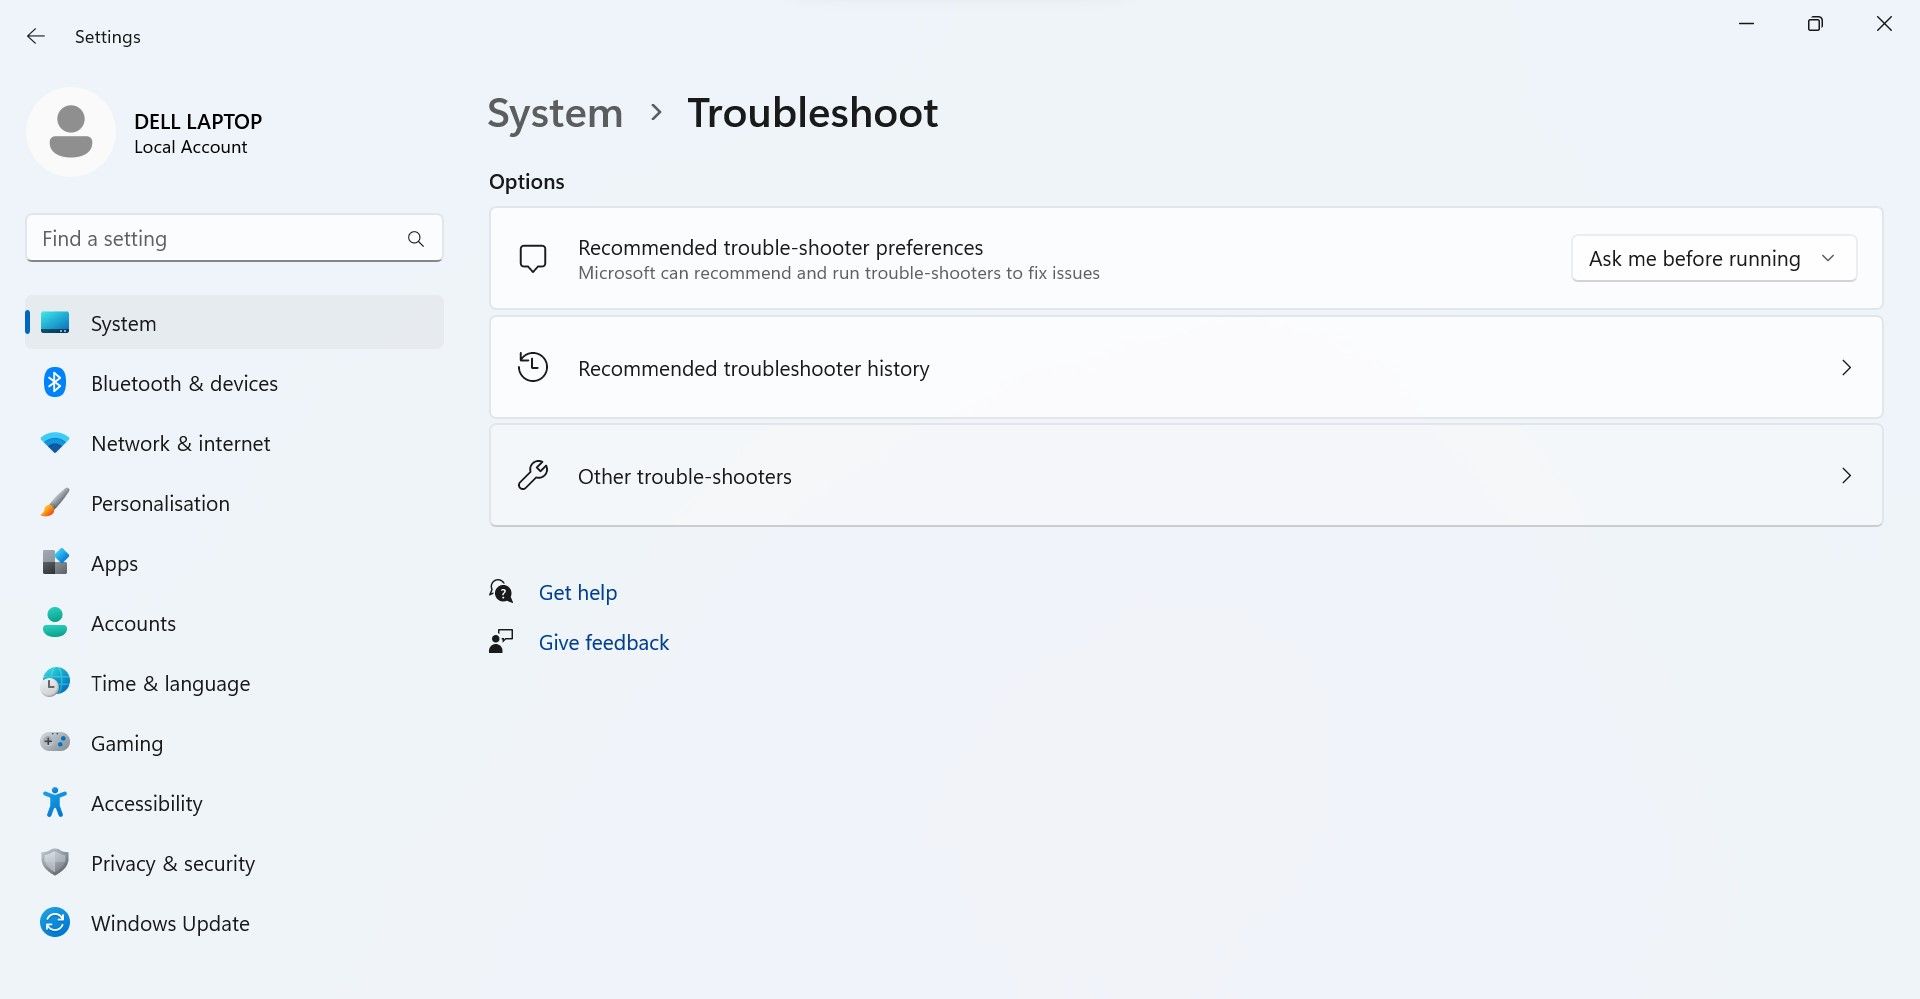
- Select Other trouble-shooters.
- Scroll down and click Run next to Video Playback.


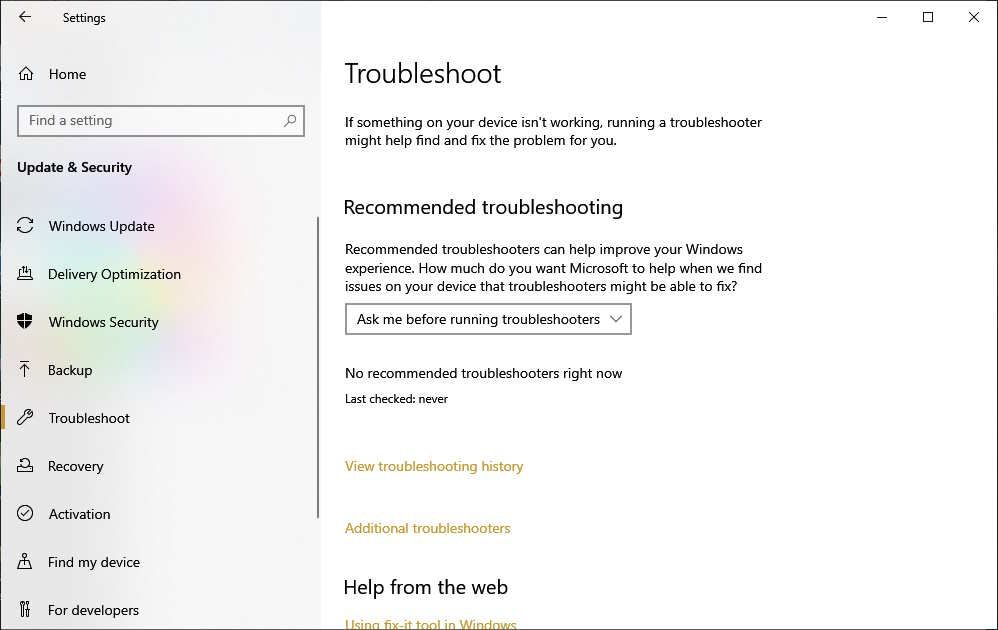
If you’re on Windows 10, follow the steps below:
- Press Win + I to open Settings, head to System > Update & Security > Troubleshoot, and click on the Additional troubleshooters link.
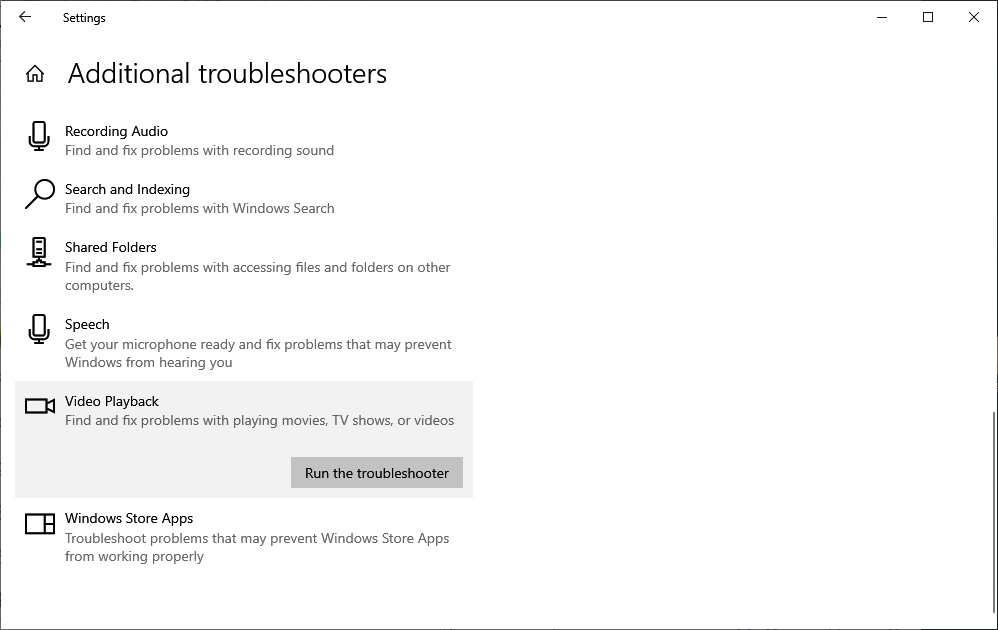
- In the Find and fix other problems section, scroll down and click Video Playback.
- Click Run the troubleshooter.

Now you can use the tool to fix your video playback issues. If it can fix the issue, it will do it for you, but if it can’t, it will offer possible solutions.
7. Change the Windows Graphics Preference Option to High Performance
Sometimes, the video could be stuttering because the current GPU you’re using cannot handle it, which is usually the case for integrated GPUs. If you have a dedicated GPU, you can set that as your preferred choice for the video player.
To do that on Windows 11, follow the steps below:
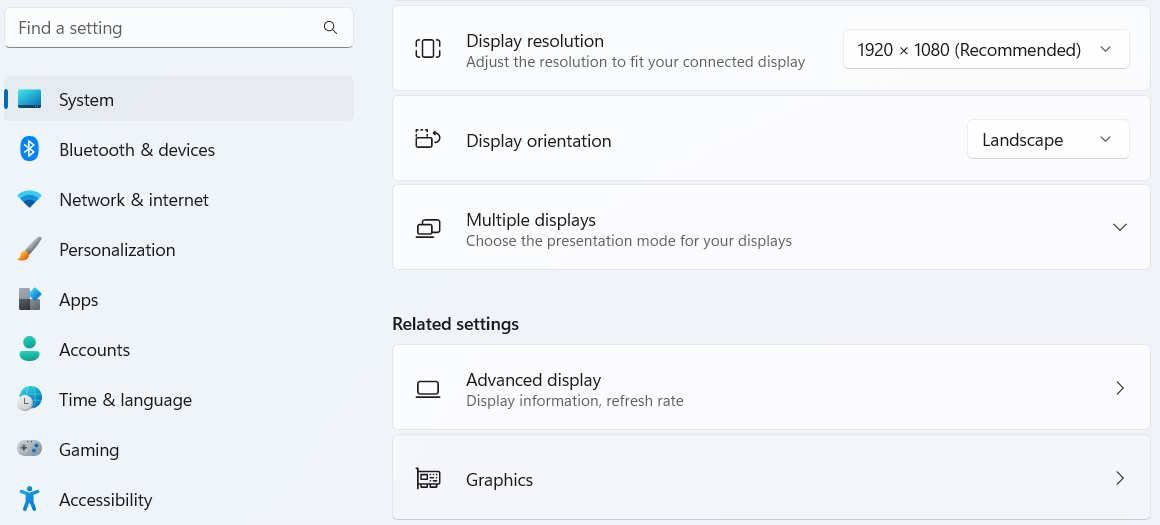
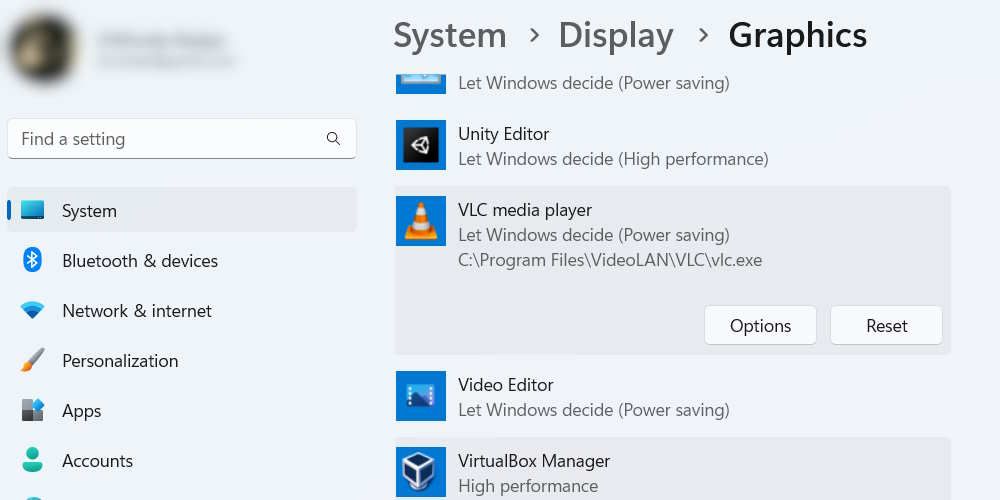
- Press Win + I to open Settings, and select System > Display.
- In the Related settings section, click on Graphics.
- Click on the video player you’re using to expand it and click Options.
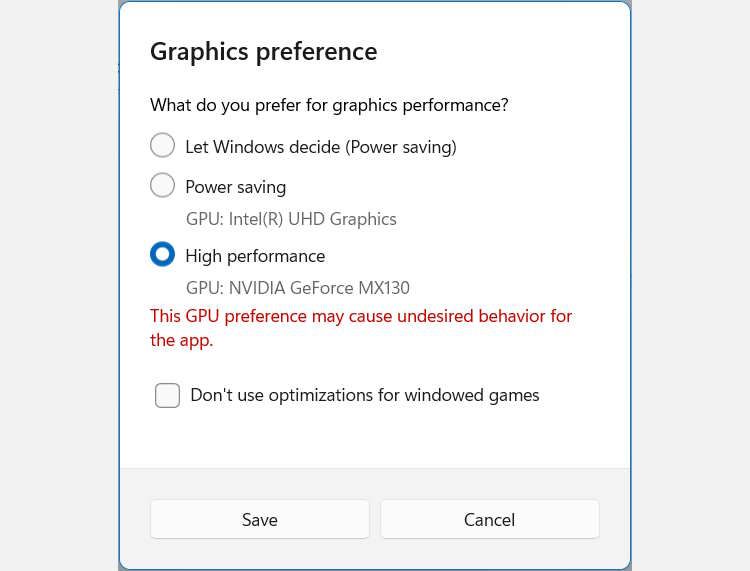
- In the pop-up, click the High performance radio button, which will select the better GPU for your computer.
- Click Save to apply the changes and close the pop-up.
If you’re on Windows 10, follow the steps below:
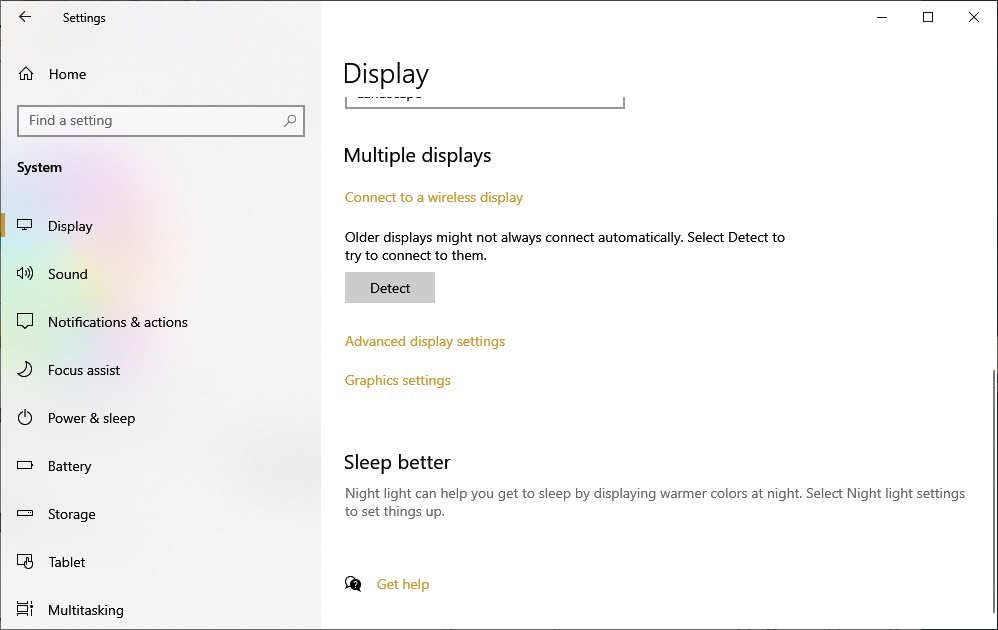
- Press Win + I to open Settings, select System > Display, and then click on the Graphics settings link.
- Click on the video player you’re using to expand it and click Options.
- In the pop-up, click the High performance radio button, which will select the better GPU for your computer.
- Click Save to apply the changes and close the pop-up.
Hopefully, with the graphics priority set to the high-performance option, your video stuttering issues will disappear.
8. Change the Number of Allocated GPU Processors
Dedicating more processing power to the video player could potentially stop the video from stuttering. So, whether you’re using VLC or DivX media player, you can learn how to allocate more CPU cores to Windows applications to fix the issue.
We recommend that you choose as many processors as possible by ticking the All processors checkbox.
 vMix HD - Software based live production. vMix HD includes everything in vMix Basic HD plus 1000 inputs, Video List, 4 Overlay Channels, and 1 vMix Call
9. Update Windows
Since a Windows update typically includes performance enhancements and bug fixes, it could also fix the stuttering problem when it comes to videos.
If you’ve turned off automatic updates on your computer, there are ways for you to update Windows manually . And if you’re running into problems with the updating process, you can learn how to fix Windows Update when it’s not working .
Get Rid of Video Stuttering on Windows
Your Windows computer is a good entertainment system that you can use to enjoy any type of video you desire. However, when the video is constantly stuttering, it can be frustrating.
By performing the troubleshooting steps in this guide, you can get rid of the problem and watch videos clearly.
In this guide, we’re going to look into several solutions to help you get rid of a video stuttering problem on Windows.
- Title: Frame Perfecting: Eliminating Lags with These 9 Windows Strategies
- Author: David
- Created at : 2024-08-16 00:14:55
- Updated at : 2024-08-17 00:14:55
- Link: https://win11.techidaily.com/frame-perfecting-eliminating-lags-with-these-9-windows-strategies/
- License: This work is licensed under CC BY-NC-SA 4.0.