
Eliminating the Voice Typing Hiccup with Window's Error Code X80049DD3 Solution
Eliminating the Voice Typing Hiccup with Window’s Error Code X80049DD3 Solution
The voice typing feature in Windows 11 usually enables users to input text (word process) by speaking into their PCs’ microphones. However, some users have reported a 0x80049dd3 voice typing error during 2022. Those users see this error message when they try to utilize voice typing, “Something went wrong: 0x80049dd3.”
As a result, users can’t input text with voice typing. Sure, you can always use your keyboard for word processing; but those who need to fix this issue no doubt prefer speech-to-text dictation. This is how you can fix the 0x80049dd Voice Typing error in Windows 11.
1. Run the Recording Audio and Speech Troubleshooters
Windows 11 includes two troubleshooters that could come in handy for fixing the 0x80049dd3 error. The Recording Audio troubleshooter can resolve sound recording issues. Or you can try running the Speech troubleshooter, which is a slightly more specific one for fixing microphone-related errors. You can open the recording troubleshooting tool in the following steps:
- Bring up Windows 11’s Settings app by selecting it in the Start menu.
- Scroll down theSystem tab and clickTroubleshoot .
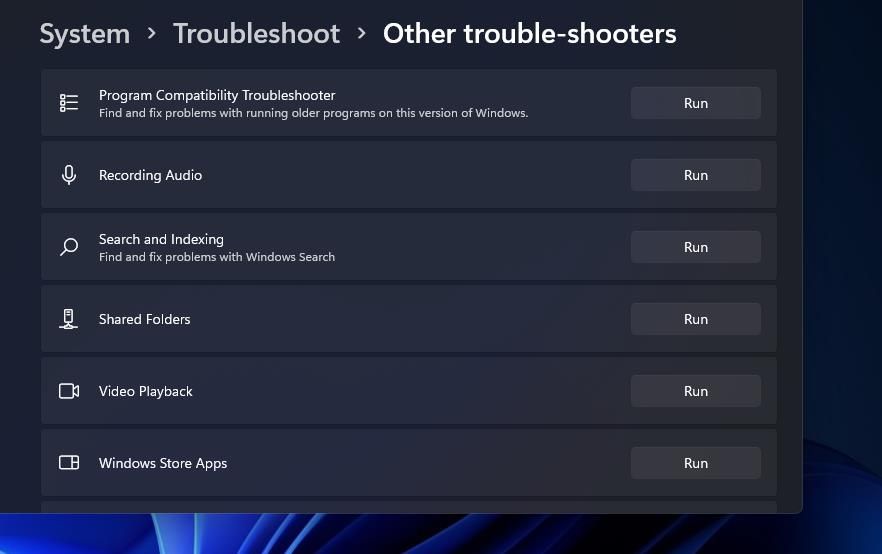
- Next, clickOther trouble-shooters to view that part of Settings.

- Select the Recording Audio troubleshooter’sRun option.
- ClickApply this fix for any solutions suggested by the Recording Audio troubleshooter.
The Speech troubleshooter is available in Windows 11’s Control Panel. This is how you can access that troubleshooter:
- ClickSearch on your taskbar.
- Type the search phraseControl Panel into the text box.
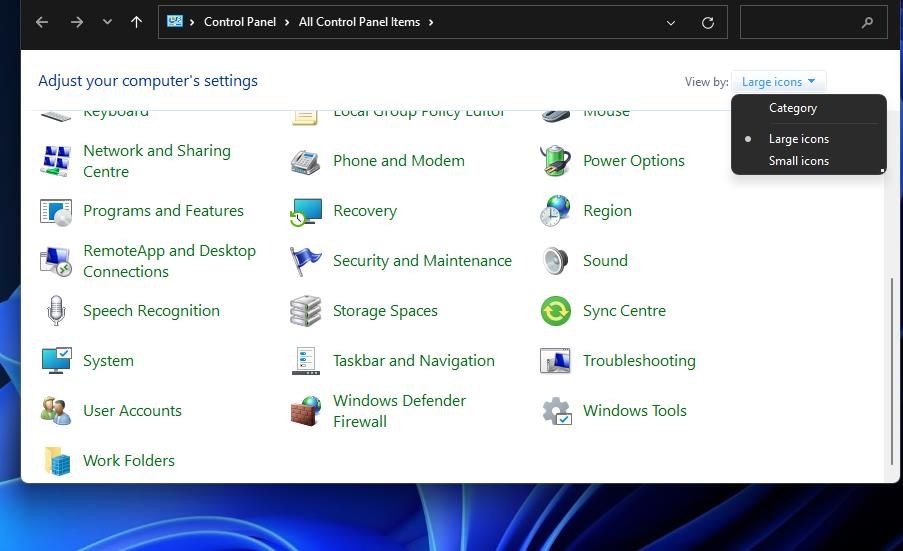
- SelectControl Panel to view its window.
- ClickLarge icons on the Control Panel’sView by menu.
- SelectTroubleshooting to bring up that applet.
- Next, click theView all link on the left of the Troubleshooting applet.
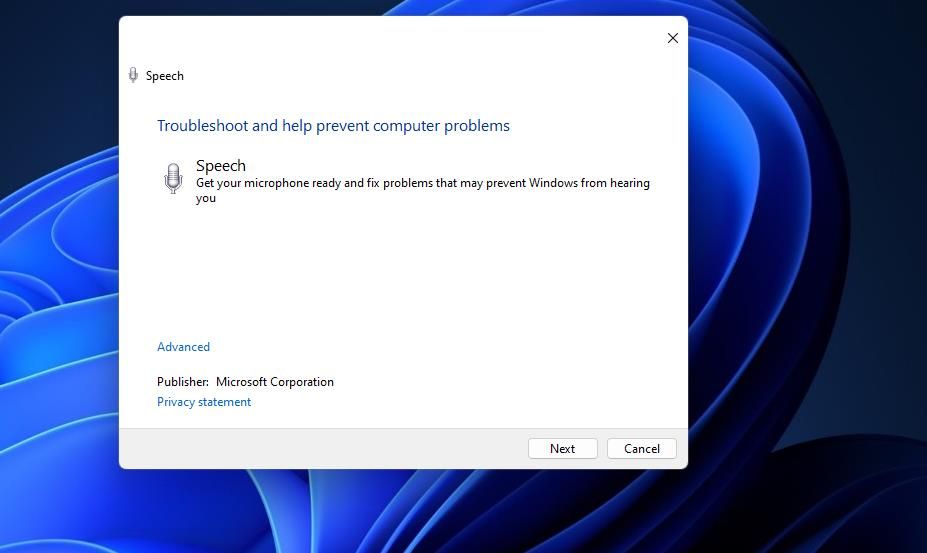
- SelectSpeech to open it.
- Press the Speech troubleshooter’sNext button to detect and fix issues.

2. Check for Windows 11 Updates
Microsoft has reputedly acknowledged error 0x80049dd3, which means the big M may have released a patch update that addresses it. Windows is usually automatically updated, but there might still be some available updates your PC is missing. So, check for and install all available Windows 11 updates like this:
- To access the Settings app, hold theWindows key and pressI simultaneously.
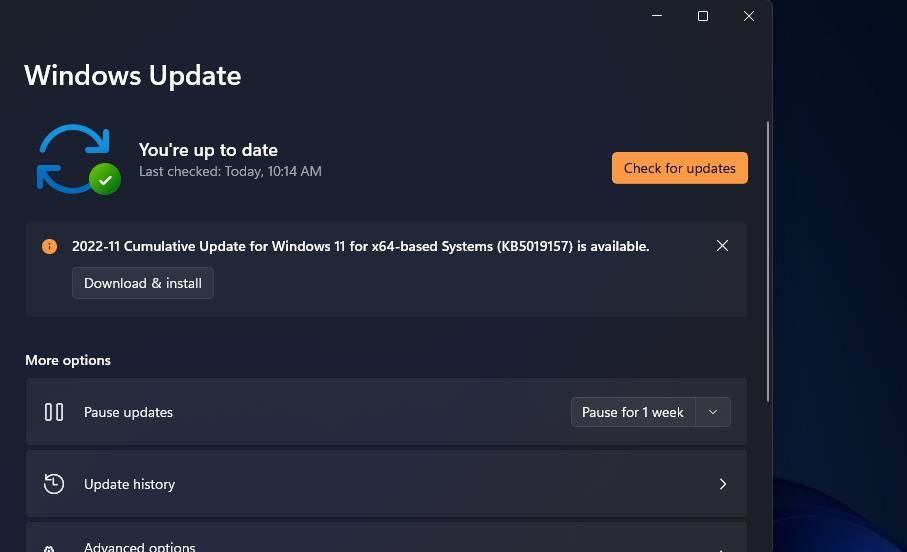
- Next, clickWindows Update to view that tab’s options.
- PressCheck for updates to see what Windows 11 updates, if any, are available.
DEX 3 RE is Easy-To-Use DJ Mixing Software for MAC and Windows Designed for Today’s Versatile DJ.
 DEX 3 RE is Easy-To-Use DJ Mixing Software for MAC and Windows Designed for Today’s Versatile DJ.
Mix from your own library of music, iTunes or use the Pulselocker subsciprtion service for in-app access to over 44 million songs. Use with over 85 supported DJ controllers or mix with a keyboard and mouse.
DEX 3 RE is everything you need without the clutter - the perfect 2-deck mixing software solution for mobile DJs or hard-core hobbiests.
PCDJ DEX 3 RE (DJ Software for Win & MAC - Product Activation For 3 Machines)
- Click theDownload and install buttons for any available Windows 11 updates. That includes the Windows 11 22H2 build update if it is available for you.
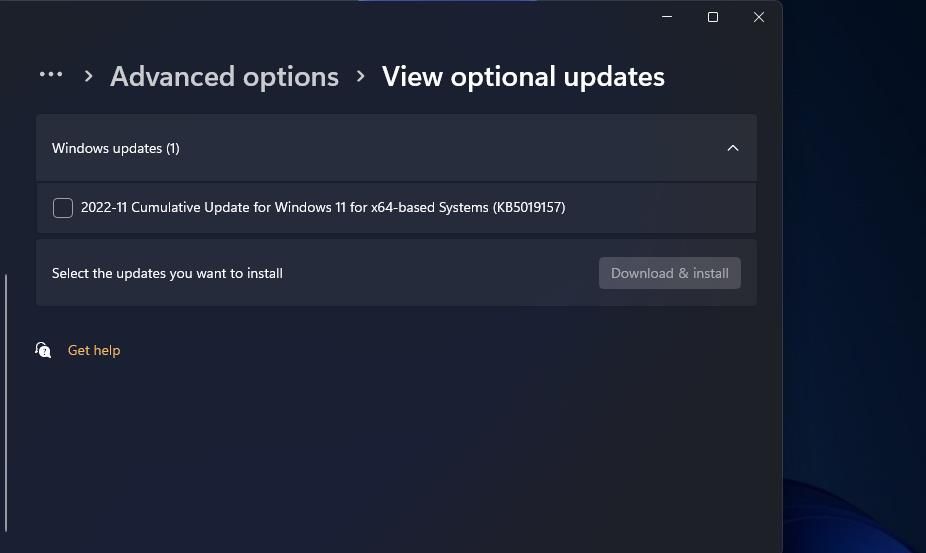
- SelectAdvanced options >Optional updates to view other patches.
- Then select the checkboxes for updates listed there, and click theDownload and install options.

3. Check the Settings for Your Microphone
Windows 11’s Settings app includes microphone access options that need to be enabled for voice typing to work. Double-check that microphone access is enabled for all apps you want to utilize for voice typing. This is how you can enable mic access in Windows 11:
Open up Settings from the Start menu or with that app’sWindows +I keyboard shortcut.
Then selectPrivacy & security in Settings.
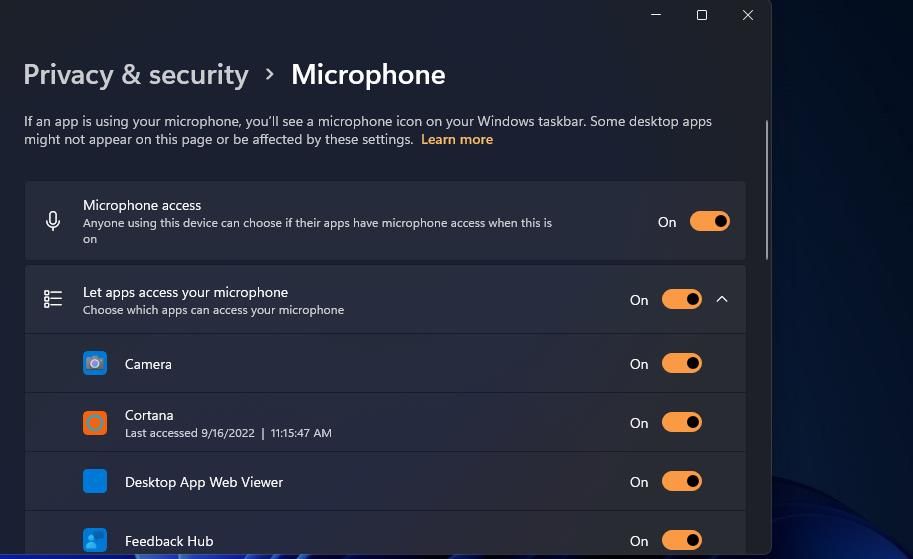
Next, click theMicrophone navigation option.
company, user or members of the same household. Action! - screen and game recorder


- Toggle on theMicrophone access option if it is disabled.
- Turn on theLet apps access your microphone setting.
- Make sure the microphone access options for all apps you need to utilize the mic with are turned on.
It’s also recommended to try setting up the mic again from Settings. To do that, selectSpeech on theTime & language tab in Settings. Click theGet started button for setting up Microphone speech recognition. Then go through the setup instructions.
4. Update the Driver for Your Microphone
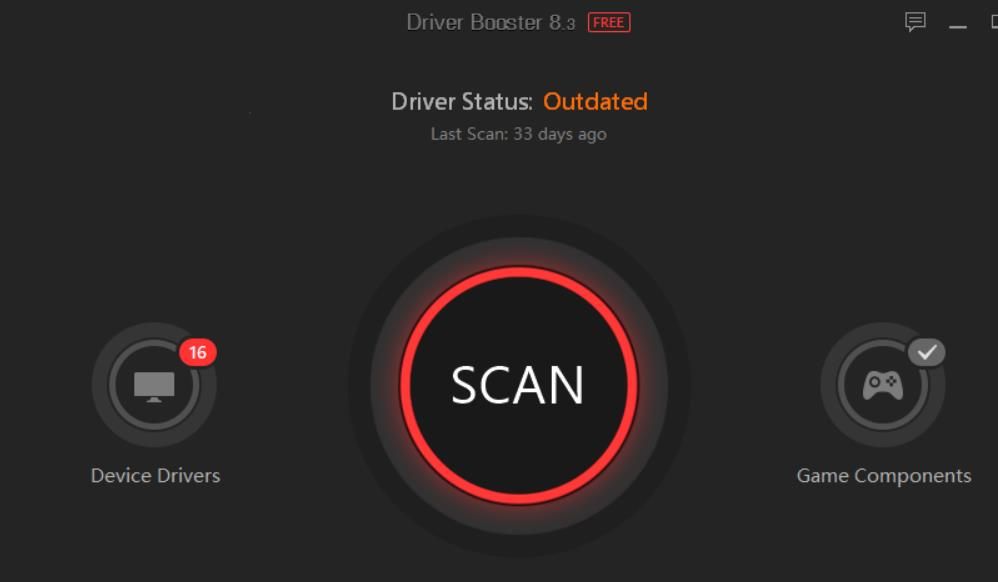
You might need to fix error 0x80049dd3 because your PC’s microphone has an outdated or corrupted driver. An easy way to check if that’s the case is to run a scan with a third-party tool like Driver Booster.
If Driver Booster, or alternative software, shows your microphone’s driver needs updating, you can select to update it from there. Our guide to updating drivers with Driver Booster 8 (now version 10) tells you how to update device drivers with that software.
5. Set Up a New User Account
Creating a new user account is among the most widely confirmed solutions for error 0x80049dd3. Thus, this error is seemingly often a user account issue. Try setting up and switching to a new user account in the following steps:
Right-clickStart and select the Power User menu’sSettings shortcut.
Next, click theAccounts tab.
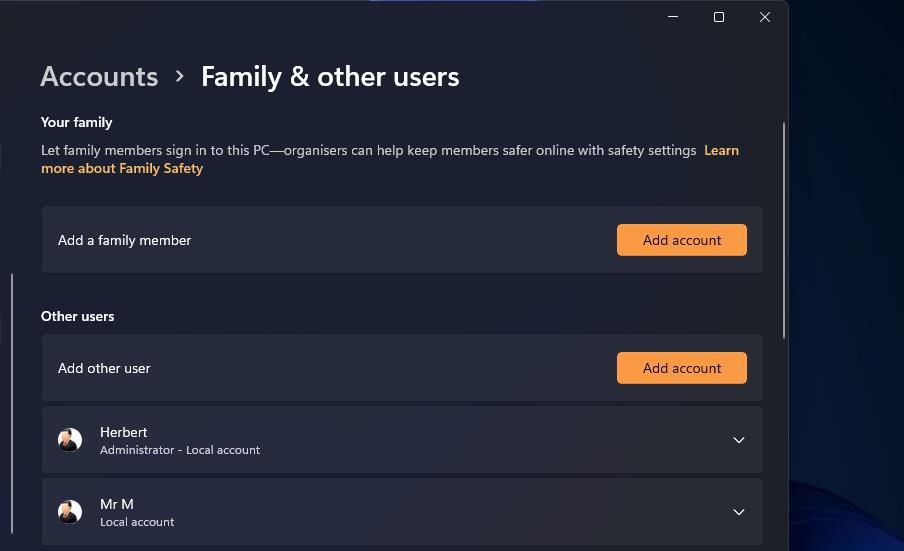
Select theFamily & other users navigation option.
ClickAdd account for theAdd other user option.
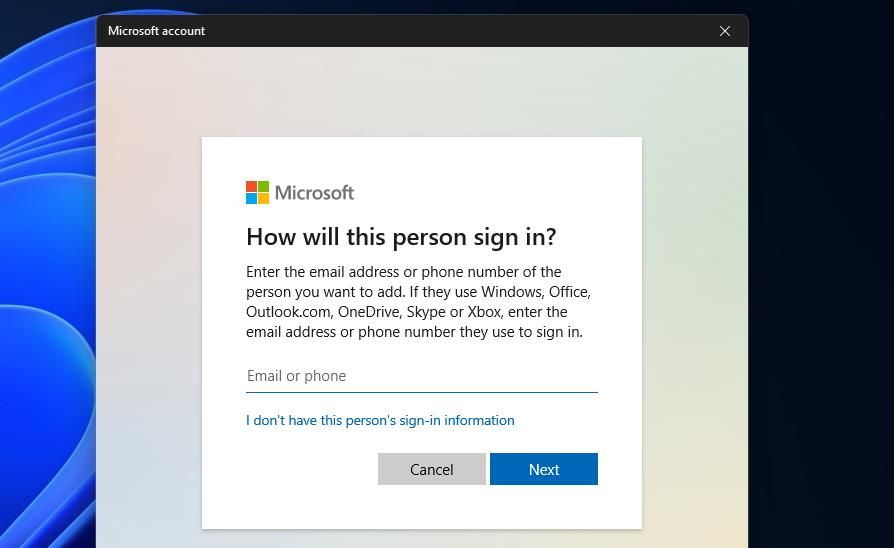
Select the I don’t have this person’s sign-in information option on the Microsoft account window.
Next, clickAdd a user without a Microsoft account.
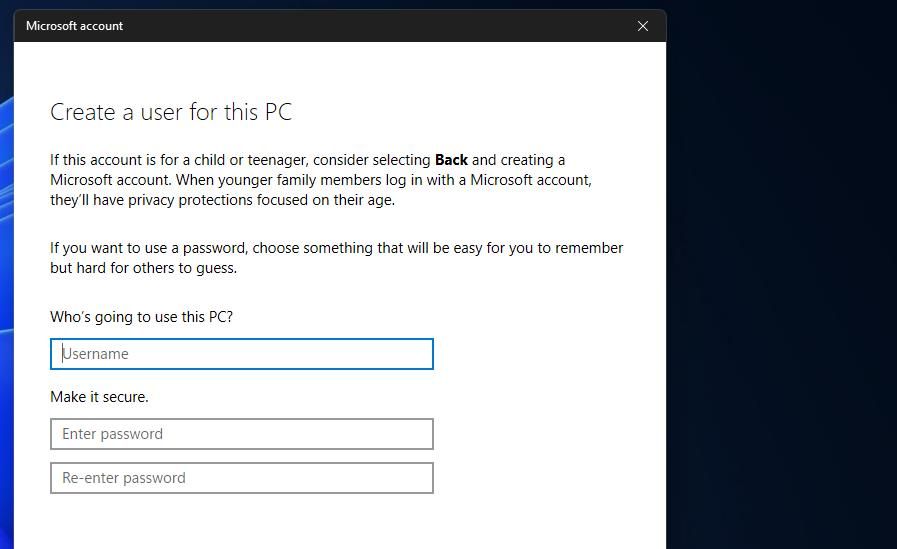
Fill in the user account name and password boxes.
SelectNext to set up the account.
Click the new account’s down arrow in Settings to expand it.
Press theChange account type button for your new account.
dotConnect for Oracle is an ADO.NET data provider for Oracle with Entity Framework Support.Select theAdministrator option on the Change account type window, and clickOK to save.
Sign out of Windows 11 and log in to the newly created user account.
Try using voice typing in your new user account.
 Project Manager - Asset Browser for 3Ds Max
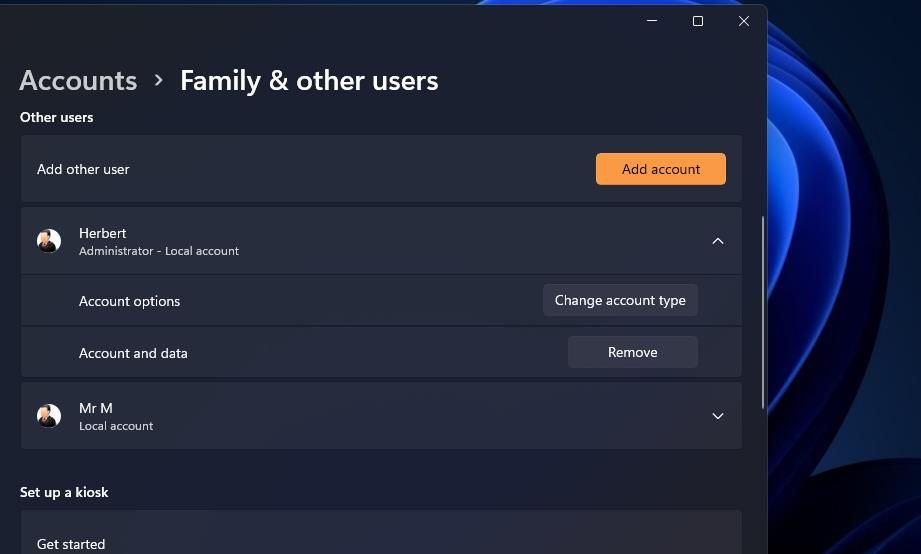
 dotConnect for Oracle is an ADO.NET data provider for Oracle with Entity Framework Support.
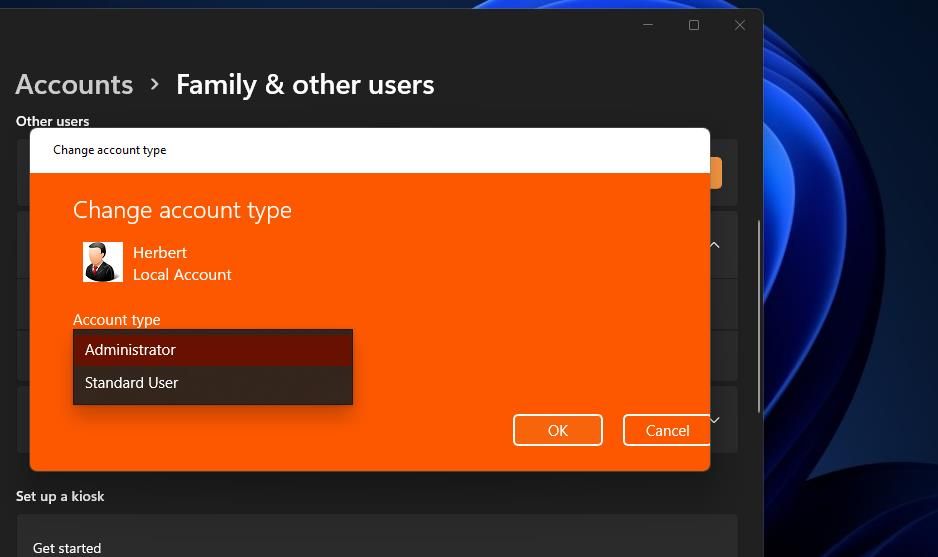
If this solution works, you can transfer your user files to the new account. To do that, you’ll need to copy all the data from an old user account folder and paste it into the new one with theCtrl +C andCtrl +V hotkeys. You can copy data from your old account into the new one at these folders paths:
C:\Users\<Old_Username>\nC:\Users\<New_Username>
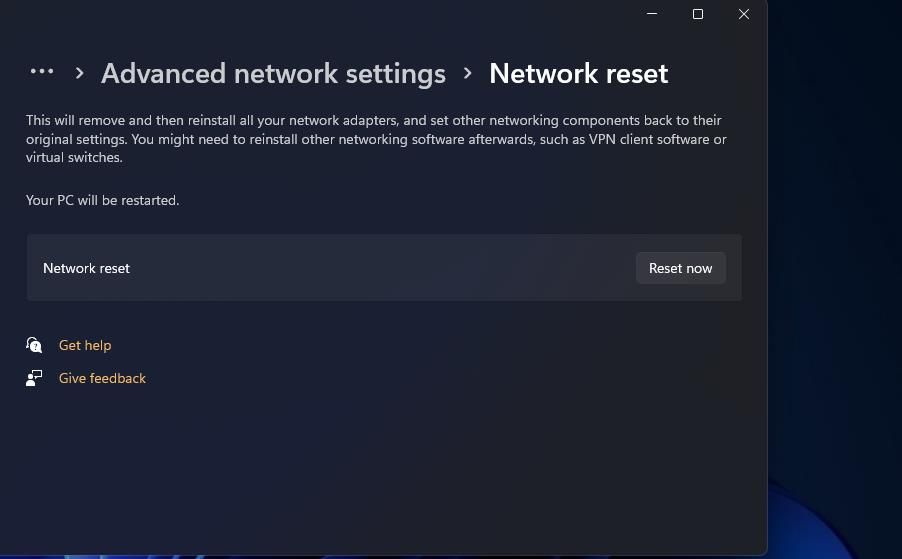
6. Reset Your Network Connection
Network connectivity issues are another potential cause for error 0x80049dd3. So, resetting network components could help some users resolve this issue. You can reset your network adapter via Settings in the following steps:
- Bring up Settings, and select theNetworks & internet tab from there.
- Select theAdvanced network settings navigation option.
- ClickNetwork reset to proceed.
- Select theNetwork reset option, and clickYes to confirm.
- Restart Windows 11 after resetting the network.
- Then you’ll need to reconnect your PC to the internet.
Get Voice Typing Again on Windows 11
You’ll probably be able to resolve error 0x80049dd3 in Windows 11 with the potential fixes above. In many cases, this is a Windows user account issue that changing accounts will resolve. However, you can also try fixing a corruption error for an existing user account with the DISM, SFC, and System Restore tools. With error 0x80049dd3, resolved, you can then resume speech-to-text voice typing again.
- Title: Eliminating the Voice Typing Hiccup with Window's Error Code X80049DD3 Solution
- Author: David
- Created at : 2024-08-15 23:36:06
- Updated at : 2024-08-16 23:36:06
- Link: https://win11.techidaily.com/eliminating-the-voice-typing-hiccup-with-windows-error-code-x80049dd3-solution/
- License: This work is licensed under CC BY-NC-SA 4.0.