
Cross-Platform Synchronization for iOS & Windows Calendars
Cross-Platform Synchronization for iOS & Windows Calendars
Perhaps you’ve heard about the handy features of the Apple Calendar app from your friends or colleagues. Or maybe you’ve tried your hand at it yourself at some point.
As the default calendar app from Apple, the Calendar app can run on both the macOS and the iOS mobile operating system. However, if you want to access the Calendar app on your PC, you’ve to follow a different approach. In this article, we’ll look at how to get the Apple Calendar app on your PC and then discuss the different ways to use it.
How to Download and Use Apple Calendar on Windows PC
Apple Calendar helps you make the most of your schedules and reminders. On your Windows computer, you have two major ways to access and use Apple Calendar. Here’s how you can get started:

1. Apple iCloud
iCloud is an Apple service that keeps all your critical data on the cloud. It stores almost everything that’s kept locally on your PC: Contacts, Pages, Reminders, etc.—it’s all there. You’ll also find the Calendar app there, of course. So, if you want to access the Calendar app on Windows through iCloud, follow the steps below:
- Head to iCloud.com and sign in to your Apple account.
- You’ll get a sign-in confirmation on your Apple device. Click onAllow to go ahead with the sign-in.
- As soon as you click onAllow from above, you’ll get a verification code. Note it down.
- Now head back to your Windows. You’ll see a host of Apple apps here; click onCalendar .
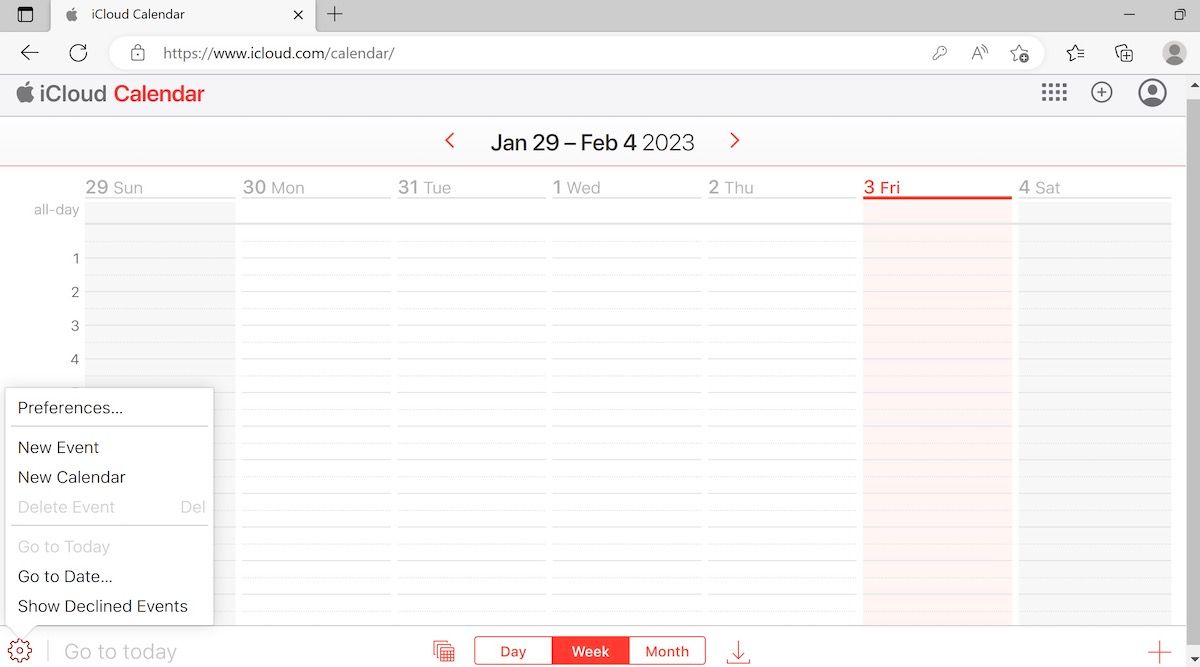
That’s it. Follow the above steps, and you’ll be inside the Calendar web app. You’ll get a view like this:
 TubeDigger - online video downloader from mostly any site
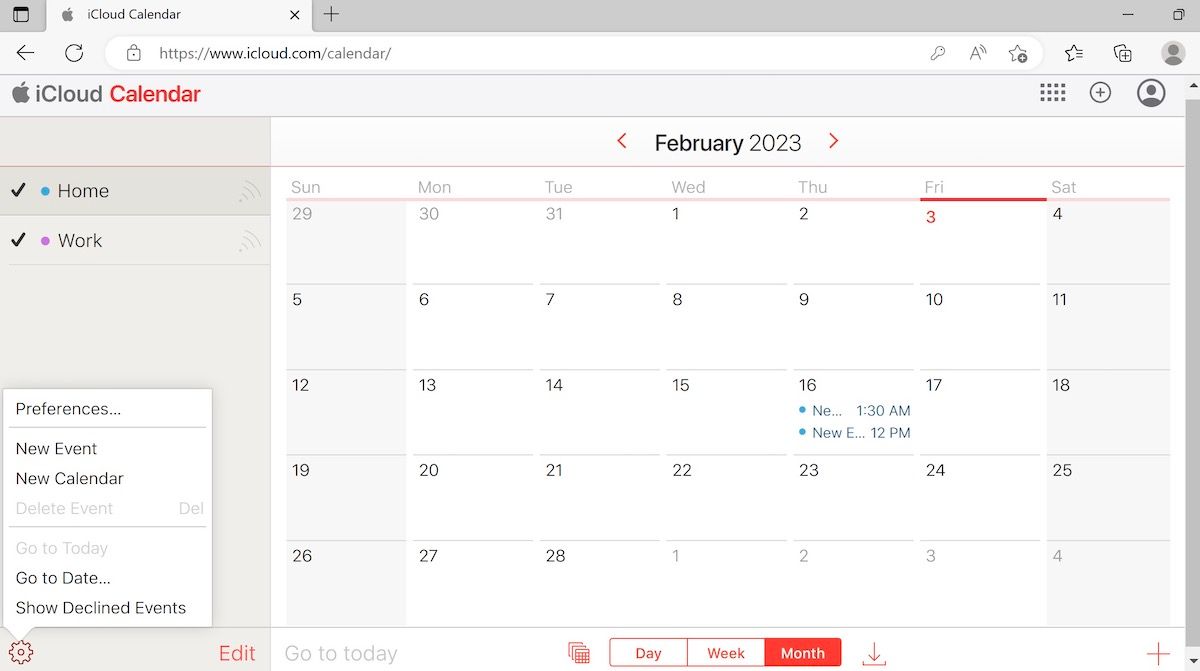
As you can see, from the bottom of the page you’ll be able to choose how you want to arrange your Calendar; you have three basic categories:Day ,Week , orMonth .
 NeoDownloader - Fast and fully automatic image/video/music downloader.
Similarly, if you would like to set a new event, simply click on the**+** sign from the right corner. Enter all the relevant details like the Event name, location, time, date, etc., and you can create your event from here successfully.
From the bottom-left corner, click on theSettings icon, and you’ll find a host of new settings that you can tweak. It includes everything fromPreferences ,New Event ,New Calendar ,Delete Event ,Go to Date ,Show Declined Events , and so on. You can choose either of these, and you’ll be okay with the iCloud Calendar app.
If you’d like to give a more in-depth look, you can check out our detailed guide on using Apple Calendar on Mac that we’ve covered before; the same tricks apply to using it on Windows as well.
2. iCloud Windows App
If you’re going to use the Apple Calendar for a while, then sticking with the Apple iCloud Windows app might be more helpful in the long run. After you’ve downloaded the app, you can run iCloud on Windows with ease. Here’s how you can get started:
- Head to theMicrosoft Store and download the iCloud app from there.
- Click onOpen after the installation is finished.
- Enter your Apple ID and password, and click onSign in to proceed.
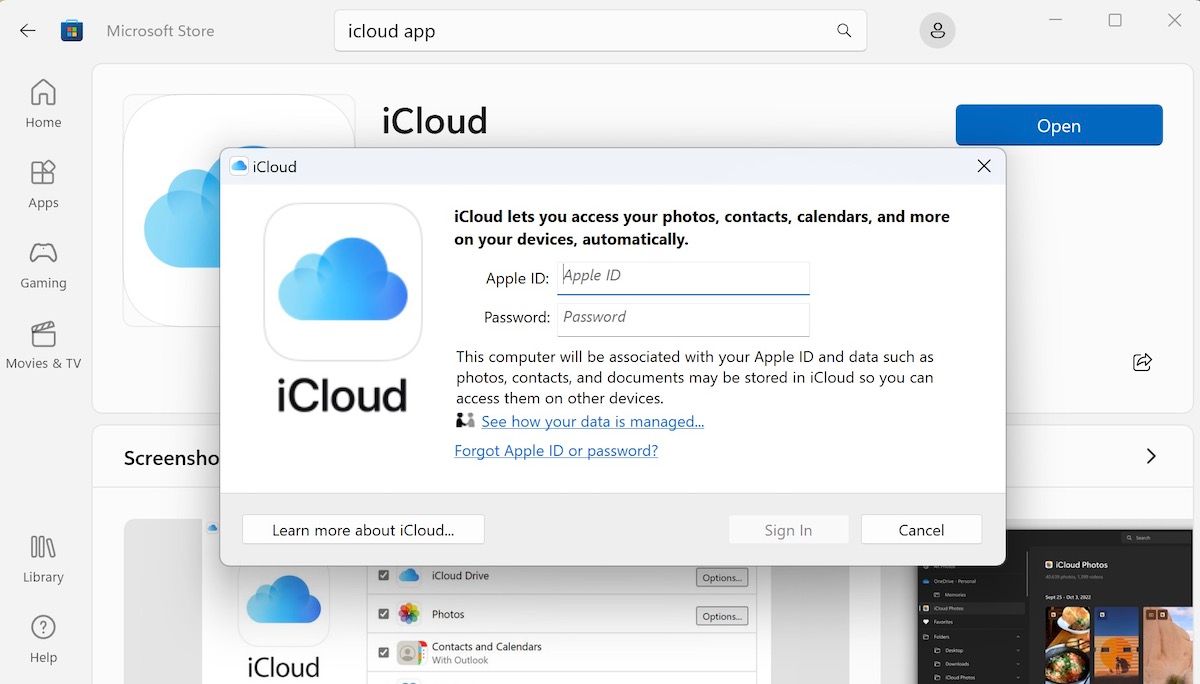
You’ll get a new dialog box on your Apple device asking you to confirm your action. Click onAllow to move ahead from there. Next, you’ll receive a verification code on your Apple ID as soon as you do this. Note down the code and follow the steps below:
- Enter the code you noted above into your iCloud app, and the app will log you in automatically.
- You’ll get asked to sync iCloud, Bookmarks, Photos, Mail, Calendar, etc.
- Turn on theiCloud Mail andCalendar sync with Outlook and click onApply .
- Now open the Outlook app on your Windows and use the Calendar option from the bottom.
And that’s how, with the help of the iCloud Windows app and Outlook, you can use the Apple Calendar on your PC.
 With Screensaver Wonder you can easily make a screensaver from your own pictures and video files. Create screensavers for your own computer or create standalone, self-installing screensavers for easy sharing with your friends. Together with its sister product Screensaver Factory, Screensaver Wonder is one of the most popular screensaver software products in the world, helping thousands of users decorate their computer screens quickly and easily.
Getting and Using the Apple Calendar on Windows PC
The Calendar app from Apple has all the right features that make it a joy to use; the options to sync, the ability to set up reminders, the sleek design, etc.—all a helpful addition to the workings of your PC. Luckily, now you can enjoy the same features of Apple Calendar on your PC; follow the different methods we’ve laid out above and your settings will be laid out.
- Title: Cross-Platform Synchronization for iOS & Windows Calendars
- Author: David
- Created at : 2024-08-16 00:13:45
- Updated at : 2024-08-17 00:13:45
- Link: https://win11.techidaily.com/cross-platform-synchronization-for-ios-and-windows-calendars/
- License: This work is licensed under CC BY-NC-SA 4.0.