
Construct a Stunning Slide Show with Windows 11'S FREE Methods
Construct a Stunning Slide Show with Windows 11’S FREE Methods
Setting up a slideshow is a great way to show off a collection of your favorite photos. There are a plethora of third-party software packages with which you can set up picture presentations.
However, you don’t need to install any of those additional apps, as Windows 11 already includes built-in features and apps to set up basic slideshows with. Here are six ways you can set up photo slideshows in Windows 11 without additional desktop software.
1. How to Set Up a Desktop Slideshow
Windows 11 includes a feature that enables you to set up slideshows on its desktop. When enabled, the desktop displays images in a selected folder for a specified time. It’s a relatively basic slideshow feature, but you can still show off all your favorite photos on your PC’s desktop with it. This is how to set up a desktop image slideshow in Windows 11:
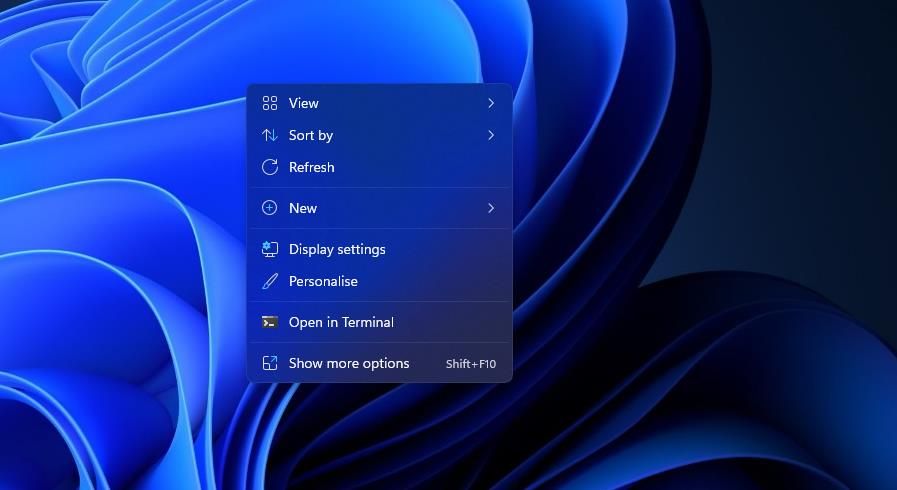
- Click anywhere on the desktop with your right mouse button to selectPersonalize .

- Select Background in Settings.
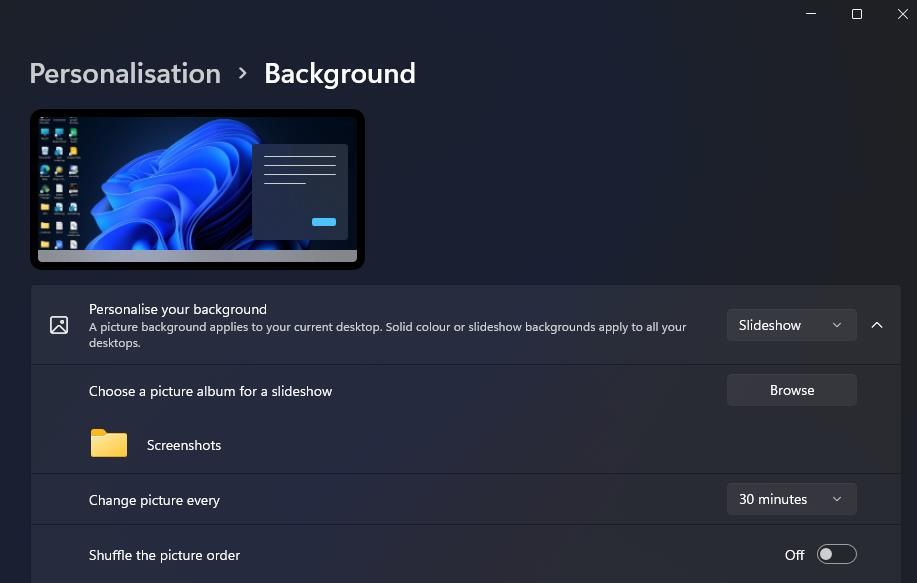
- Double-clickPersonalize your background to expand its settings.
- Select theSlideshow option within thePersonalize your background drop-down menu.
- ClickBrowse to select a folder that includes your photos for the slideshow.
- Select theChoose this folder option.
- Then choose an image display period on theChange picture every drop-down menu.
2. How to Set Up a Screensaver Slideshow
If you prefer to view your favorite images without overlapping desktop icons, set up a screensaver photo presentation instead. Yes, Windows 11 does still include screensavers, even if some people argue that screensavers are no longer relevant .
his is how you can set up a screensaver slideshow in Windows 11:
- Typescreensaver in the Start menu’s search text box.
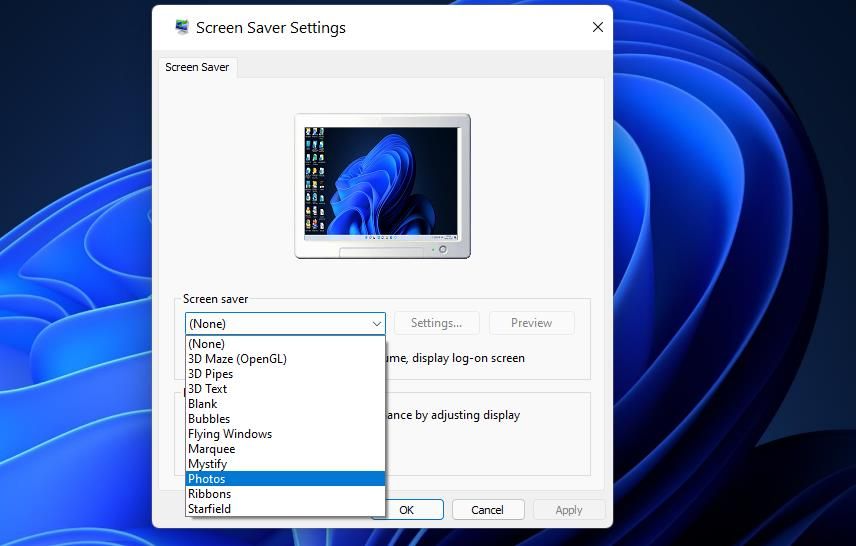
- Click Change screensaver in your search results.
- Select thePhotos option within the drop-down menu shown directly below.
- Adjust theWait option to configure how long it takes to for the screensaver to appear.
- Press theSettings button to bring up further options.
Any DRM Removal for Win:Remove DRM from Adobe, Kindle, Sony eReader, Kobo, etc, read your ebooks anywhere.
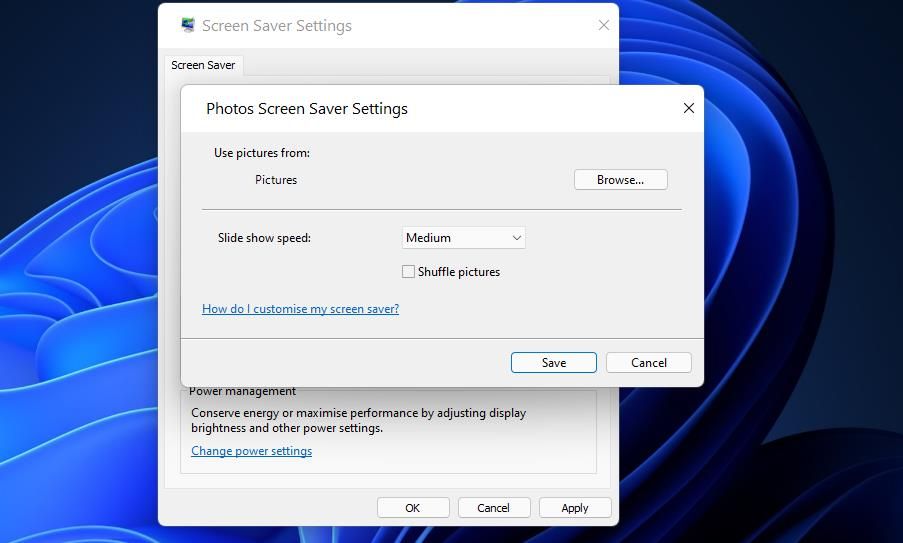
- Click theBrowse button for selecting pictures.
- Choose a folder that includes the photos you want to show in the slideshow, and clickOK to confirm.
- Select an option on theSlide show speed drop-down menu.
- Click theSave andApply options.
 Any DRM Removal for Win:Remove DRM from Adobe, Kindle, Sony eReader, Kobo, etc, read your ebooks anywhere.
 TubeDigger - online video downloader from mostly any site
3. How to Set Up a Slideshow With the Photos App
Photos is Windows 11’s default image viewer and photo-editing app. That app includes aSlideshow option you can select to view a compilation of images. You can view slideshows in Photos with that option as follows:
- Click the pinned Photos app that’s on Windows 11’s Start menu.
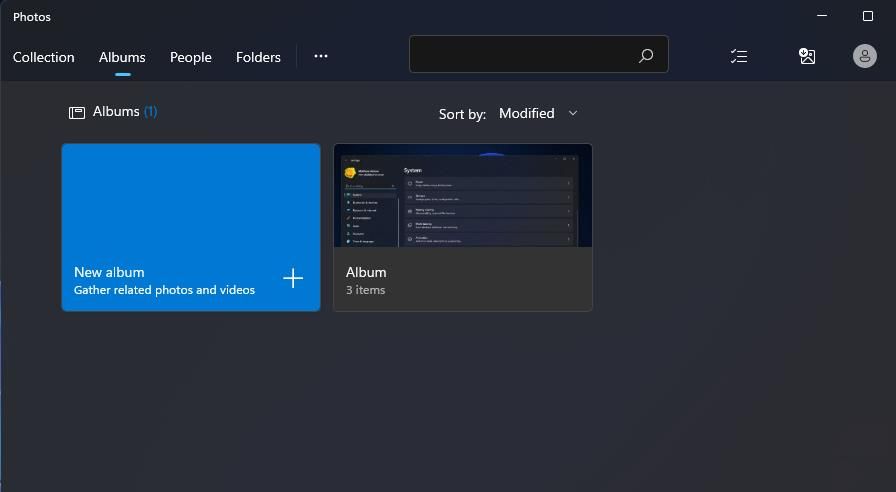
- Select theAlbums tab.
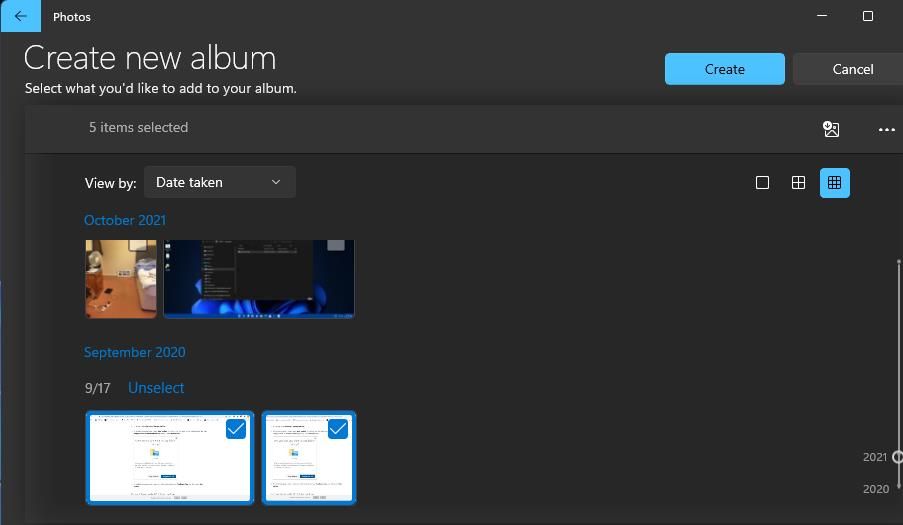
- ClickNew album to select images within Photos to include in your slideshow. You can click theImport >From folder options to select images you can’t find within the Photos app.
- Press theCreate button to set up the album.
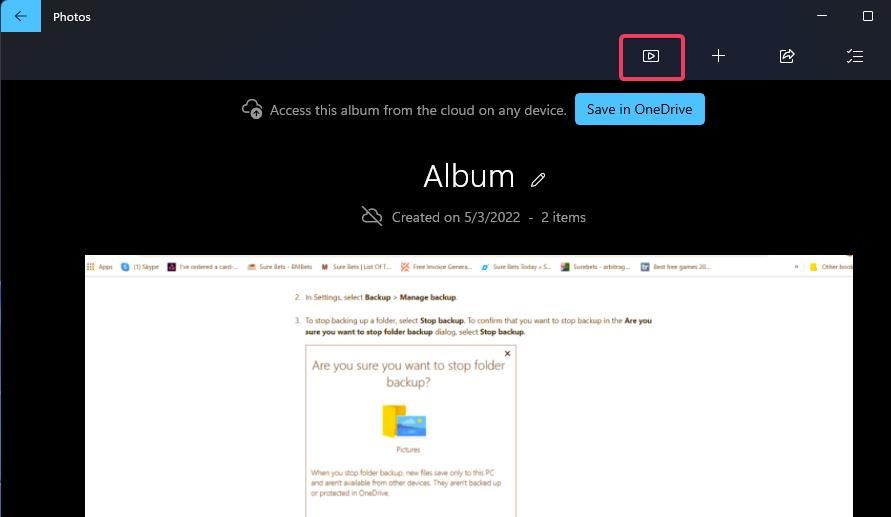
- Select the album you just set up in Photos.
- Click theSlideshow button to view your photo presentation.
 With Screensaver Wonder you can easily make a screensaver from your own pictures and video files. Create screensavers for your own computer or create standalone, self-installing screensavers for easy sharing with your friends. Together with its sister product Screensaver Factory, Screensaver Wonder is one of the most popular screensaver software products in the world, helping thousands of users decorate their computer screens quickly and easily.
4. How to Set Up a Slideshow With Video Editor
Video Editor is an app that’s like an expansion to Photos. That app enables its users to set up photo video slideshows with different themes and background music. Here are the steps for creating a slideshow clip for your favorite snapshots in Video Editor:
Click within the search box on Windows 11’s Start menu.
EnterVideo Editor in the search utility.
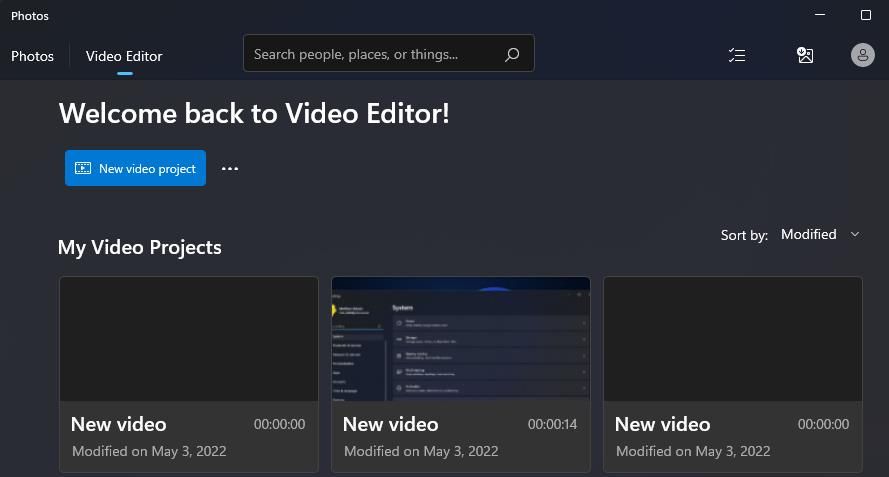
SelectVideo Editor to open that tab in Photos.
Press theNew video project button.
Enter a title for your clip, and click theOK option.
Click+ Add >From this PC to select some images for the slideshow. Then selectOpen to add them.
Drag image thumbnails from the project library onto the slides at the bottom of theMy Slideshow tab.
Check all the slides’ checkboxes, and right-click one to selectDuration . Then input a value to set how long the slideshow displays all the images before changing.
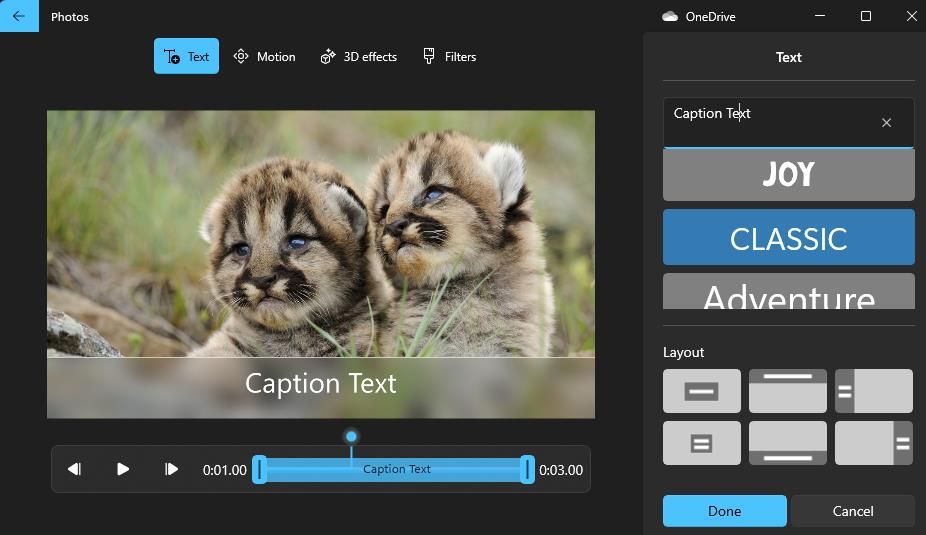
You can add captions to specific images by right-clicking them and selectingEdit >Text option. Enter a caption in the text box, select a font, and clickDone .
To add some sound, click theBackground music option. Then choose an audio scheme, and press theDone button.
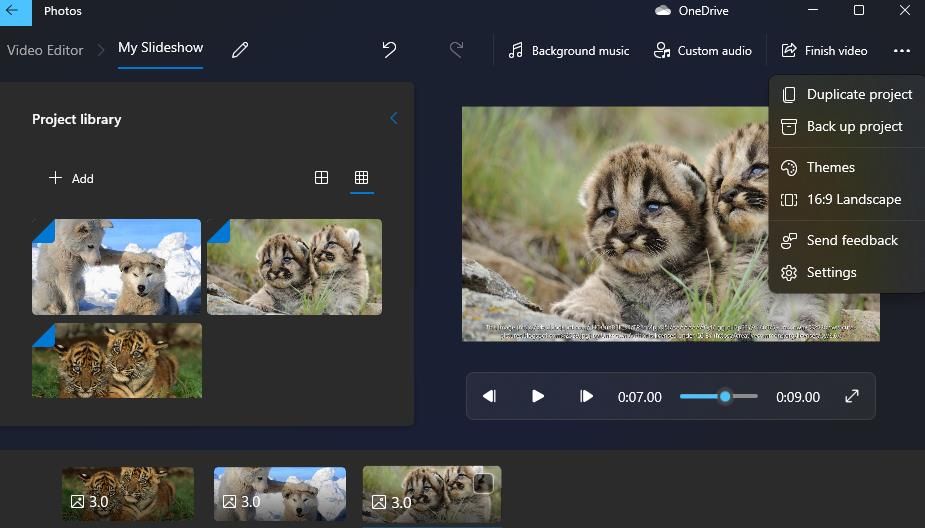
Click the three-dot button at the top right of Video Editor to selectThemes . Select a theme to set for the slideshow and clickDone .
Press theFinish video button.
Select an option on theVideo quality drop-down menu, and click theExport option.
 EmEditor Professional (Lifetime License, non-store app)
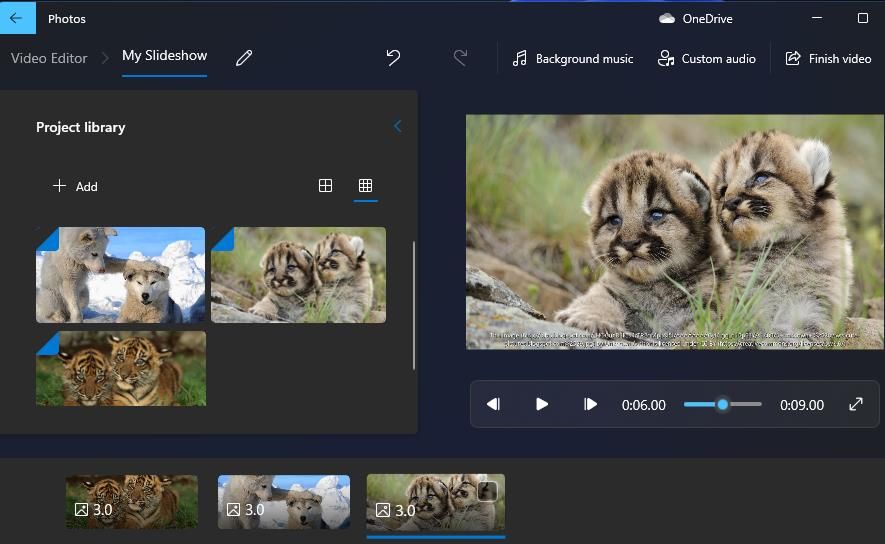
 Video Converter Factory Pro
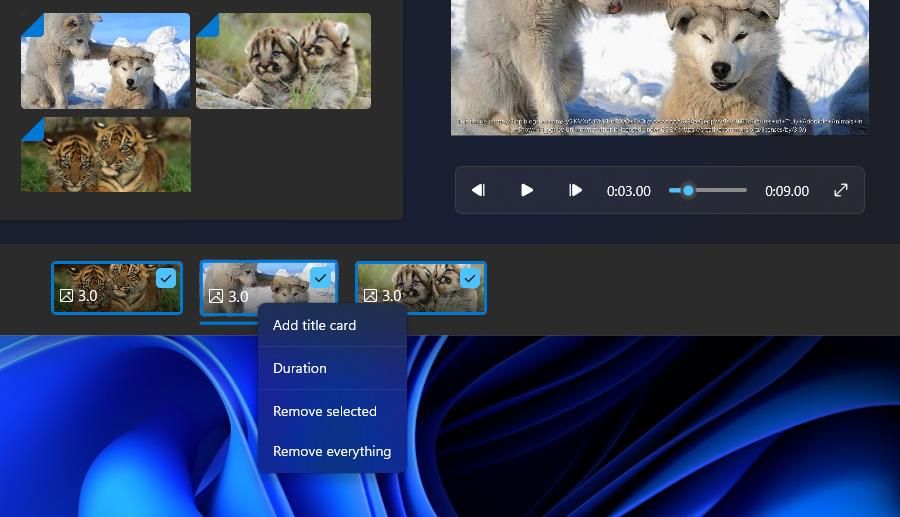
5. How to Set Up a Slideshow With Google Photos
Google Photos is a cloud storage web app for storing images you can utilize within Windows 11’s Edge browser. Anybody with a Google Account can save snapshots there. If you don’t already have such an account, set one up as outlined on this Google Account Help page . Then follow these steps to set up a slideshow in Google Photos:
- Open Google Photos in Edge or another browser.
- If you don’t already have images saved there, clickUpload >Computer in Google Photos. Press theCtrl key to choose some photos, and click theOpen option.
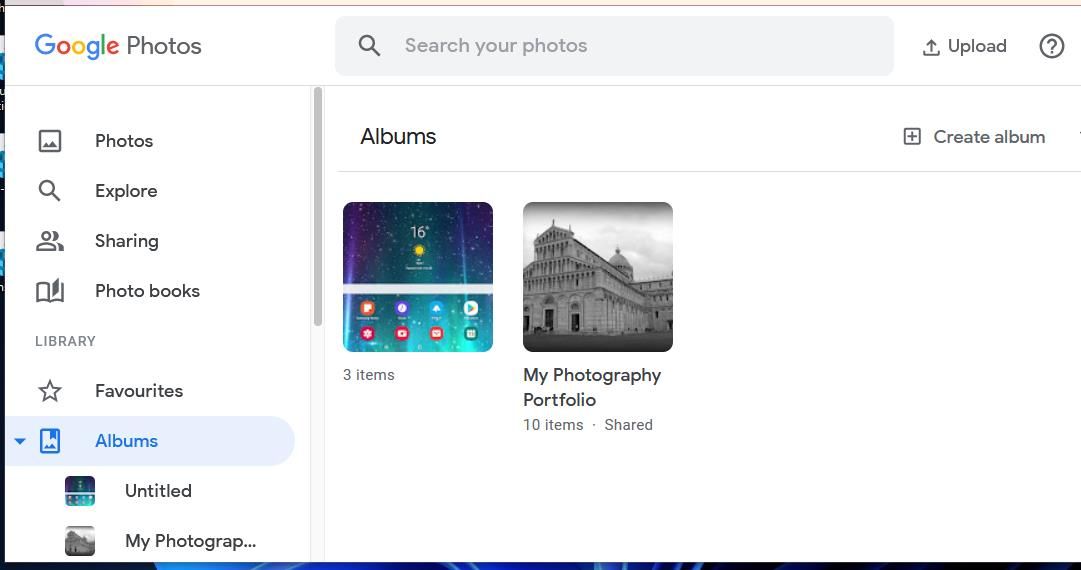
- SelectAlbums on the left of Google Photos.
- Click theCreate album option.
- Enter an album title, and press theAdd photos button.
- Choose some photographs, and click theDone button.
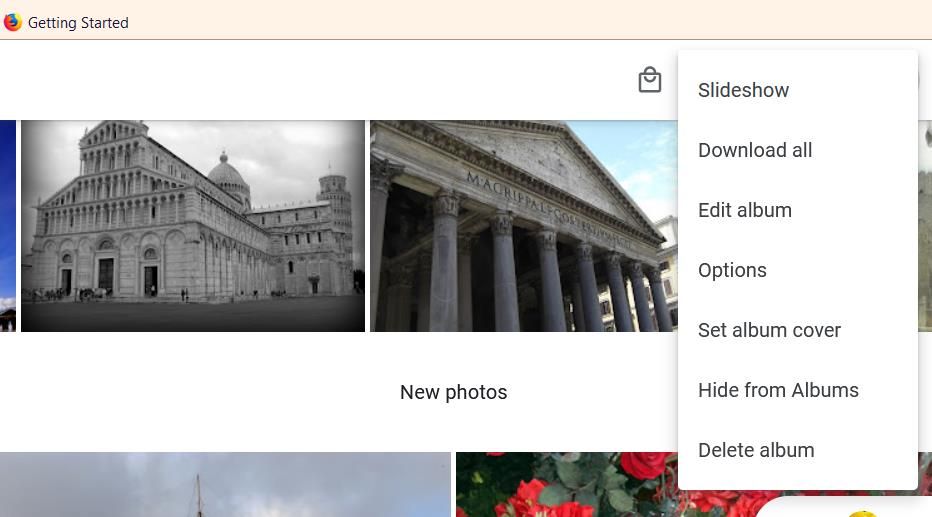
- Select your new album in Google Photos.
- Click theMore options (three-dot) button to selectSlideshow .
- Your album slideshow will now play in full-screen mode. Click the left and right arrows to flick through your images.
 Lyric Video Creator Professional Version
6. How to Set Up a Slideshow With Google Slides
Slides is a presentation web app of the G Suite you can also utilize with a Google Account. That app includes much more extensive options for setting up photo slideshows with different layouts, transition effects, animations, and captions than Google Photos. These are the steps for setting up a basic image slideshow with Slides:
Open the Google Slides homepage.
Click theGo to Slides button.
Then select theBlank presentation option.
Enter a title in the Untitled presentation box.
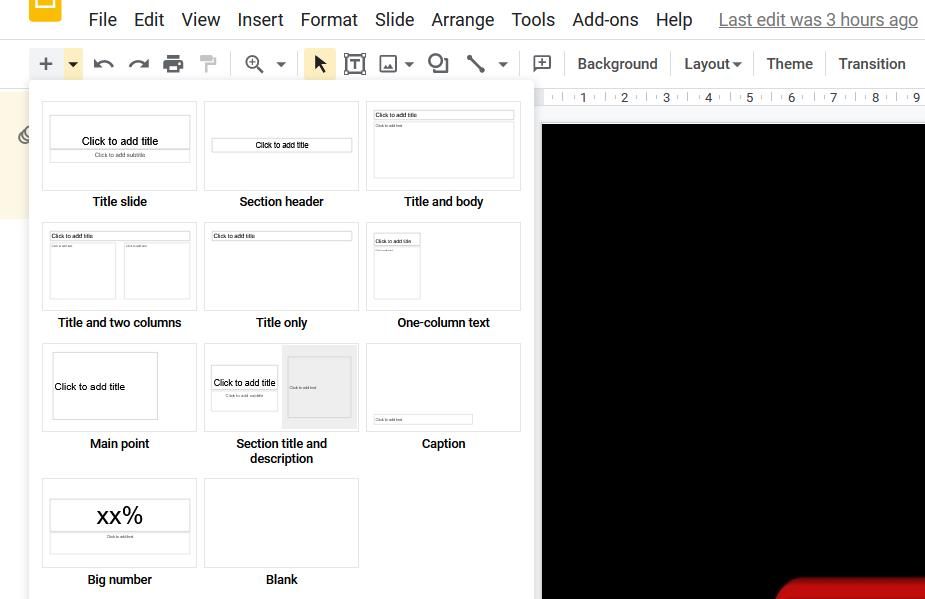
Click the small down arrow on theNew Slide button.
SelectBlank to add an empty slide.
Repeat steps five and six to add as many slides as you need for your photo slideshow.
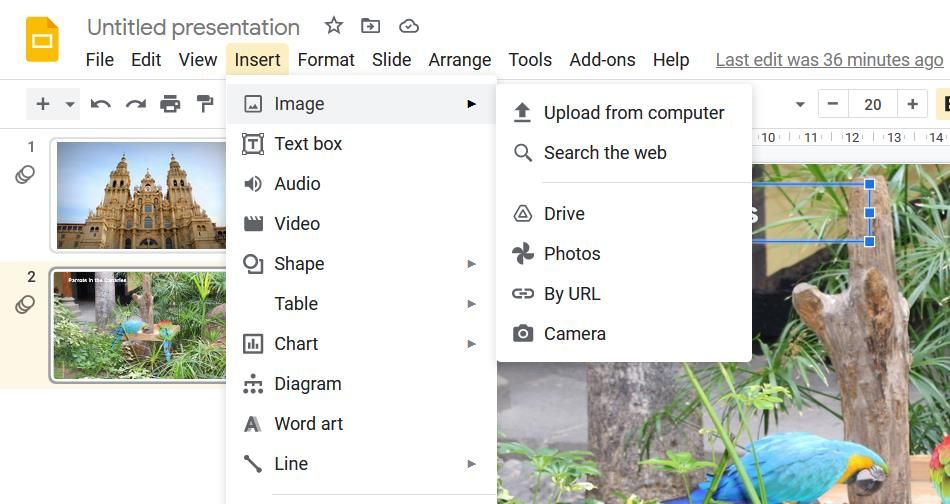
Then select a blank slide to add an image to and clickInsert .
SelectImage >Upload from computer on the menu.
Choose a photo you want to add to the slide and select theOpen option.
Drag the image’s borders with the cursor to resize it so that it fills the whole slide.
Repeat steps six to nine to add photos to all blank slides within your slideshow.
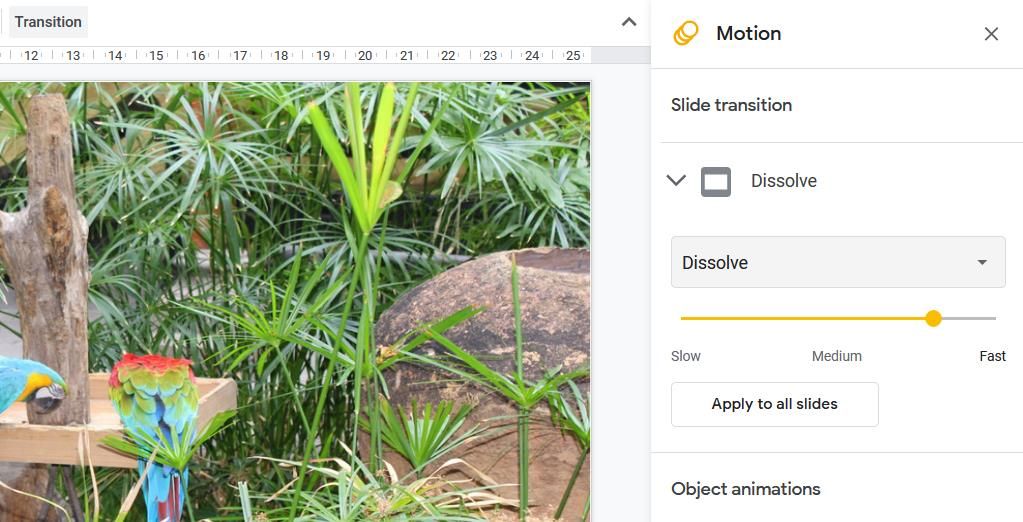
To add a slideshow transition effect, click theTransition button. Then choose a transition on the drop-down menu, and select theApply to all slides option.
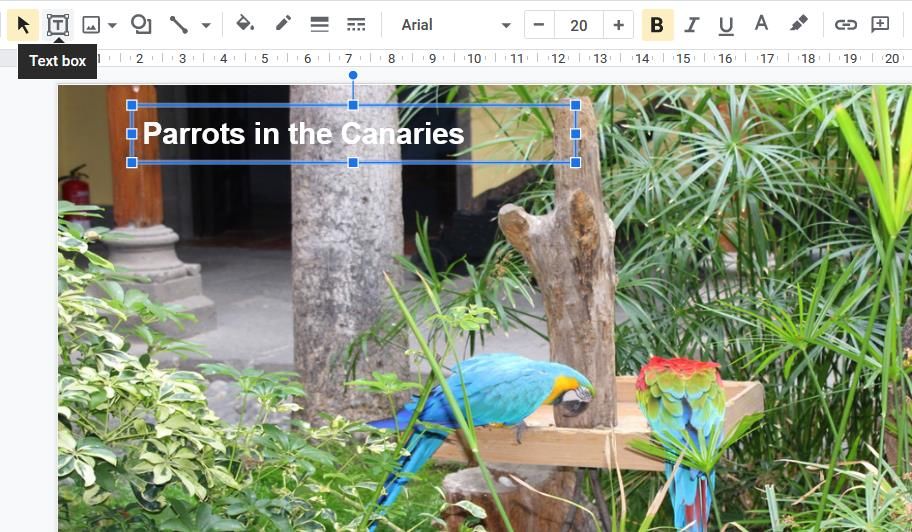
You can also add captions to slides by clicking theText box option. Position your box at the bottom or top of the slide, and enter a photo description in it.
Click theSlideshow button to view the presentation.
Your presentation gets automatically saved within Slides. However, you can save it to a hard drive by clickingFile >Download and choosing Microsoft PowerPoint (or alternative) file format.
 Project Manager - Asset Browser for 3Ds Max
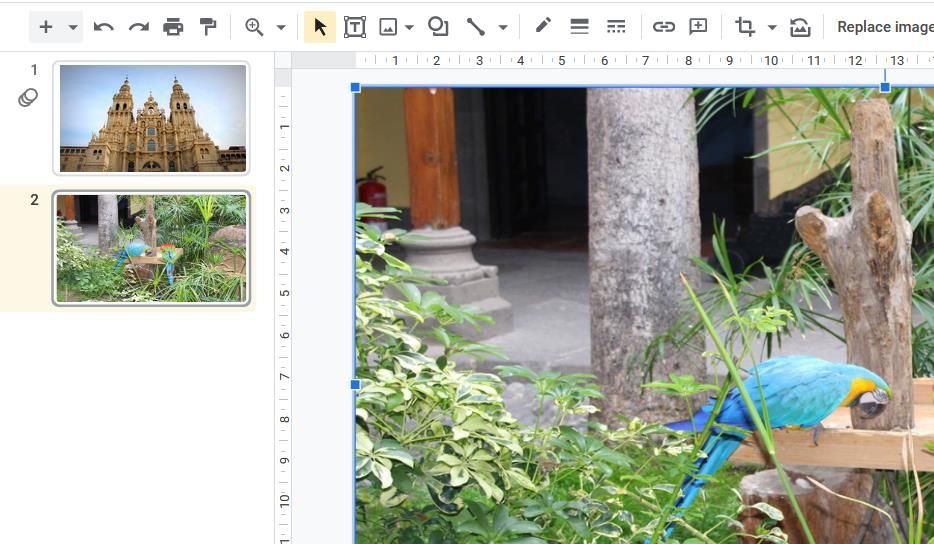
Slides has many more audio, formatting, text, shape, and theme options available. You can also include multiple images in single slides by selecting different layout options. Our how to create a presentation in Google Slides guide provides more in-depth guidelines for utilizing that web app.
7. How to Set Up a Slideshow With Windows Media Player
Windows Media Player is old software with which you can play music and video and view images. That software still comes included with Windows 11, and you can set up basic image slideshows with WMP as it catalogs pictures in your user folder. This is how you can create image slideshows with Windows Media Player:
- First, make sure your user Pictures folder includes the photos you want in a slideshow. You can move photos into the user Pictures folder by dragging and dropping them from one directory to the other in File Explorer.
- TypeWindows Media Player inside the Start menu’s search box.
- SelectWindows Media Player to bring up that software’s window.
- Click theCreate playlist button.
- TypeImage Slideshow in the playlist text box.
- Then click the small arrow besidePlaylist to extend that category.
- Click thePictures on the left of the Windows Media Player window.
- Hold theCtrl key and select photos to include within the slideshow.
- Then hold the left mouse button to drag your image selection onto your playlist’s title in the Windows Media Player sidebar.
- Release the left mouse button when you see theAdd to + tooltip.
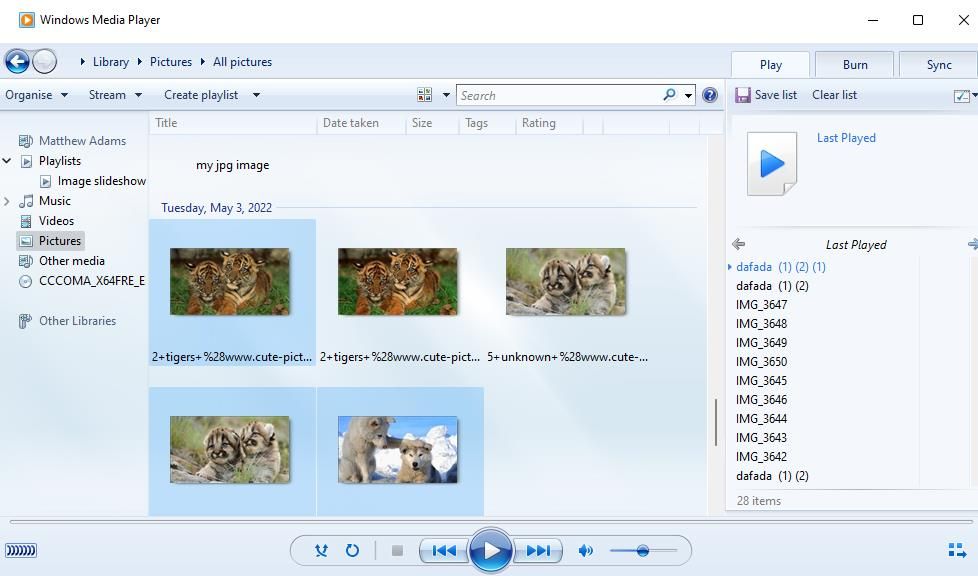
Now select your Image Slideshow playlist in Windows Media Player, which will include the photo files you’ve added to it. Click thePlay button to start the slideshow. Windows Media Player will then display play a basic slideshow that flicks through the images in it at about five-second intervals. If WMP doesn’t automatically show the slideshow, click theSwitch to Now Playing option.
 SwifDoo PDF Perpetual (2-PC) Free upgrade. No monthly fees ever.
Who Needs Third-Party Photo Slideshow Software?
So, it’s hardly essential to install third-party slideshow software in Windows 11 when you can show off your favorite pics with the methods above. Windows 11’s built-in desktop and screensaver slideshow features and Google Photos are ok for showcasing basic image collections. You can set up more advanced photography slideshows that incorporate variable transition effects, background music, audio narrative, and text captions with Video Editor and Google Sheets.
- Title: Construct a Stunning Slide Show with Windows 11'S FREE Methods
- Author: David
- Created at : 2024-08-16 00:10:42
- Updated at : 2024-08-17 00:10:42
- Link: https://win11.techidaily.com/construct-a-stunning-slide-show-with-windows-11s-free-methods/
- License: This work is licensed under CC BY-NC-SA 4.0.