
Configure Your Sandbox: A Win 11 Guide
Configure Your Sandbox: A Win 11 Guide
Microsoft Windows 11 features multiple virtualization solutions out of the box. While Hyper-V is an excellent tool, Windows Sandbox is an easy alternative to Windows virtual machines. It lets you run untrusted apps in an isolated environment without the hassle of setting up a complete virtualization tool.
Unfortunately, Windows Sandbox is not available on the Home edition of the OS. If you are running the Pro, Enterprise, and Education edition, here is how to enable and set up Windows Sandbox in Windows 11.

How to Set Up Windows Sandbox in Windows 11
Windows Sandbox is an optional feature, which means you’ll have to install it from the Optional features section. You can add and remove optional features from the Windows Features dialog . Alternatively, you can use PowerShell or Command Prompt for a swift installation of Windows Sandbox.
While the setup process is easier, your computer must meet some system requirements. Windows 11 Pro, Education, or Enterprise running computers with virtualization support are Windows Sandbox compatible. In most cases,if your system can run Windows Hyper-V , it should also run Windows Sandbox.


1. Enable Windows Sandbox Using the Windows Features Dialog
You can install Windows Sandbox using the Windows Features dialog. This dialog houses most of the optional Windows features that are ready to be installed on your PC.
Follow these steps to install Windows Sandbox using the Windows Features dialog:
- PressWin + R to openRun .
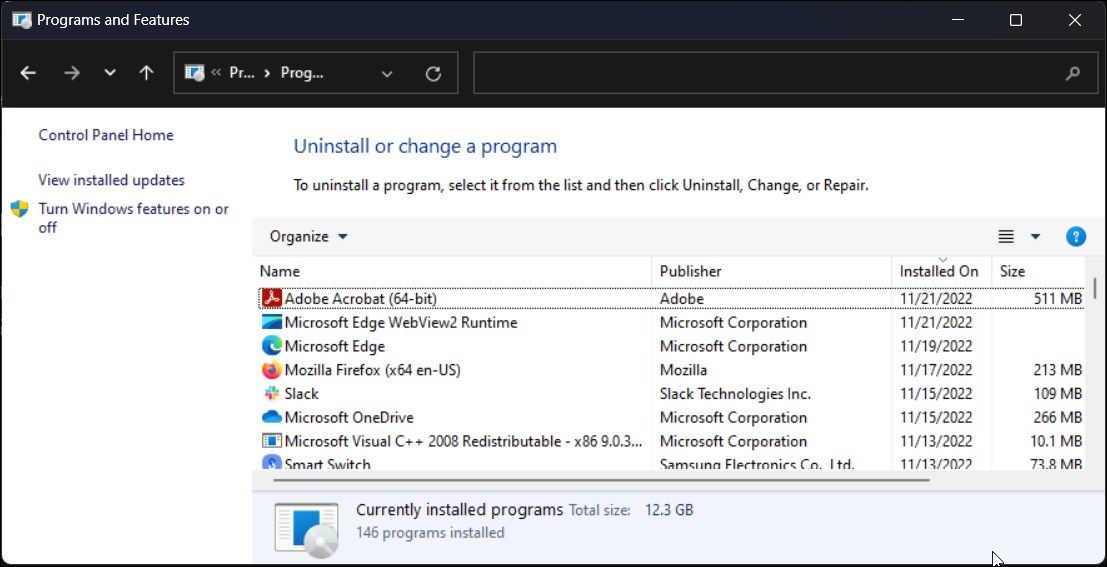
- Typeappwiz.cpl and clickOK to openControl Panel.
- In the left panel, click onTurn Windows features on or off.
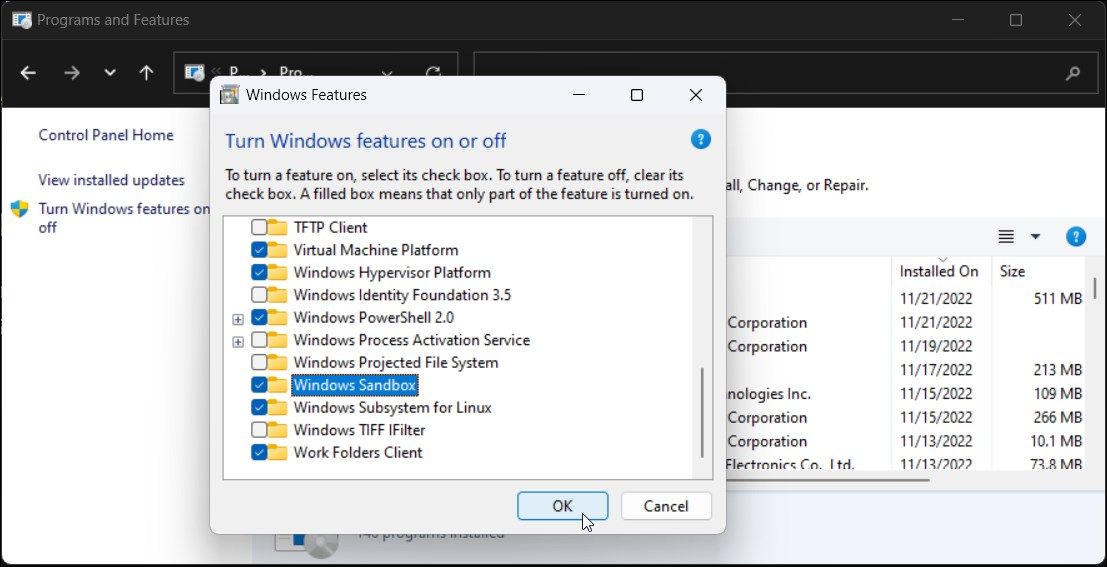
- In theTurn Windows features on or off dialog , scroll down and locateWindows Sandbox.
- Check theWindows Sandbox option and clickOK .
- Windows will search for the files and install the required dependencies to run Windows Sandbox scenarios. Once the changes are applied, close the Windows features dialog and restart your PC.
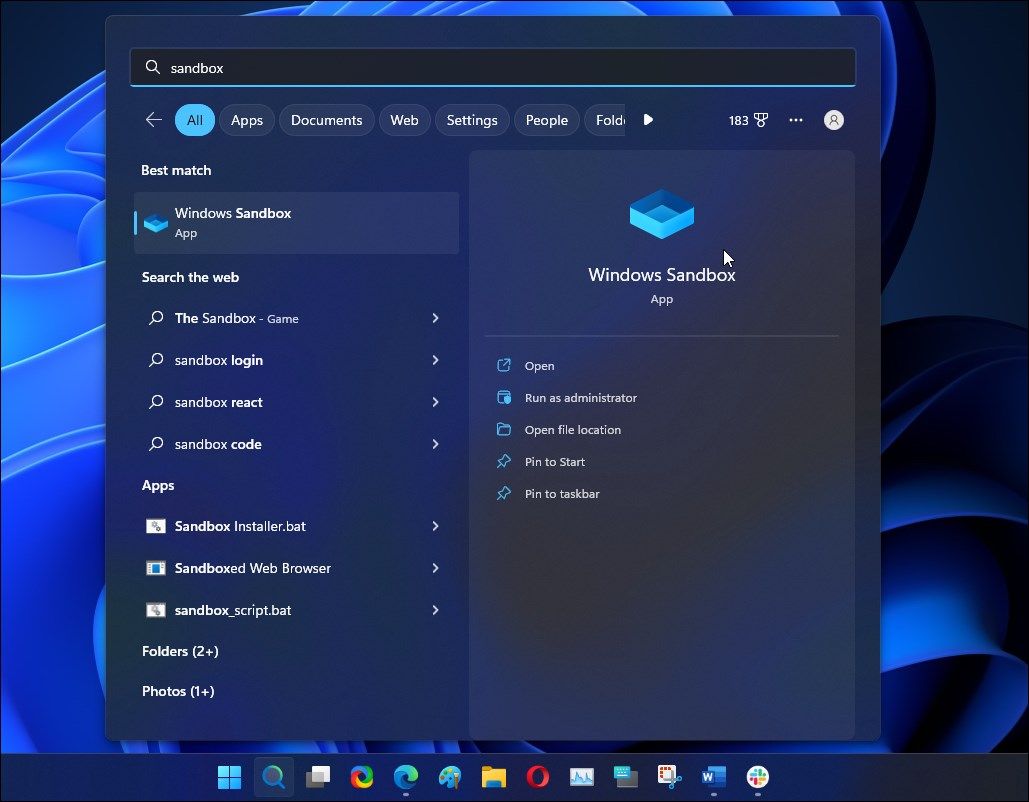
- After the restart, pressWin + S to openWindows search.
- Typesandbox and click onWindows Sandbox from the search result to launch the virtualization tool.
3. Install Windows Sandbox Using PowerShell

You can use the Enable WindowsOptionalFeature command in PowerShell to install Windows Sandbox in Windows. This method is useful if you find the sandbox option greyed out or unable to install it from the Windows Feature dialog.
To install Windows Sandbox using PowerShell:
- PressWin + X to open theWinX menu.
- Click onWindows Terminal (Admin) to open the Windows Terminal with administrative privilege. Since PowerShell is assigned as the default profile upon launch, you can execute your PowerShell cmdlets straight away in Windows Terminal.
- In the Windows Terminal window, copy and paste the following command and press Enter:
Enable-WindowsOptionalFeature -Online -FeatureName “Containers-DisposableClientVM” -All - If no error occurs, Windows will install the required files to enable Windows Sandbox.
- Once done, pressY and hitEnter to restart your PC.
- After the restart, you can launch Windows Sandbox from Windows Search.
3. Install Windows SandBox Using Command Prompt
 DLNow Video Downloader
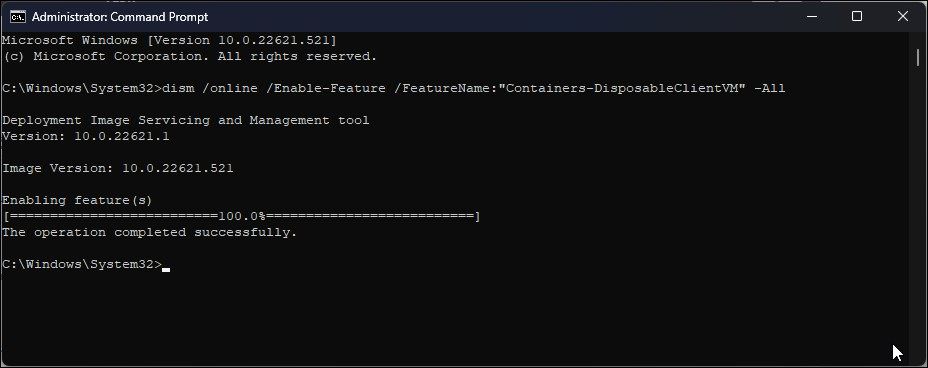
Deployment Image Servicing and Management (DISM) is a command-line utility that facilitates the installation of optional features using the Command Prompt. To install Windows Sandbox, you will need to use the Enable-Feature command in Command Prompt. Here’s how to do it.
- PressWin + R to openRun .
- Typecmd in theRun dialog. Press and holdCtrl + Shift and clickOK to open Command Prompt as administrator.
- In the Command Prompt, type the following command and pressEnter :
dism /online /Enable-Feature /FeatureName: "Containers-DisposableClientVM" -All - Wait for the process to complete. Once done, pressY andEnter to restart your PC.
How to Use Windows Sandbox
Now that you have Windows Sandbox installed, you can start using it to test untrusted apps in isolation. To launch the app, pressWin + S to openWindows Search and typeWindows Sandbox. Click on the app from the search result to open it.
Upon its launch, Windows Sandbox looks like a lightweight version of your Windows machine. You can copy files from your host system or download them from the Internet using the built-in web browser. Any actions you perform in the sandbox will not affect your host system.
Once the testing is complete, close the Sandbox and clickOK to confirm the action. Unlike a VM, Sandbox will delete all the data (including apps and files) upon exit. So, you’ll get a clean, isolated environment running the same Windows OS build as your host machine each time.
Set Up and Use Windows Sandbox in Windows 11
Windows Sandbox provides an excellent way to test apps and files in an isolated environment without the hassle of setting up a virtual machine. While the virtual machines have distinct advantages, Sandbox is lighter, faster, and loads a fresh copy of Windows OS each time it’s run.
Windows 11 Home users, however, have missed out on this excellent feature. But if you must use a sandbox, consider using third-party alternatives such as Sandboxie Plus and SHADE Sandbox. These alternatives offer a similar set of functionalities with no complicated setup involved.
- Title: Configure Your Sandbox: A Win 11 Guide
- Author: David
- Created at : 2024-07-29 15:46:49
- Updated at : 2024-07-30 15:46:49
- Link: https://win11.techidaily.com/configure-your-sandbox-a-win-11-guide/
- License: This work is licensed under CC BY-NC-SA 4.0.