Boost Typing Prowess: Changing and Adding Keyboards for Win 11

Boost Typing Prowess: Changing and Adding Keyboards for Win 11
Key Takeaways
- You can easily add different keyboard layouts in Windows 11 in the Settings app and then switch to them from the system tray.
- You can download additional keyboard layouts by adding a new language to your system.
- If you want to remove a keyboard layout or language, you can do so with a few clicks in the Settings app.
Windows offers more keyboard layouts beyond QWERTY. With a few clicks, you can add a new keyboard layout, such as DVORAK and AZERTY, and switch to that one instead. Here’s what you need to know.
How to Add a Keyboard Layout in Windows 11
Multiple keyboard layouts are already installed for your preferred language. To add them to it, follow the steps below:
- Press Win + I to open Settings, and then head to Time & language > Language & Region.
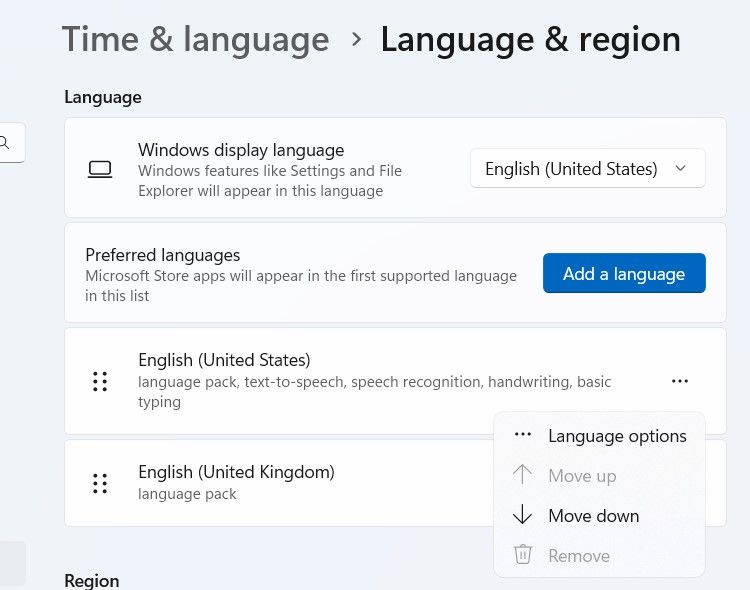
- Click the three-dot icon next to your preferred language (the one on top) and select Language Options.

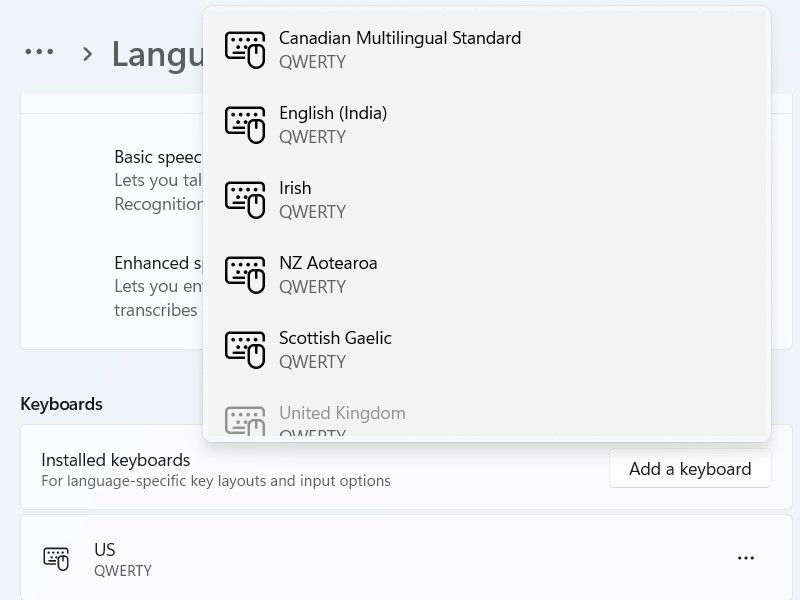
- In the Keyboards section, click Add a Keyboard, and select a different keyboard key layout from the available options.

You can get more keyboard layouts by adding a new language. However, this requires the internet to download the new language. So, make sure you’re connected to the internet , and follow the steps below:
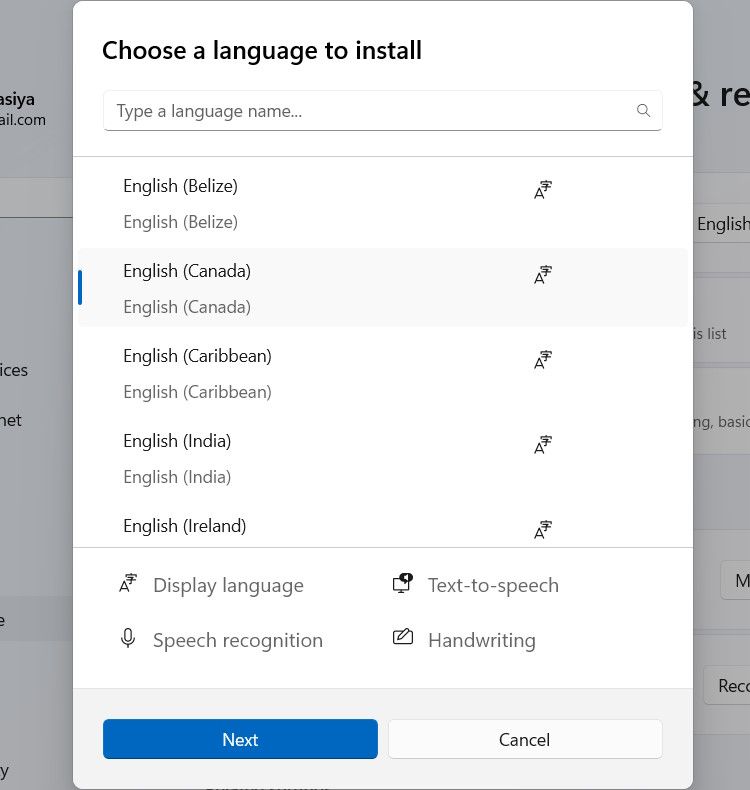
- On the Language & Region page in Settings (step #1 above), click Add a Language.
- In the pop-up, select the language you want to install and click Next.


- Click Install for Windows 11 to download and install the new language.
- Follow steps #2 and #3 above to add a new keyboard layout to the language you just installed.
If you still can’t find a keyboard layout you like, you should consider creating a custom keyboard layout .
How to Change a Keyboard Layout in Windows 11
To change the keyboard layout, click the language switcher in the system tray section and select a different layout from there.
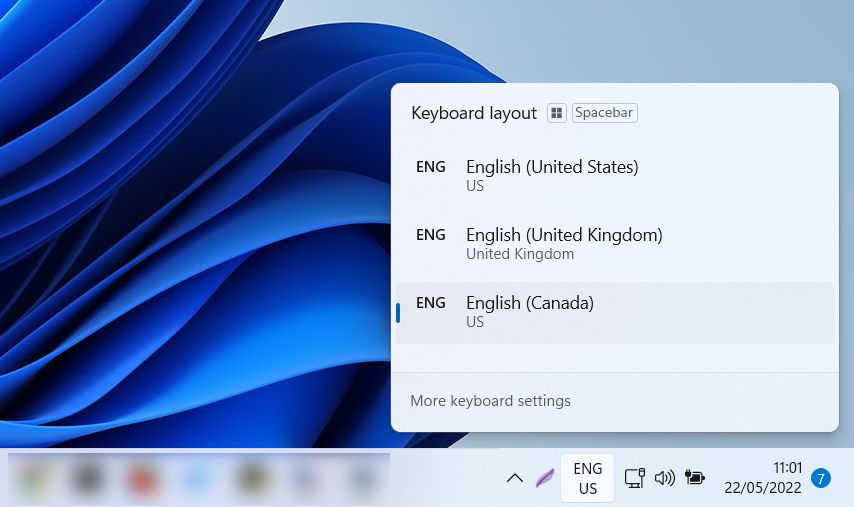
Alternatively, you can press and hold Win and keep pressing the Space bar to switch between different keyboard layouts. You can do the same by holding down Shift and pressing Alt.
 SwifDoo PDF Perpetual (2-PC) Free upgrade. No monthly fees ever.
How to Remove a Keyboard Layout in Windows 11
If you don’t need a keyboard layout, you can easily remove it. To do that, follow the steps below:
- Press Win + I to open settings, and then head to Time & language > Language & Region.
- Click the three-dot icon next to the keyboard layout you want to remove and select Language Options.
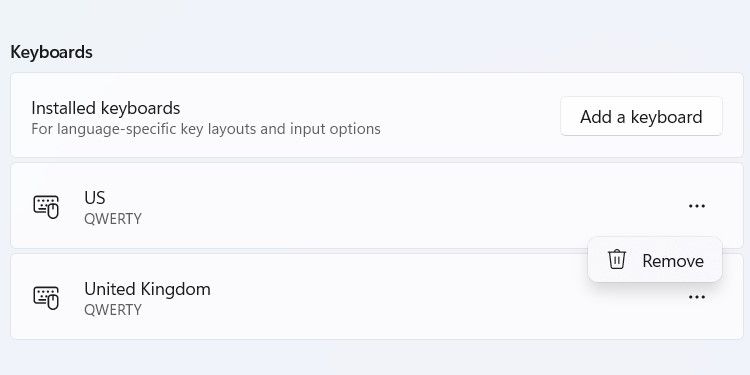
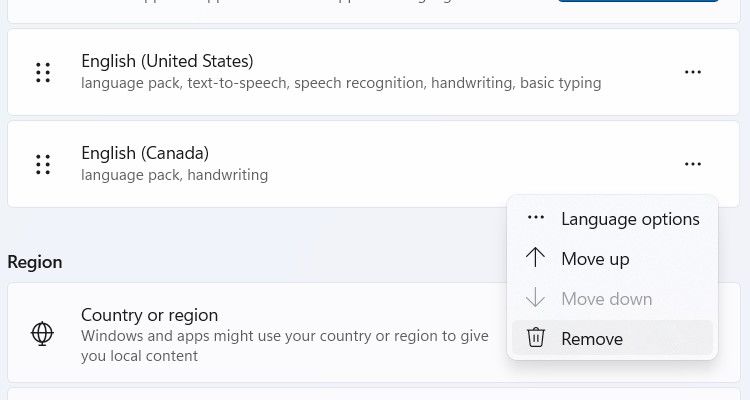
- In the Keyboards section, click the three-dot icon next to a keyboard layout and select Remove.


You can also remove a language if you no longer need it. To do that, follow the steps below:
- Go back to Language & Region in Settings.
- Click the three-dot icon next to the language you want to remove and click Remove.

The language and its associated keyboard layout will now be removed from your computer.
If you want a quick way to remap the Windows keyboard , just change its layout. You don’t have to be stuck with the default layout if it doesn’t serve your needs. Furthermore, the layouts are flexible, and can be used on a physical keyboard or the on-screen touch keyboard .
Windows offers more keyboard layouts beyond QWERTY. With a few clicks, you can add a new keyboard layout, such as DVORAK and AZERTY, and switch to that one instead. Here’s what you need to know.
- Title: Boost Typing Prowess: Changing and Adding Keyboards for Win 11
- Author: David
- Created at : 2024-08-16 00:30:05
- Updated at : 2024-08-17 00:30:05
- Link: https://win11.techidaily.com/boost-typing-prowess-changing-and-adding-keyboards-for-win-11/
- License: This work is licensed under CC BY-NC-SA 4.0.
